Lord of Mysteries Drill Boss (2026): Lv46 Deep Factory Guide
The Drill is the Lv46 boss of the Deep Factory dungeon in the Lord of Mysteries MMO, and the source footage's verdict is blunt: this is mostly a DPS check, not a mechanic check — far more forgiving than the first Memory boss. Forgiving does not mean free. The fight still hides a five-hit instant-kill rule, a laser that stops and reverses without warning, and a stage-three energy relay that deletes the party if anyone is out of position.
Every frame below is captured from a single M Y A N E E clear, which serves as both the visuals and the facts source. The figures on this page (five Overload stacks, five pools, three pool hits to break, four relay players) are as demonstrated or narrated in that footage, and each step deep-links to the exact second the mechanic happens.
Verification rule
[unverified] / 〔待核验〕 marks a detail the footage or cited sources could not confirm — the marker stays inline so you know exactly which claims to double-check.
The Fight, Phase by Phase — Deep Factory Drill
Key Takeaways & Golden Rules
- ◆Set the numbered waypoints BEFORE the pull — stage three's energy relay cannot be improvised on the spot.
- ◆Overload x/5 stacks is a kill counter: the fifth boss skill that hits you is fatal regardless of your HP. Never trade hits for uptime.
- ◆The stage-two laser stops, snaps into the counter direction and accelerates — keep moving for the whole rotation.
- ◆Whoever holds the boss's target kites it through the lightning pools; three pool hits trigger the breaking stage (the UI tracks a Drill Overload x/4 counter).
- ◆Stage three mans four preset waypoints in two pairs — start point to first point, then first point to final point. Stray from the holy beacon and the current breaks: instant wipe.
- ◆Once the barrier breaks it is a pure DPS race against the clock — have burst windows, food and cooldowns banked before the pool phase ends.
Verified gameplay source
How to Defeat the Drill Boss (Lv46 Dungeon)
- 01
Pull: the Lv46 Drill in Deep Factory
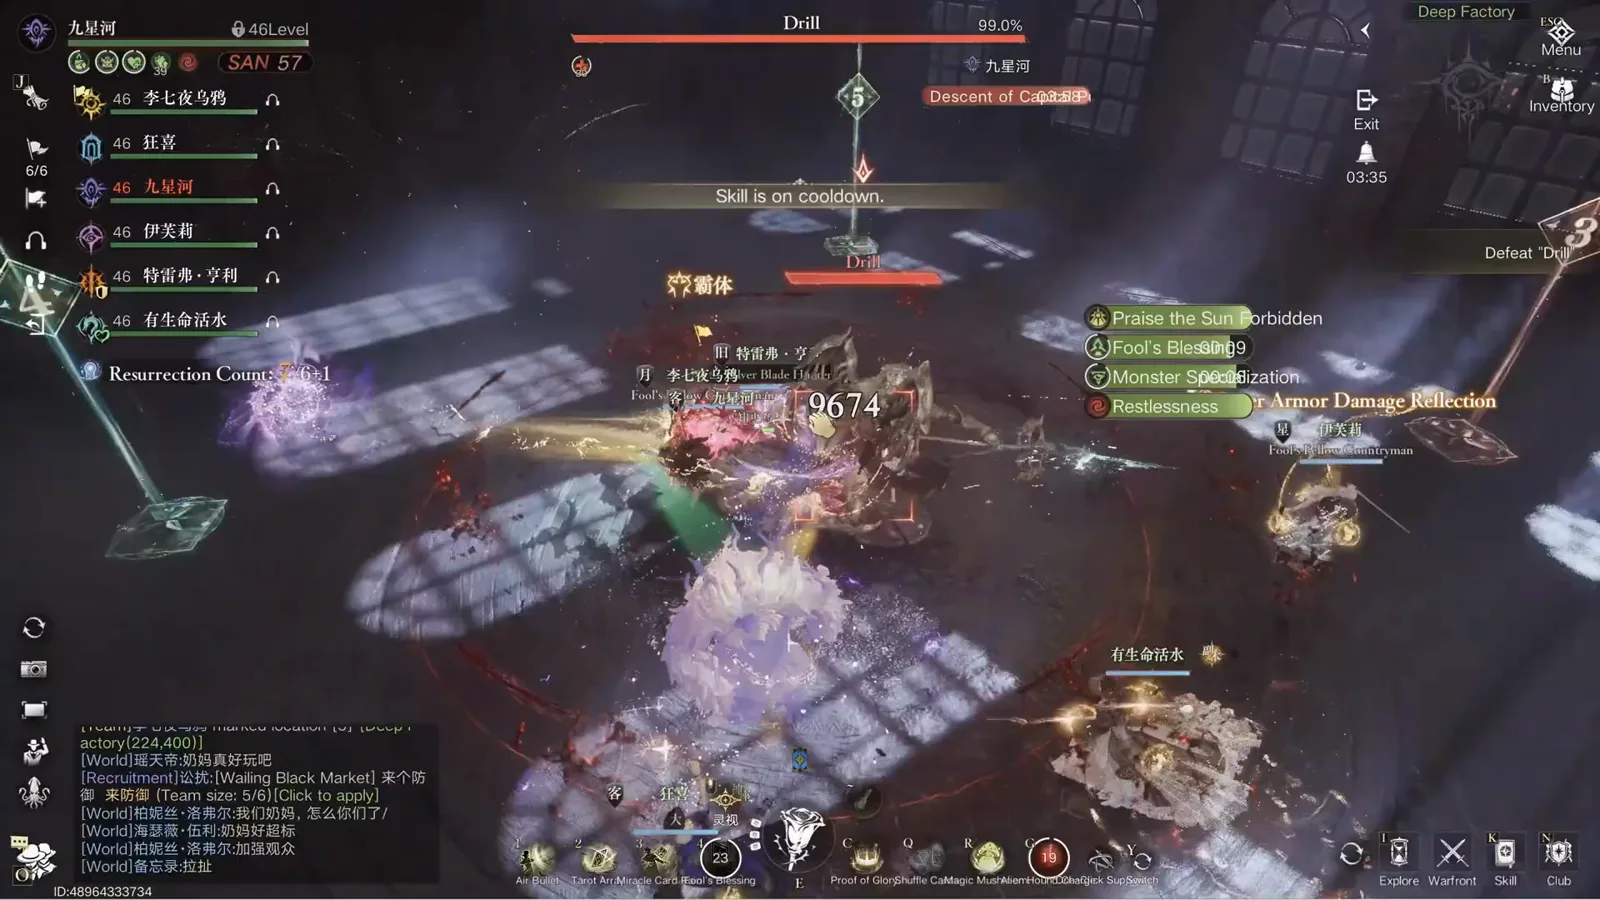
The Drill is a six-player level-46 encounter at the end of the Deep Factory dungeon — the arena header and the party frames in the footage both read 46Level. The narrator's framing: compared with the first Memory boss this one is a DPS check rather than a mechanic check, so the party that shows up with damage will go far. Still, queue discipline matters — the recruitment spam in the chat window is literally asking for one more for this exact boss.
Boss bar at 99%, six frames on the left, resurrection counter bottom left — the damage race is on.Watch from 0:05 - 02
Preset the numbered waypoints before the fight
Before anyone touches the boss, the party leader must place the numbered waypoint beacons around the arena. They look like decoration during stage one, but they are the stage-three circuit: the energy relay is run between these exact markers, and the narrator repeats the warning — they must be set before the battle starts, not during it.
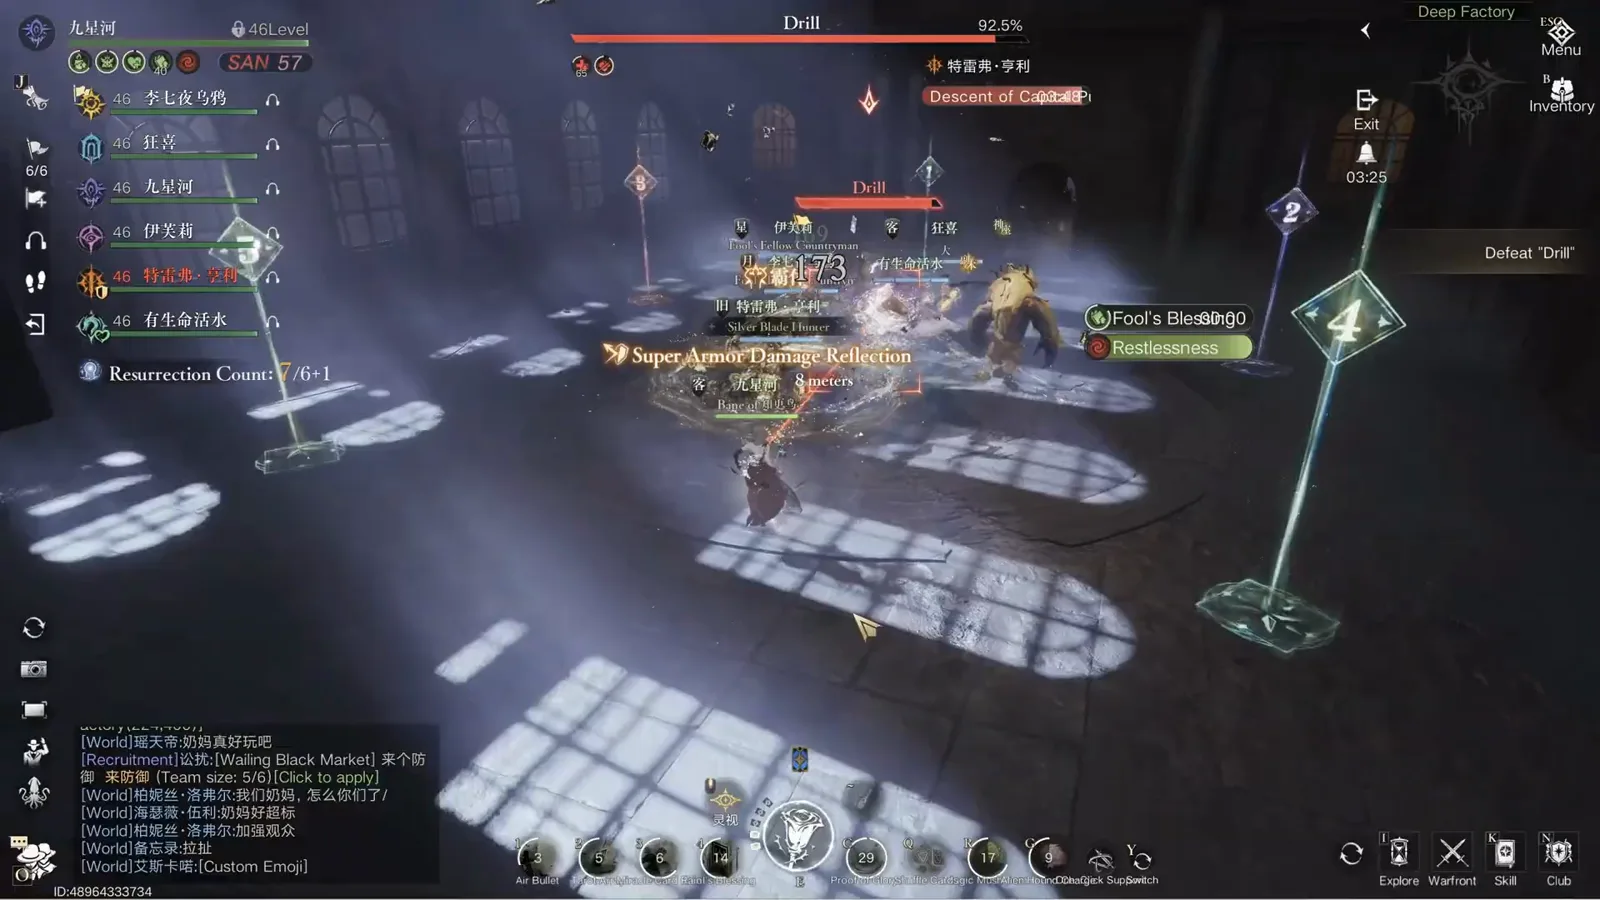
The numbered beacons standing around the room are your stage-three stations — place them before the pull.Watch from 0:15 - 03
Stage one: stack up, burn, and dodge
Stage one asks for exactly two things: keep DPSing the boss, and dodge whatever you can. The footage shows the party piled on the Drill with raid buffs rolling — Praise the Sun, Bastion Power, a timed Attack window. Uptime is the currency here; every clean second of damage shortens the later race.
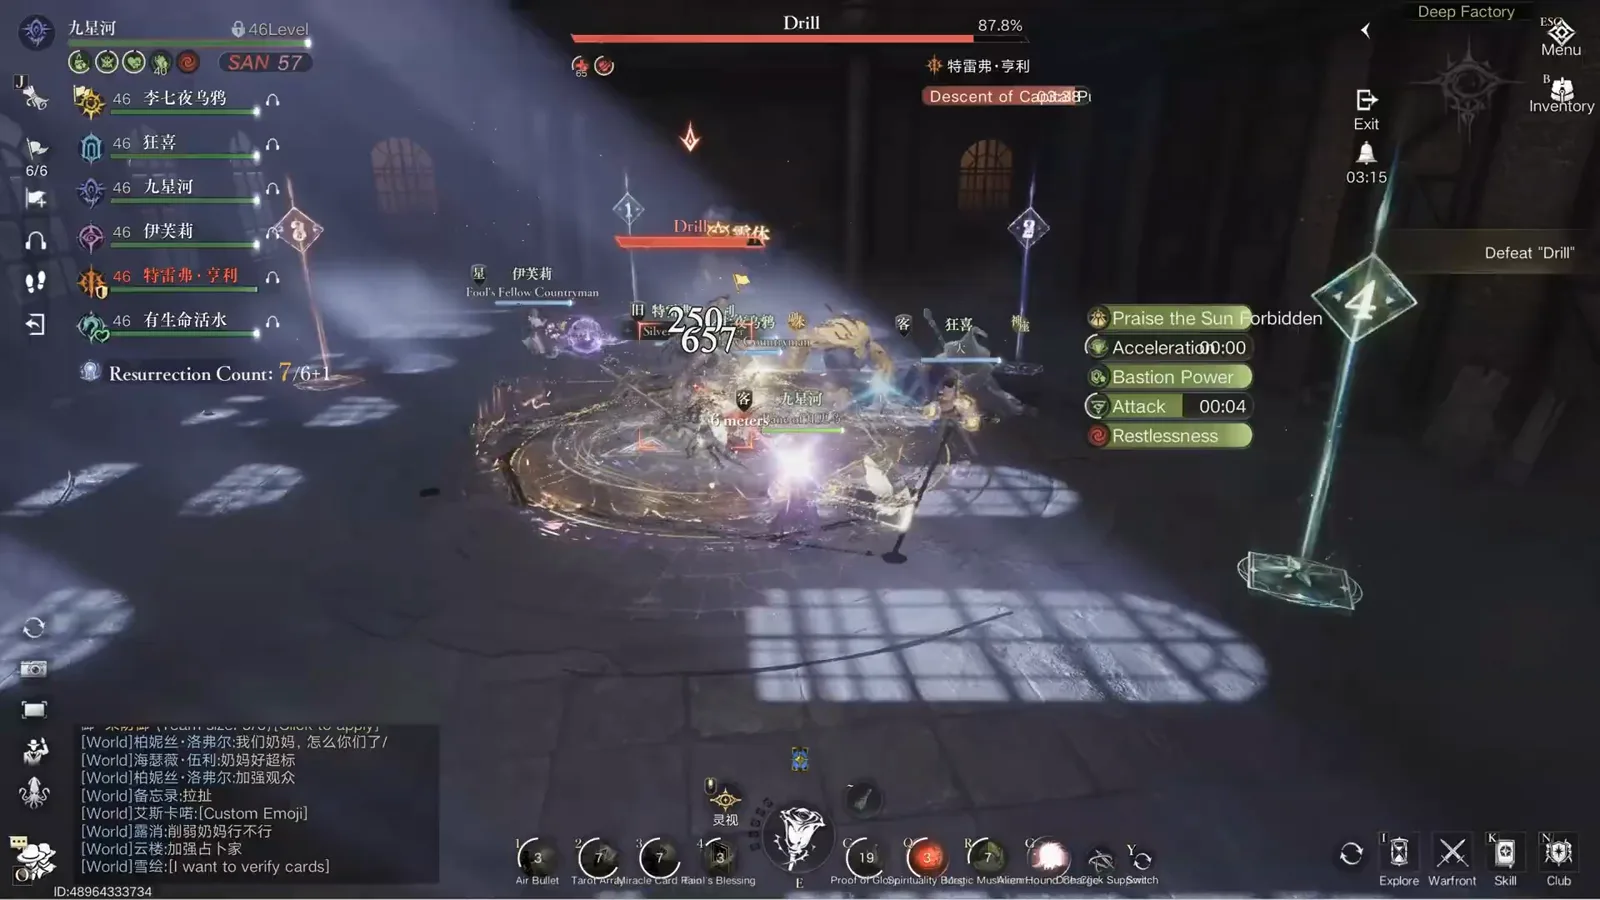
Stage one rewards uptime: everyone on the boss, buffs rolling, sidestep the telegraphs.Watch from 0:25 - 04
Overload: five hits and you die, whatever your HP
Layered on top of the normal damage is the fight's kill rule: every boss skill that connects adds an Overload stack, and the narrator is explicit — take five of his skills and you are instantly killed regardless of your HP. The counter is right there in the UI (Overload x/5 stacks over the players). Greedy casters standing in telegraphs are the main way parties bleed revives here.
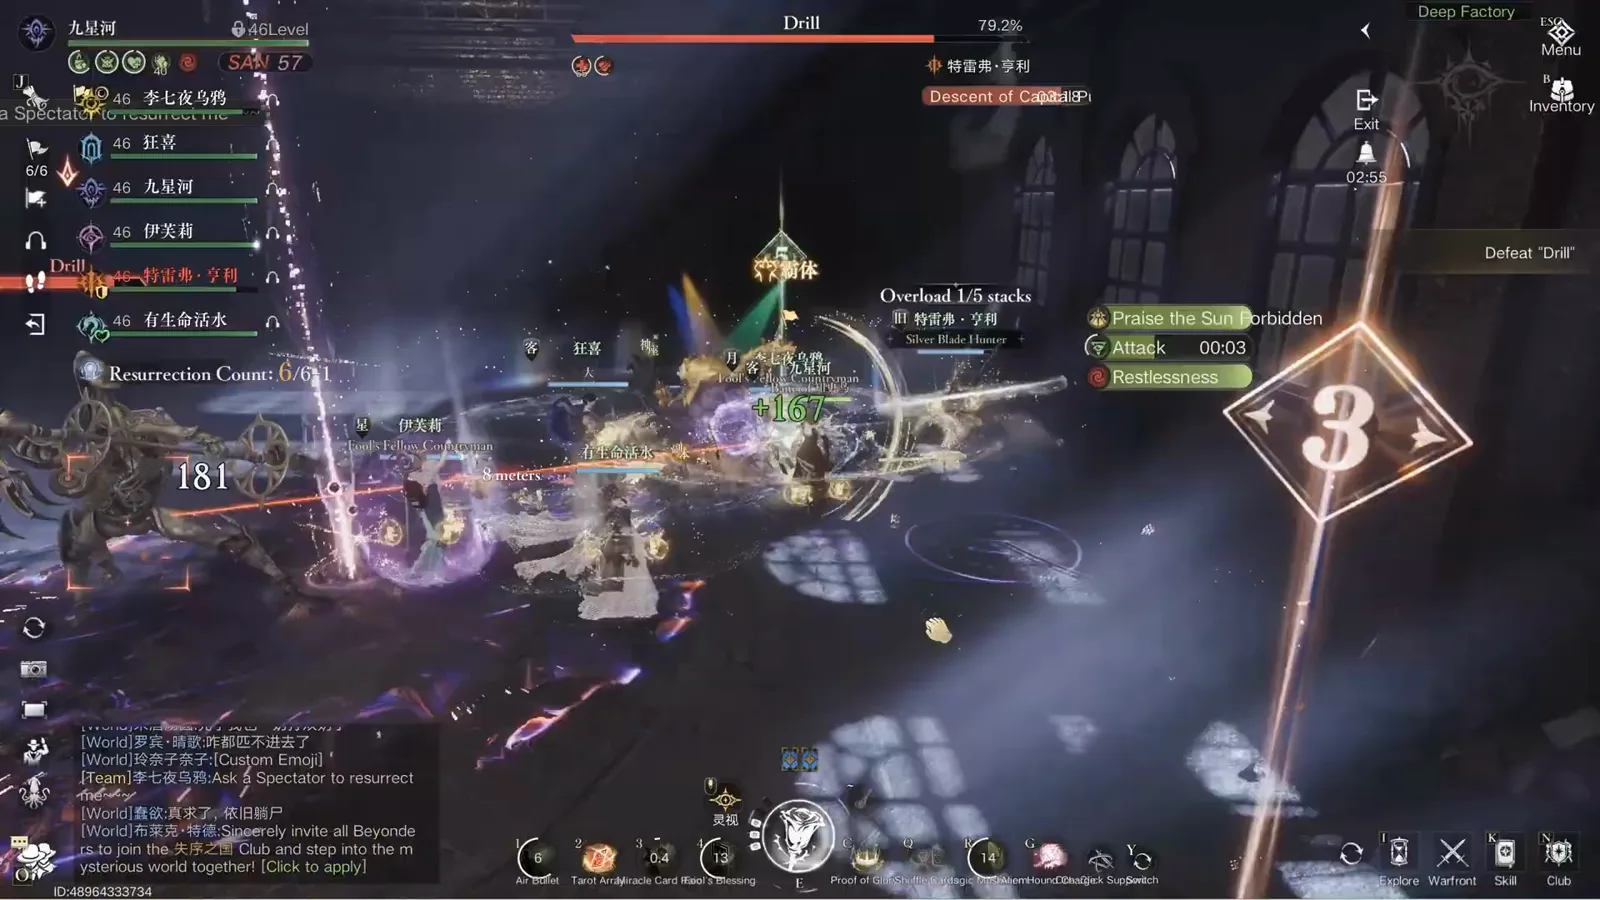
The game counts every hit. Five stacks, one instant death — move first, cast second.Watch from 0:45 - 05
Stage two: the map-wide four-direction laser
When the boss fires a map-wide attack facing all four directions, stage two begins. A laser lances out and then starts rotating in one direction — the narrator's one-word strategy is keep moving. This is also where Overload stacks quietly climb for anyone who tries to stand inside the rotation.
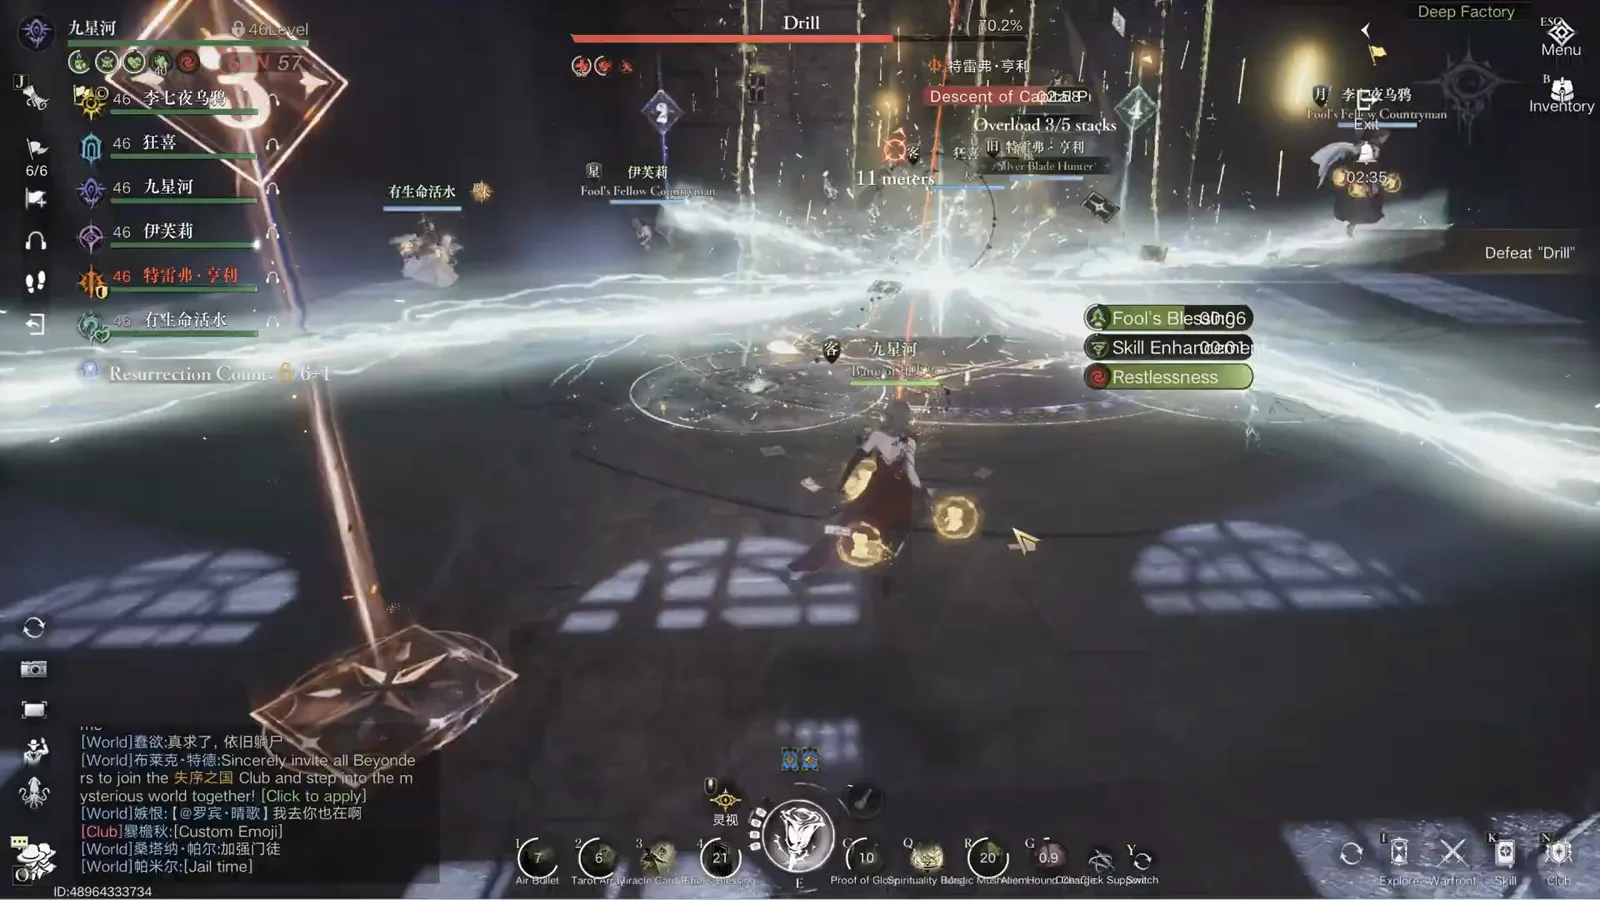
Four directions first, then the beam starts sweeping — strafe, cast on the move, never park.Watch from 1:05 - 06
The laser stops, then comes back faster
The trap: the rotation does not last forever in one direction. The boss eventually stops, snaps into the counter direction and accelerates to a much faster speed — players who matched the first rotation's pace get caught by the return sweep. The red sector on the floor marks the danger lane; the Million Volts cast is your cue to already be moving.
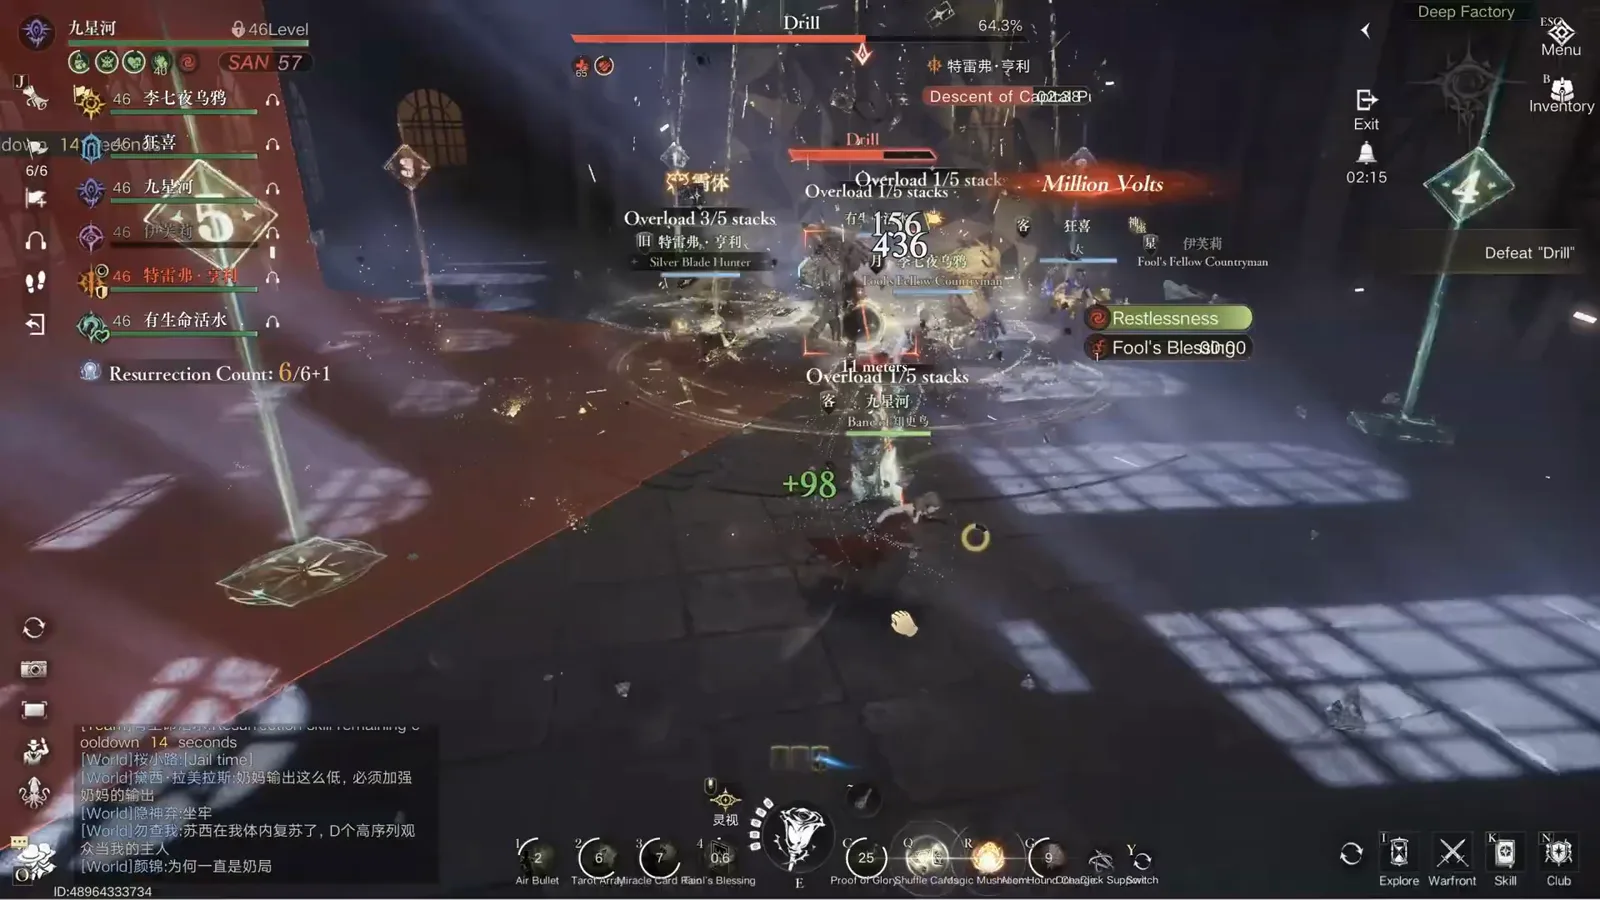
Stop, reverse, accelerate — the second sweep is the killer. The red lane is where you don't stand.Watch from 1:25 - 07
Lightning floor: the pool phase begins
When lightning floors start rising from the ground, the fight pivots again. Five energy pools sit around the arena, and the job changes from dodging to kiting: whoever the boss is targeting has to position so the next charge runs through a pool. The narrator's warning frames the stakes — keep missing and the boss may never break.
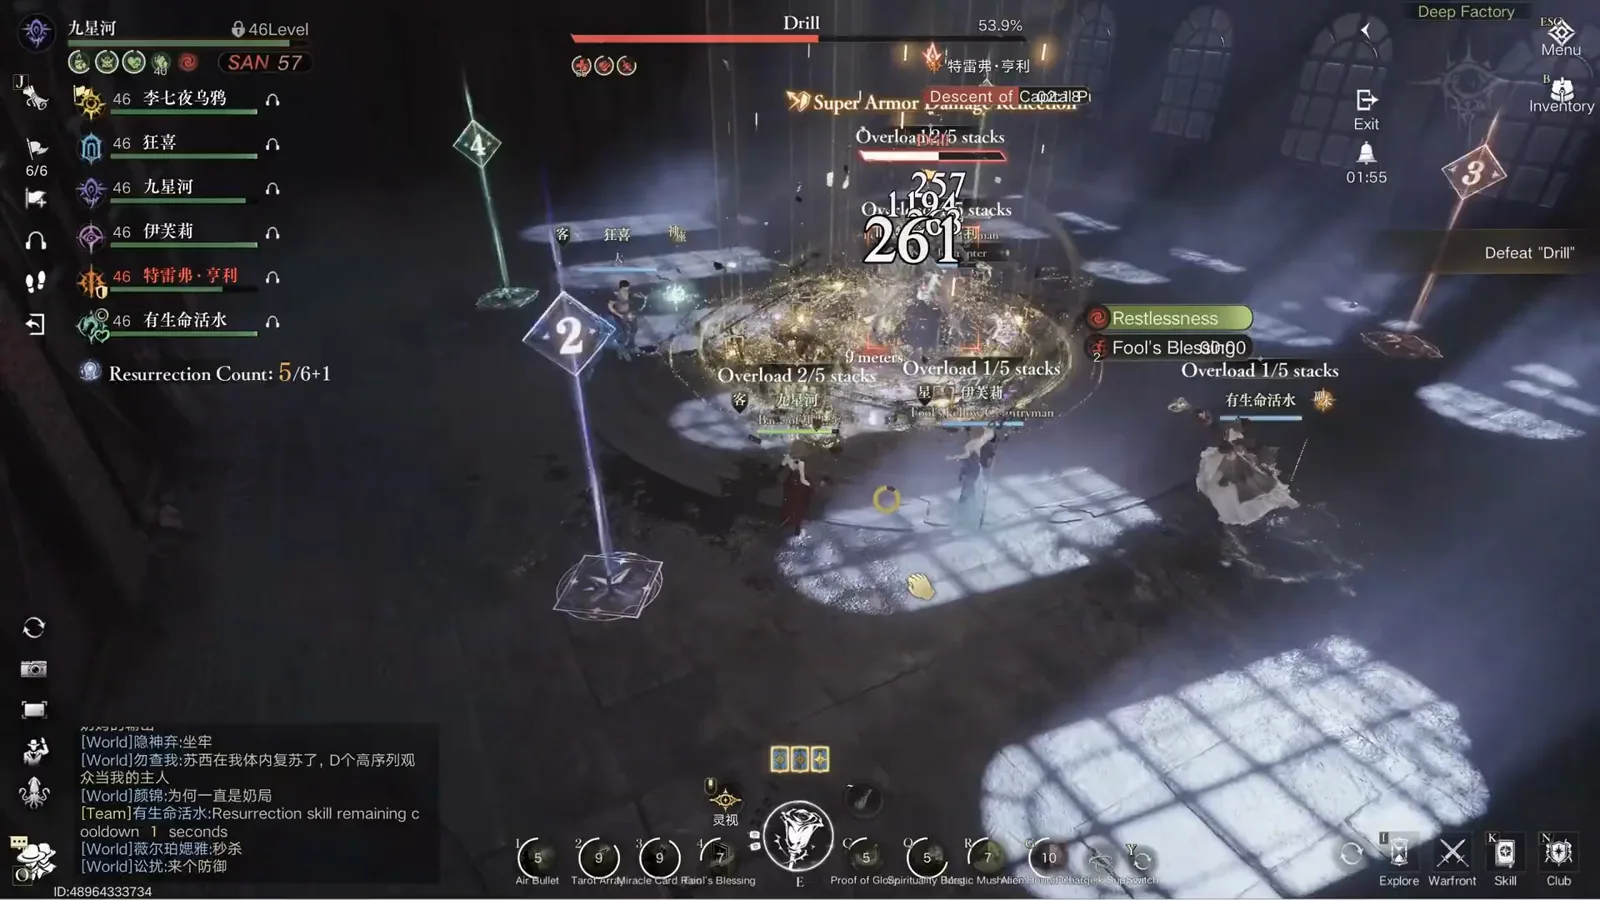
Lightning rising from the floor is the phase change — from here on, someone is bait, not a tank.Watch from 1:45 - 08
Lure the Drill into a lightning pool
The game states the objective in plain text: Lure the Drill into the lightning pool to make it overload. The targeted player kites the boss's charge through a pool, and the Drill Overload counter at the bottom of the screen (reading 0/4 in this frame) tallies the successful soaks. Per the narration, the boss needs to hit a total of three pools to reach its breaking stage — every missed lure is time off the enrage clock.
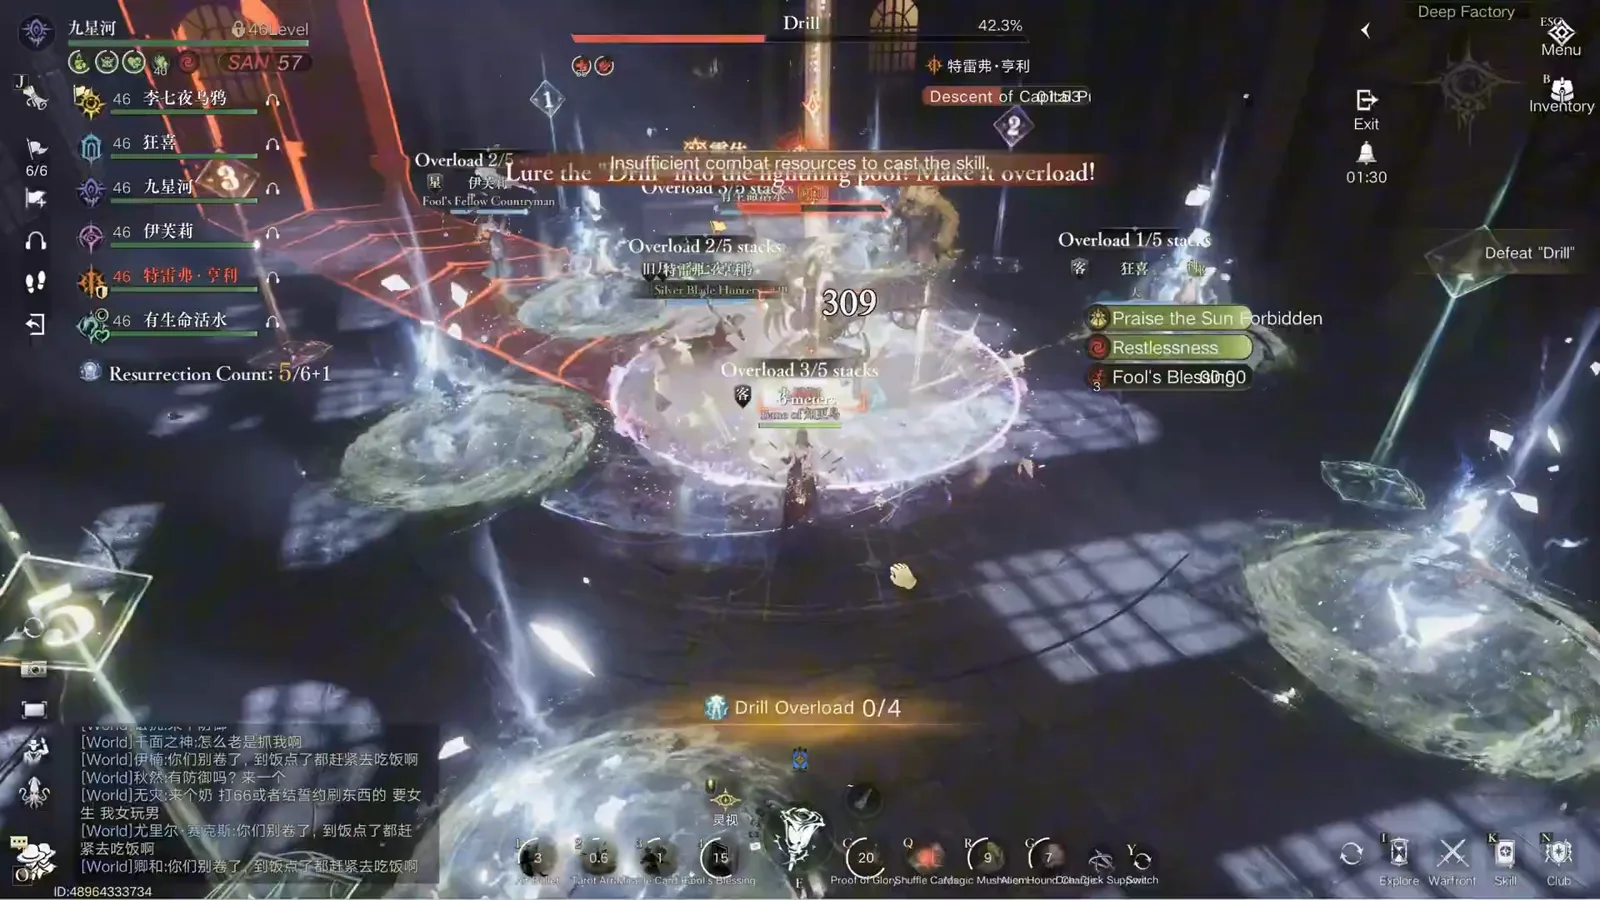
The objective is printed on the screen — kite the charge through a pool and the counter ticks.Watch from 2:10 - 09
Feed the pools until it overloads
The lure rhythm continues under pressure: boss locks a target, target lines up a pool, the charge lands, Overload climbs. Meanwhile Million Volts keeps storming the arena, so the kiters are dodging the same sky-wide lightning they are using as a weapon. This frame catches the storm at its peak with the boss already below a third of its health.
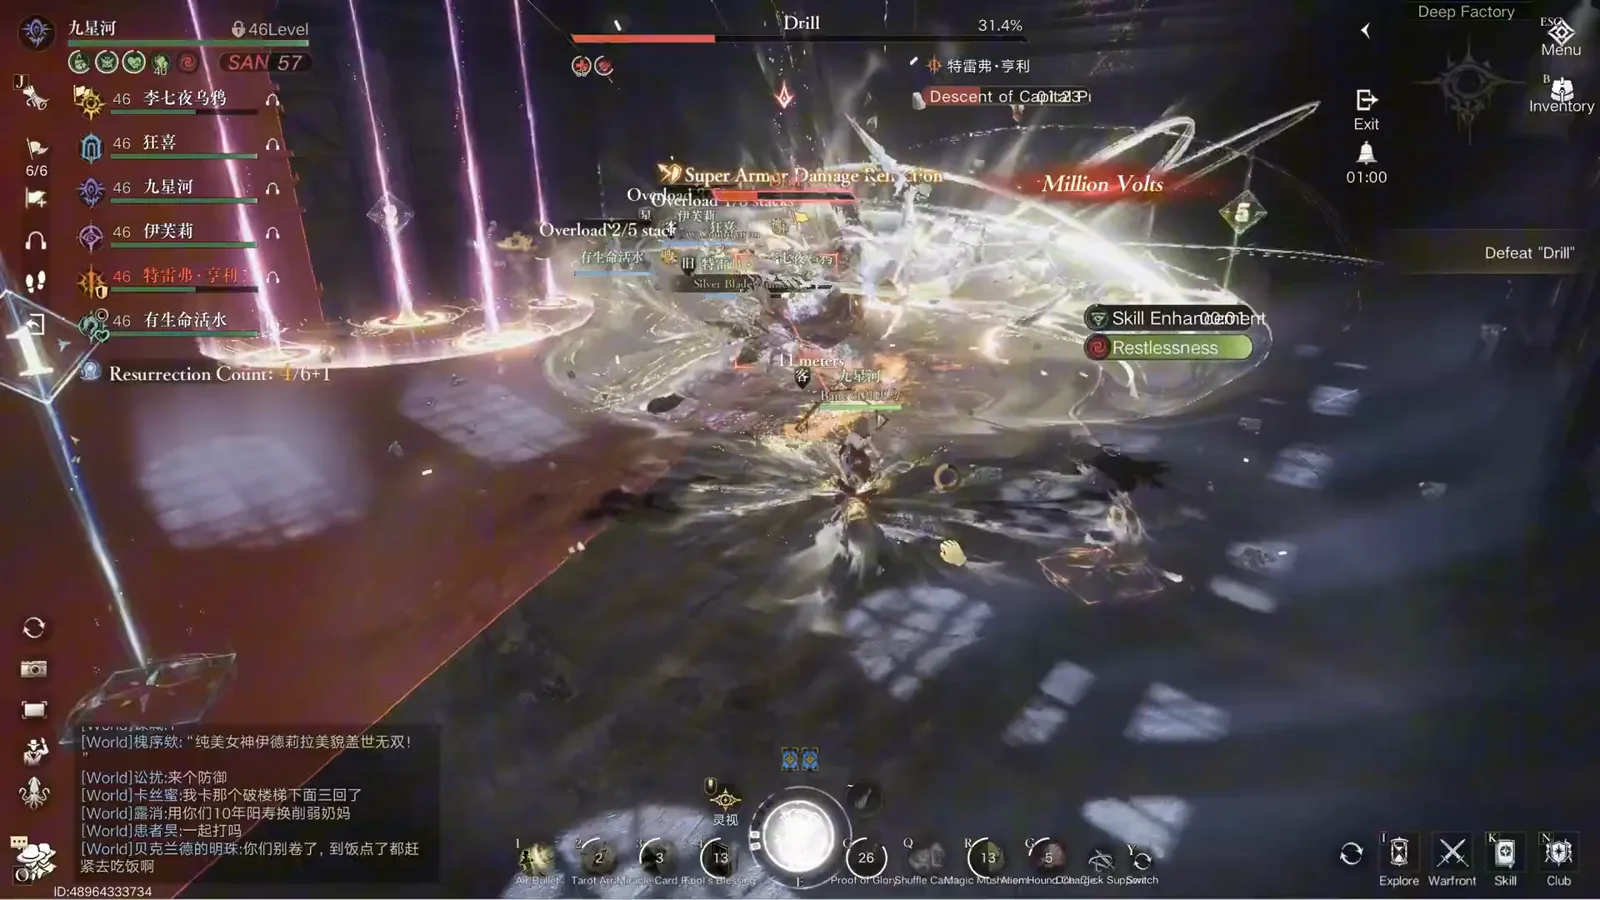
Third pool is the break point — keep the kites clean while the storm rages around you.Watch from 2:40 - 10
Stage three: the boss becomes a ball
When the Drill flies up and turns into a ball, stage three begins — and this is what the waypoints were for. The party spreads to the preset markers: two people hold the starting point and pull the energy to the first point, where the other two pull it to the final point. The on-screen line says the quiet part out loud: the current will break if you are too far from the holy beacon.
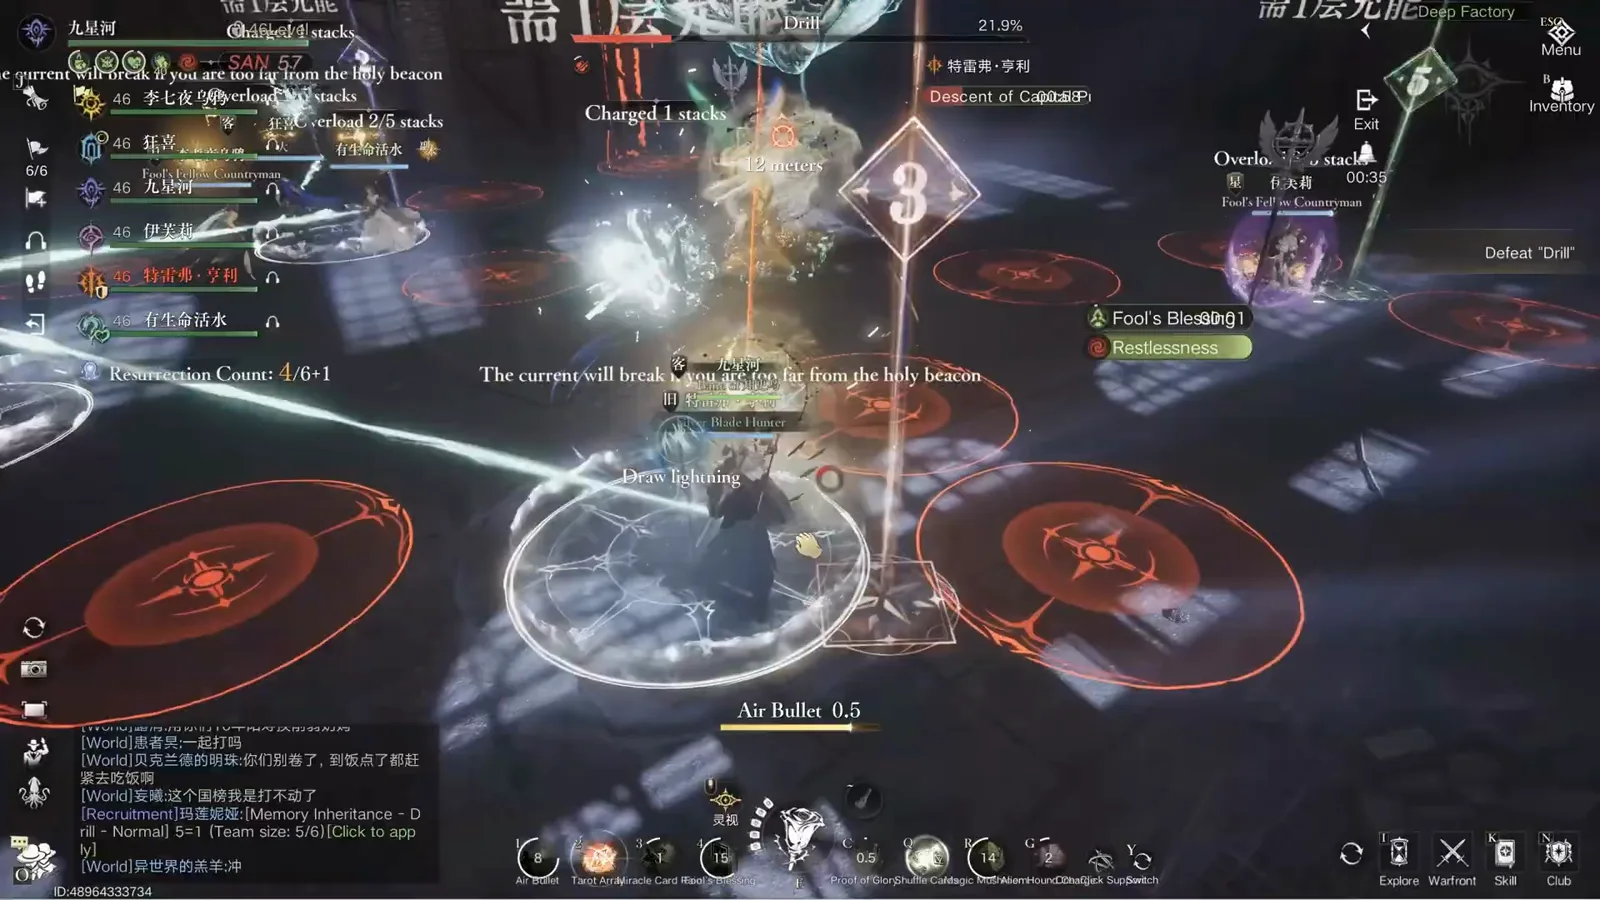
Ball form means energy relay — your preset waypoints are the circuit, and the red zones are where the current arcs.Watch from 3:05 - 11
Break: Barrier successfully broken
Run the circuit fast enough and the banner flashes: Barrier successfully broken. The boss crashes down out of its ball form into the burn window. Fail the timing and there is no banner at all — the narrator's version of failure is an instant kill, so this is the one mechanic where slow is the same as dead.
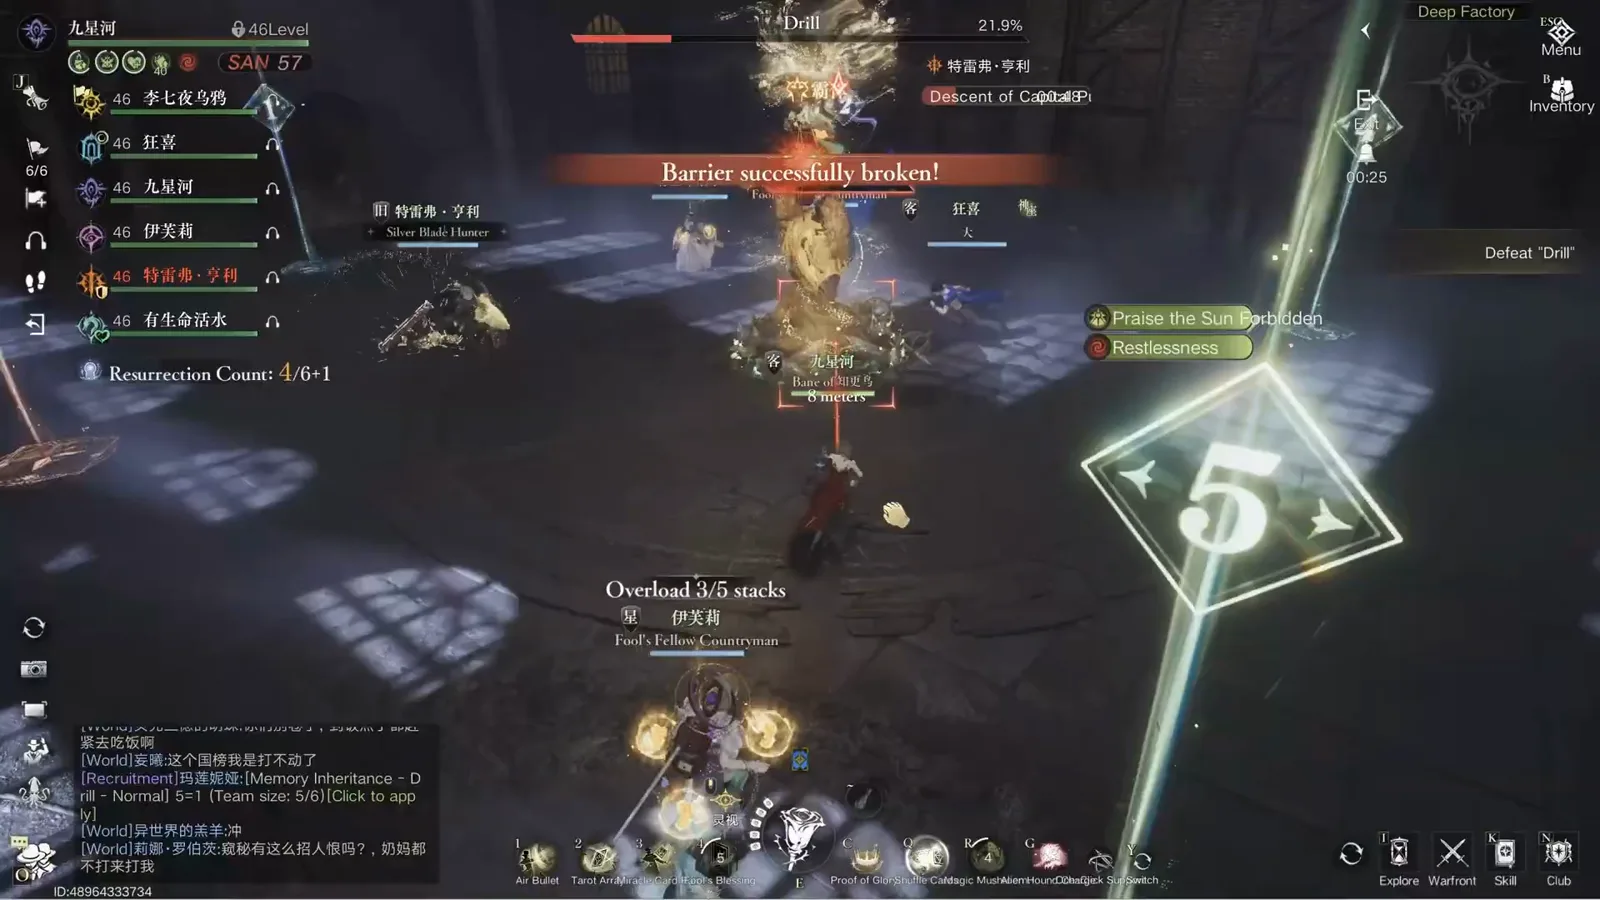
That banner is the green light — the DPS race starts on the next global.Watch from 3:15 - 12
The burn: heal through the raid-wide pulses
The broken boss is not harmless — it pulses area-wide damage while the party chews through its last percent, and the game helpfully spells out the job split: Beware of area-wide damage! Pay attention to healing! Healers ride the pulses, damage dealers commit everything, and the health bar in the footage (9.7% here) drains visibly faster than the timer.
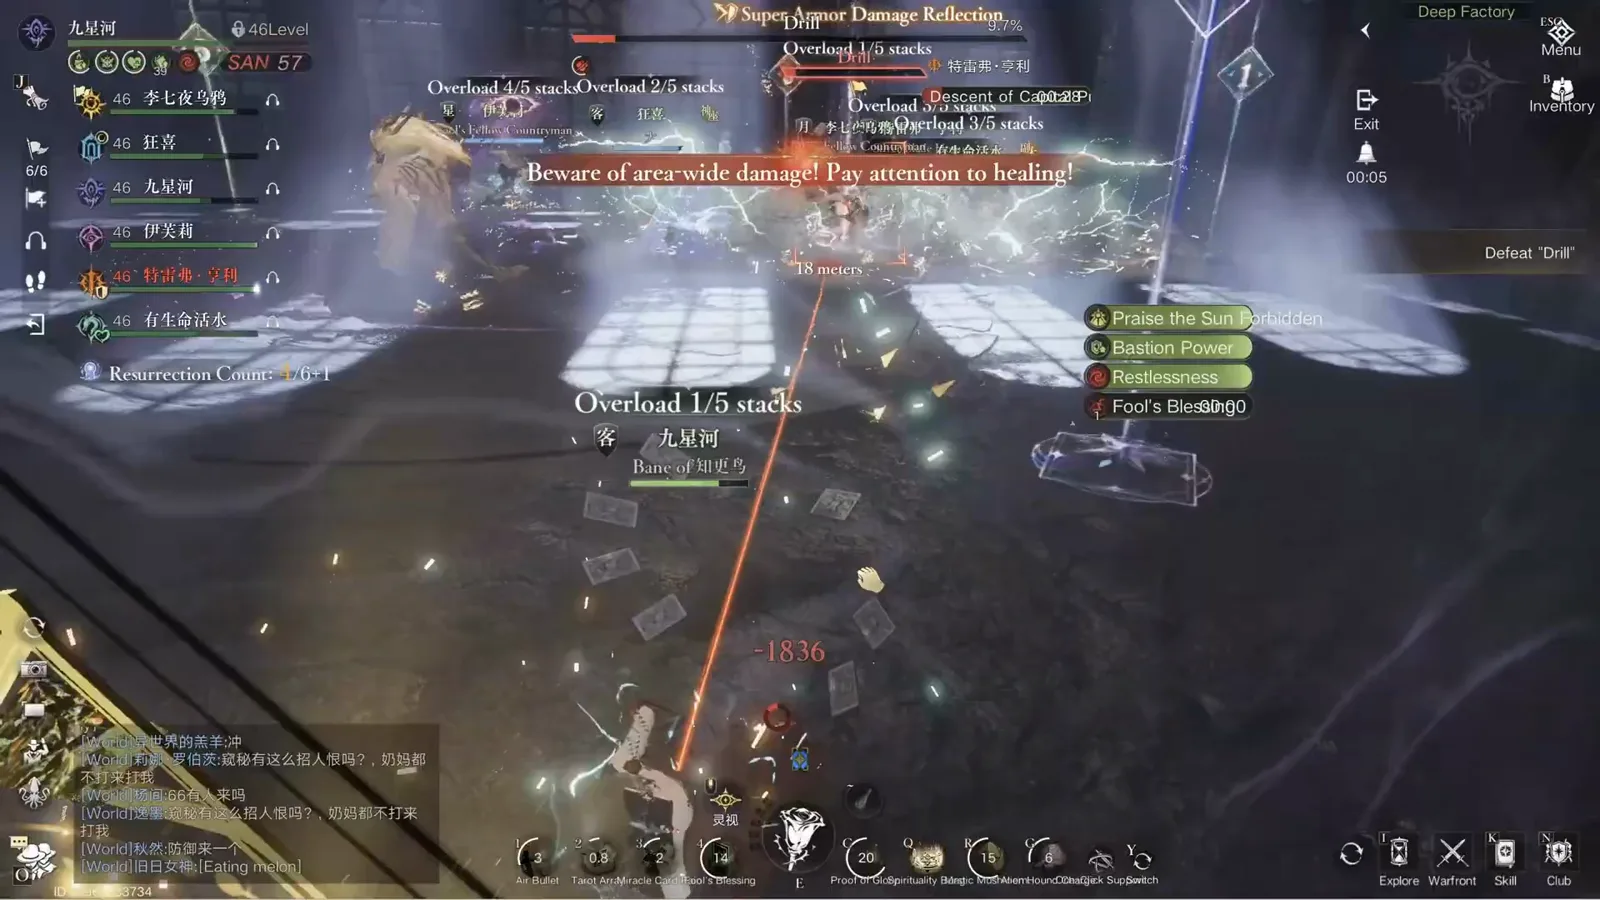
9.7% and the raid is bleeding — heal through the pulses and keep the damage flowing.Watch from 3:35 - 13
Last call: every cooldown goes out
Single digits. This is where the DPS-check framing earns its keep: burst windows, ultimates, anything with a cooldown left in the bar goes out together. The frame is chaos by design — four different players carrying different Overload counts, damage numbers stacked on damage numbers, and the boss at 4.6%.
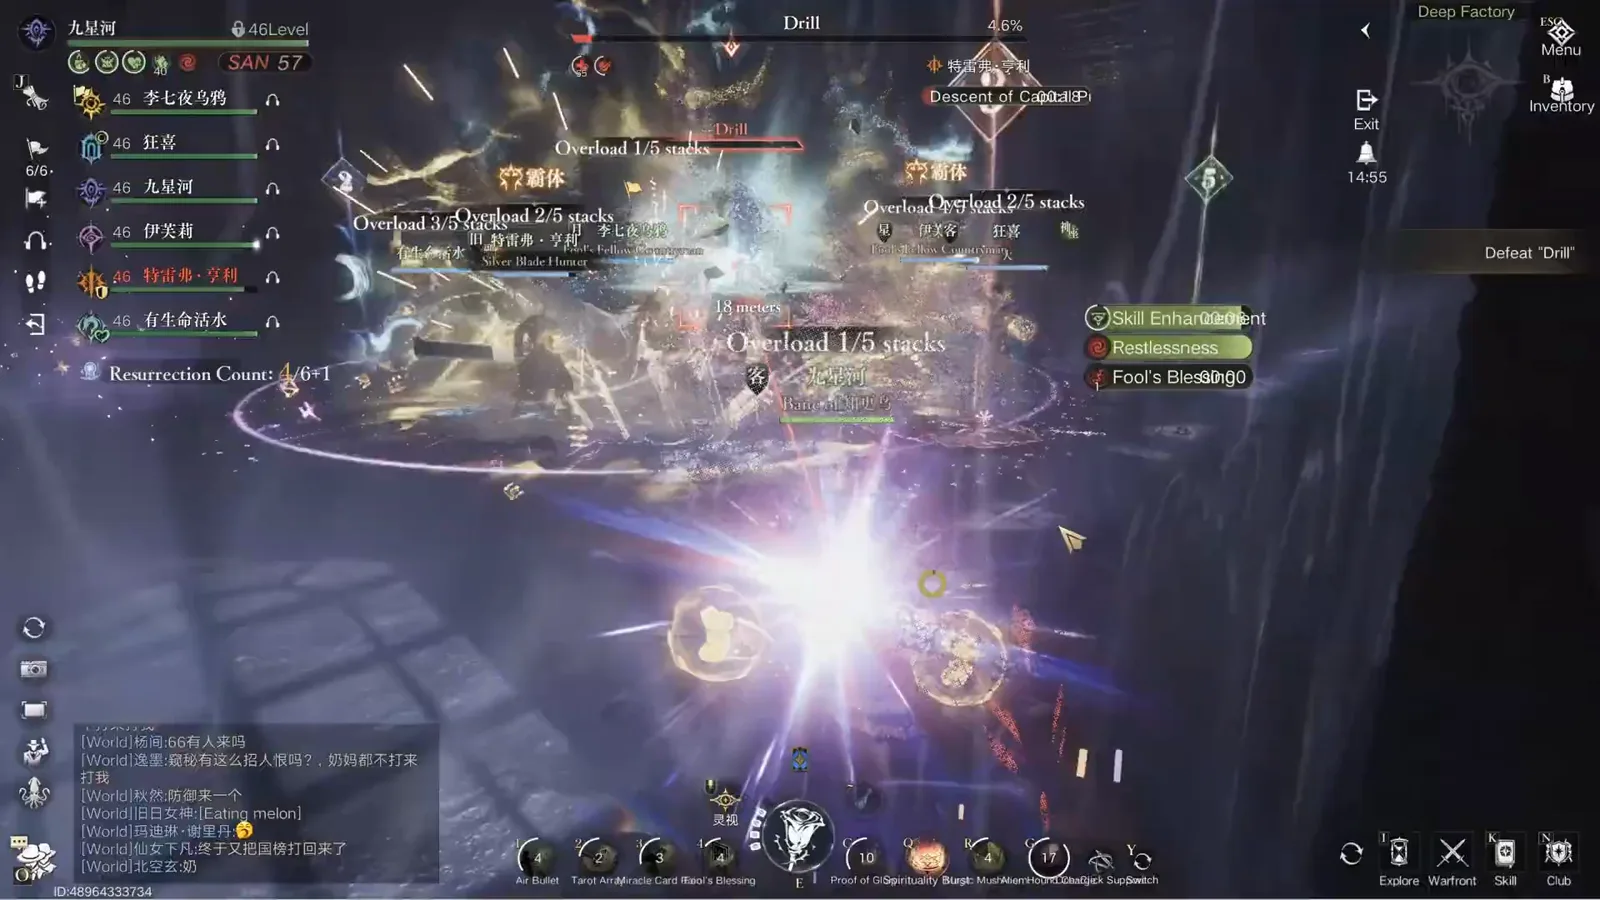
Everything on the table — the last few percent decide the clear.Watch from 3:45 - 14
Zero point five
The Drill touches 0.5% and the arena quiets. Whatever was saved for the end of the rotation lands here, and the fight that began as a simple damage check closes the way it opened — with the party standing on the boss, hitting it until the bar empties.
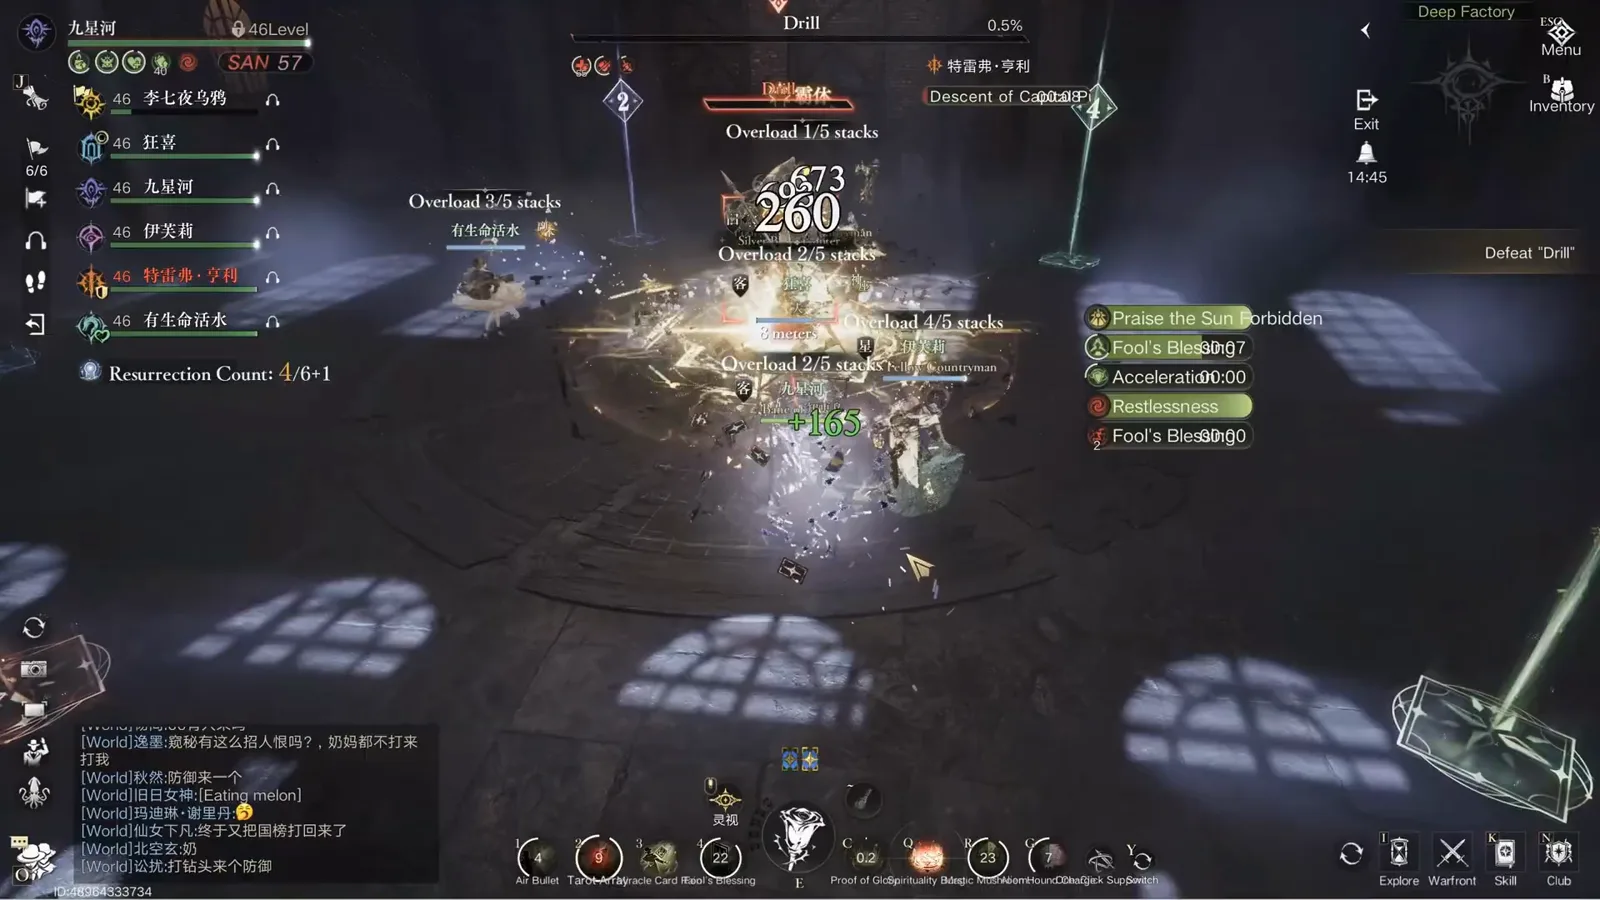
0.5% — one more global and the codex closes this entry.Watch from 3:55 - 15
Clear: Bright Star, 430,536 damage
The boss falls and the MVP screen answers the narrator's thesis — 璀璨星辰 (Bright Star) for the top damage dealer of the run, with a final tally of 430,536 damage. The mechanics opened the window; the damage finished the job. A party that presets its waypoints, respects the Overload counter and saves its burst for the post-break race will see this screen.

Bright Star, 430,536 damage — the DPS check passes.Watch from 4:08
Visuals and mechanics both come from the single M Y A N E E recording above — one video is the whole dossier. Figures such as five Overload stacks, five pools, three pool hits to break and the four-player relay are this footage's own measured or narrated numbers.
Drill Boss — Frequently Asked Questions
- Q1.What level is the Drill boss and where does it live?
- It is the Lv46 boss of the Deep Factory dungeon, fought by a six-player party — the footage shows the whole group at 46Level inside the Deep Factory arena.
- Q2.Is the Drill boss a mechanics check or a DPS check?
- Per the source video, mostly a DPS check — the narrator calls it easier than the first Memory boss because the mechanics are forgiving. The mechanics still gate the fight: five Overload stacks kill anyone, and the stage-three relay wipes on failure. The wall most parties hit is the post-break burn timer, which is raw damage.
- Q3.How does the five-hit instant kill work?
- Each boss skill that hits you adds one Overload stack, shown in the UI as Overload x/5 stacks. The fifth connecting skill kills instantly regardless of your remaining HP — so dodging is not about healer mana, it is about staying alive at all.
- Q4.How many lightning pools does the boss need to hit?
- The narrator counts three pool hits to reach the breaking stage. The in-game counter in the footage reads Drill Overload x/4, so treat four successful pool soaks as the UI-confirmed maximum and keep luring until the Barrier successfully broken banner appears.
- Q5.What happens in stage three when the boss becomes a ball?
- The boss flies up and turns into a ball, and the party runs the energy relay across the waypoints placed before the pull: two players at the starting point pull the current to the first point, and two others pull it from there to the final point. The UI warns that the current breaks if you stand too far from the holy beacon — and a failed relay is an instant kill.
- Q6.What happens after the barrier breaks?
- A pure DPS race. The boss stays vulnerable while the clock runs down, pulsing area-wide damage the whole time — save burst windows and consumables for this window rather than spending them earlier.