Lord of Mysteries Astrolabe User Boss Guide (2026): Garden
The Astrolabe User is the final boss of the Garden wing of May Manor, and the encounter the creator opens by saying you are not supposed to kill it in the first week. It runs one mechanic continuously for the entire fight — a prison of light that swallows a random teammate — and layers team-wiping area attacks on top of it so that every rescue becomes a decision instead of a reflex.
This page is built from one of the earliest successful clears recorded for the dungeon, so the numbers are close to the raw edge of the content: the creator recommends at least 12,000 DPS per player and full voice chat, and treats the fight after that as a consistency test rather than a puzzle with a hidden solution.
Verification rule
[unverified] / 〔待核验〕 marks a detail the footage or cited sources could not confirm — the marker stays inline so you know exactly which claims to double-check.
Mechanic-by-Mechanic Walkthrough With Frames
Key Takeaways Before You Pull
- ◆One player is trapped in a prison of light for the whole fight; failing to break it in time kills them instantly.
- ◆Most prisons overlap a team-wiping attack — saving the trapped player is a positioning decision, not a habit.
- ◆The creator recommends 12,000 DPS per player and the entire party on voice chat.
- ◆Separate the False Servant from the boss; if you do not, its flame circle burns 40% of your HP every second.
- ◆The third attack has no red ground marker. You read the meteor lane and jump it.
- ◆Normal difficulty has no bodyguard kill quota. Harder modes ask for nine kills or the party wipes at 10% boss health.
Verified gameplay source
Astrolabe User final boss mechanics — early clear recording
- 01
The prison of light runs the whole fight
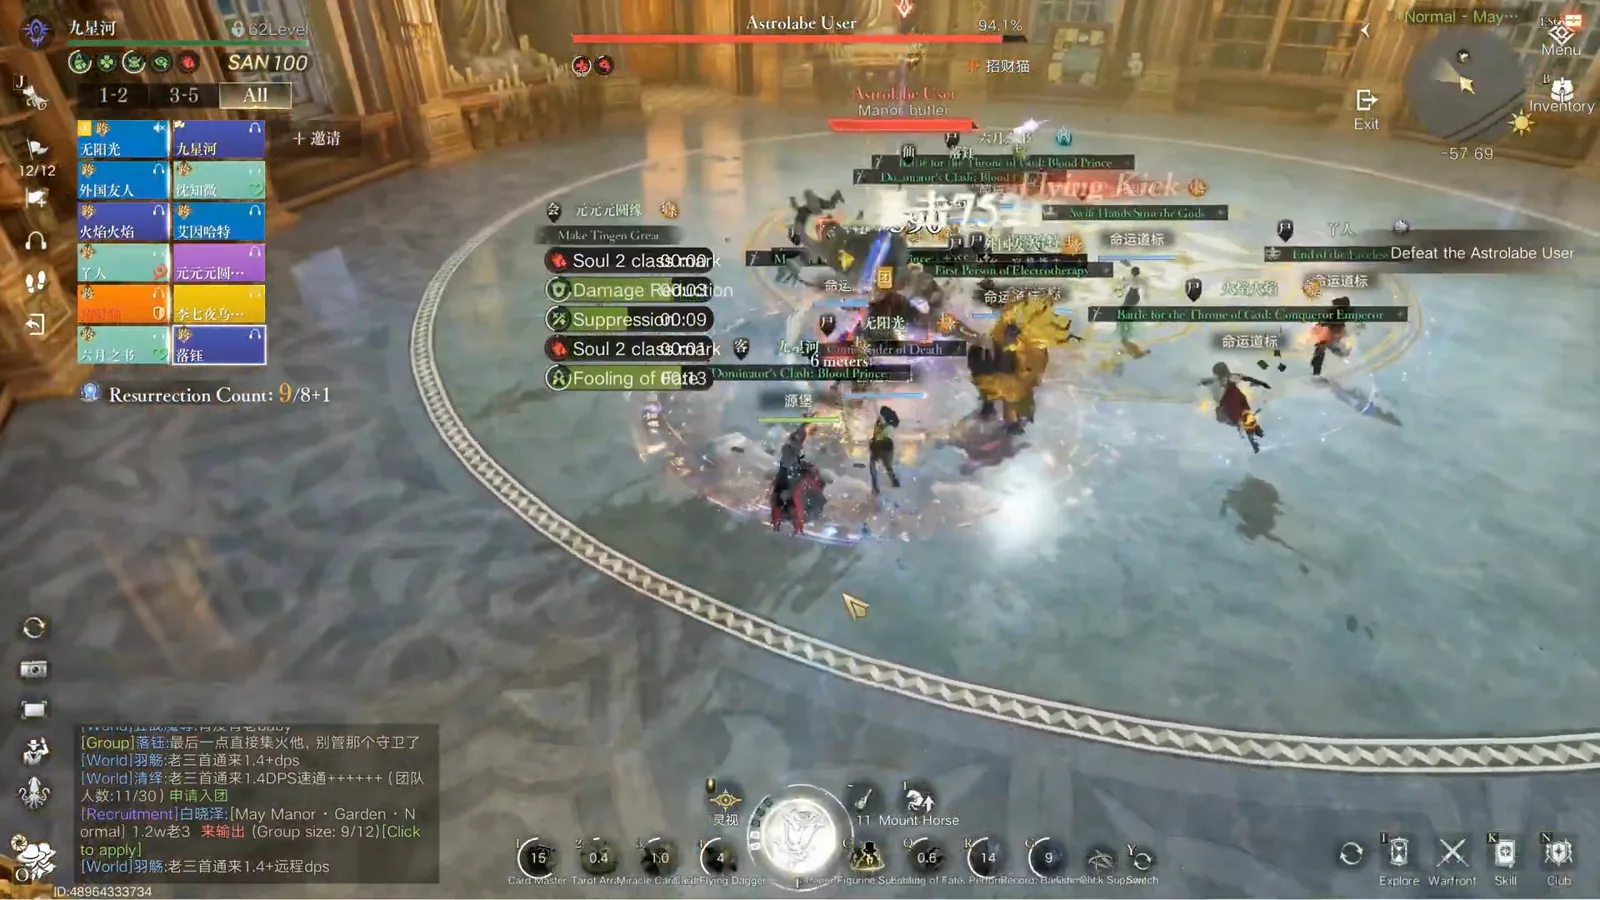
From the pull, the boss continuously traps one teammate in a prison of light. Break it in time and nothing happens; miss the window and that player dies instantly. Most of the time the prison lands while a team-wiping attack is also resolving, so the party is always choosing between the rescue and its own positioning. The "Meteor Missile" cast in this frame is the boss firing that overlapping pressure.
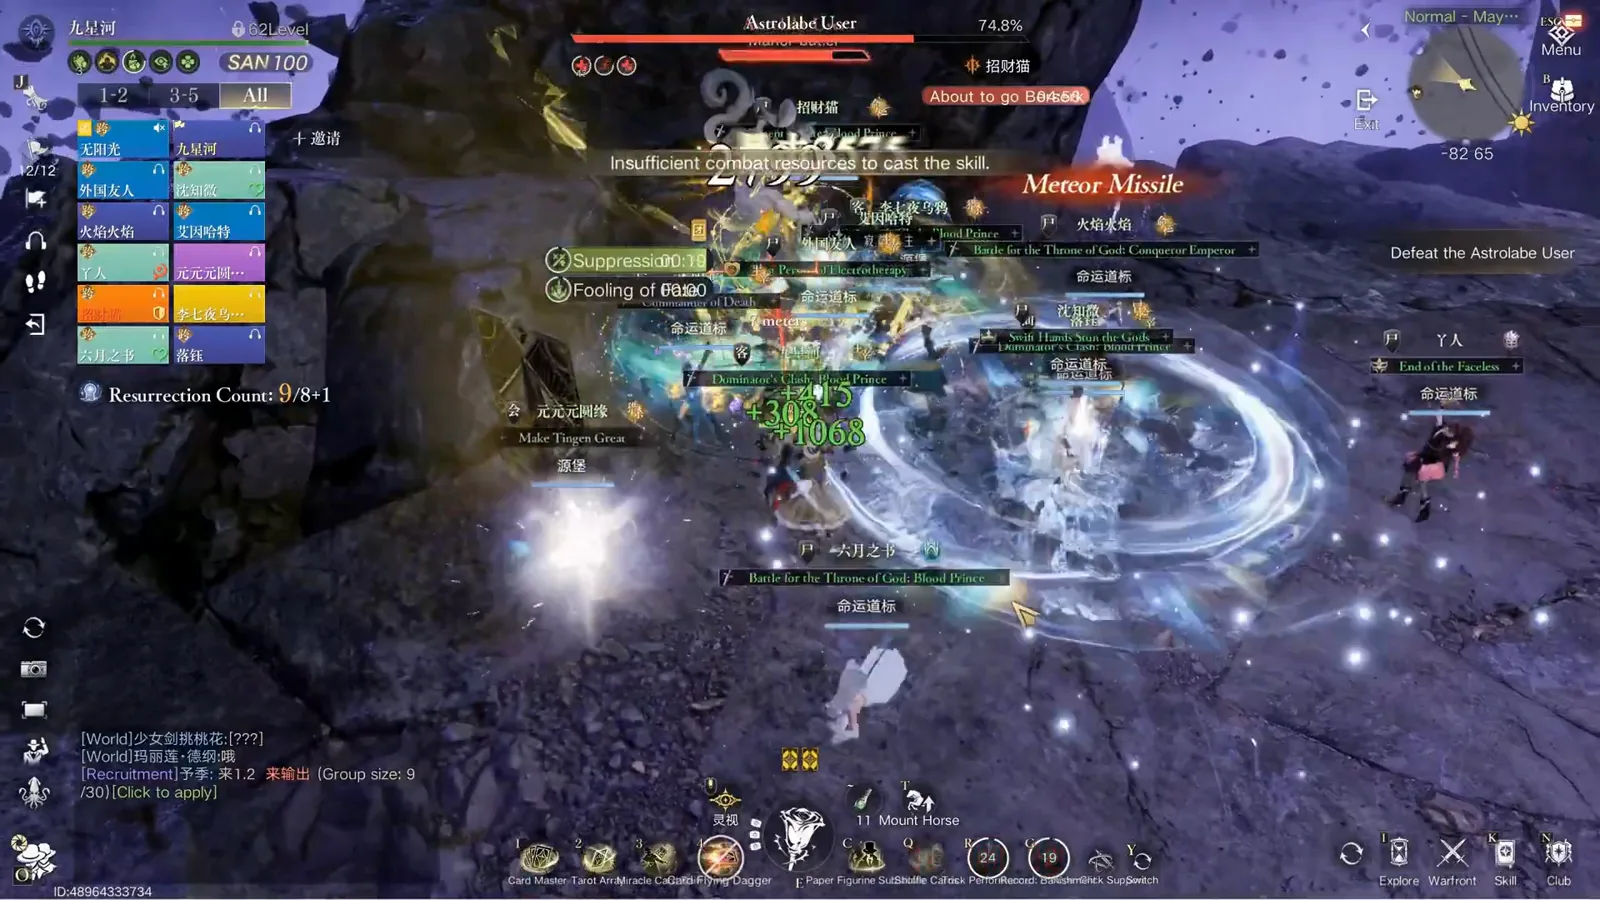
Stage one: a prison cycle and a missile cast, at the same time.Watch from 1:36 - 02
Separate the False Servant from the boss
After the meteor, the raid spawns a bodyguard — the False Servant. Pull it away from the boss and its flame circle disappears; leave it next to the boss and the circle burns 40% of everyone's HP every second. The in-game tip line in this frame says exactly that, and the green beam is the servant's tether landing.
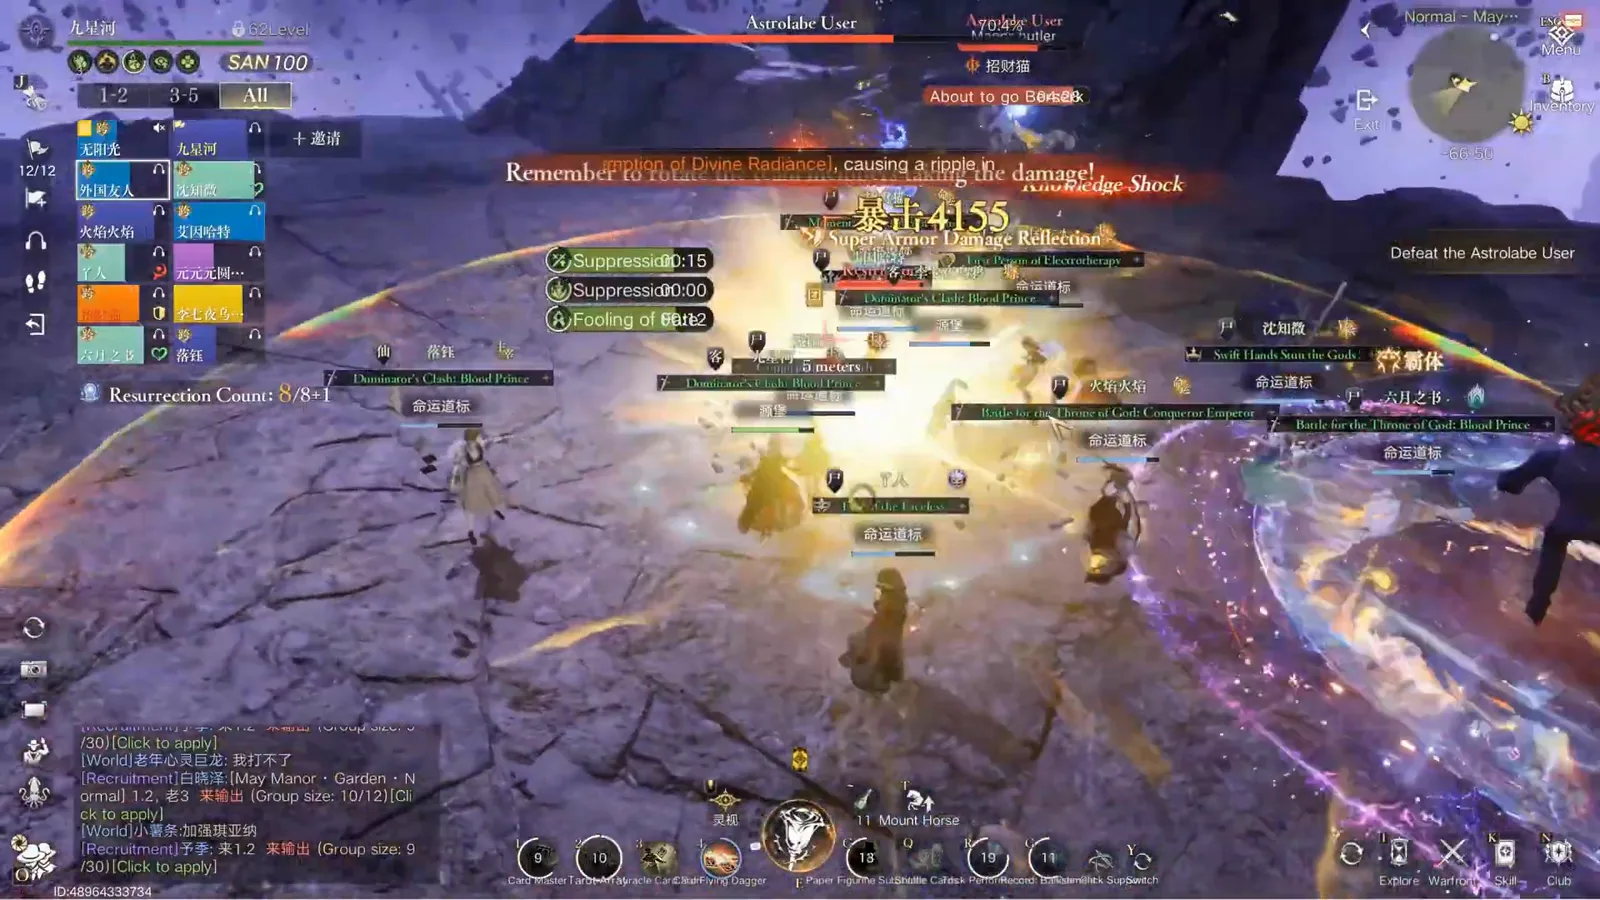
The tip is literal: separate it, or the flame circle eats your HP.Watch from 2:06 - 03
The lock-on: destruction has begun
When the Starlight Guard and the Astrolabe User lock together, the encounter steps up: the boss adds two more attacks on top of everything from stage one, and the party has to keep tracking the prison at the same time. The banner in this frame is the marker for that transition.
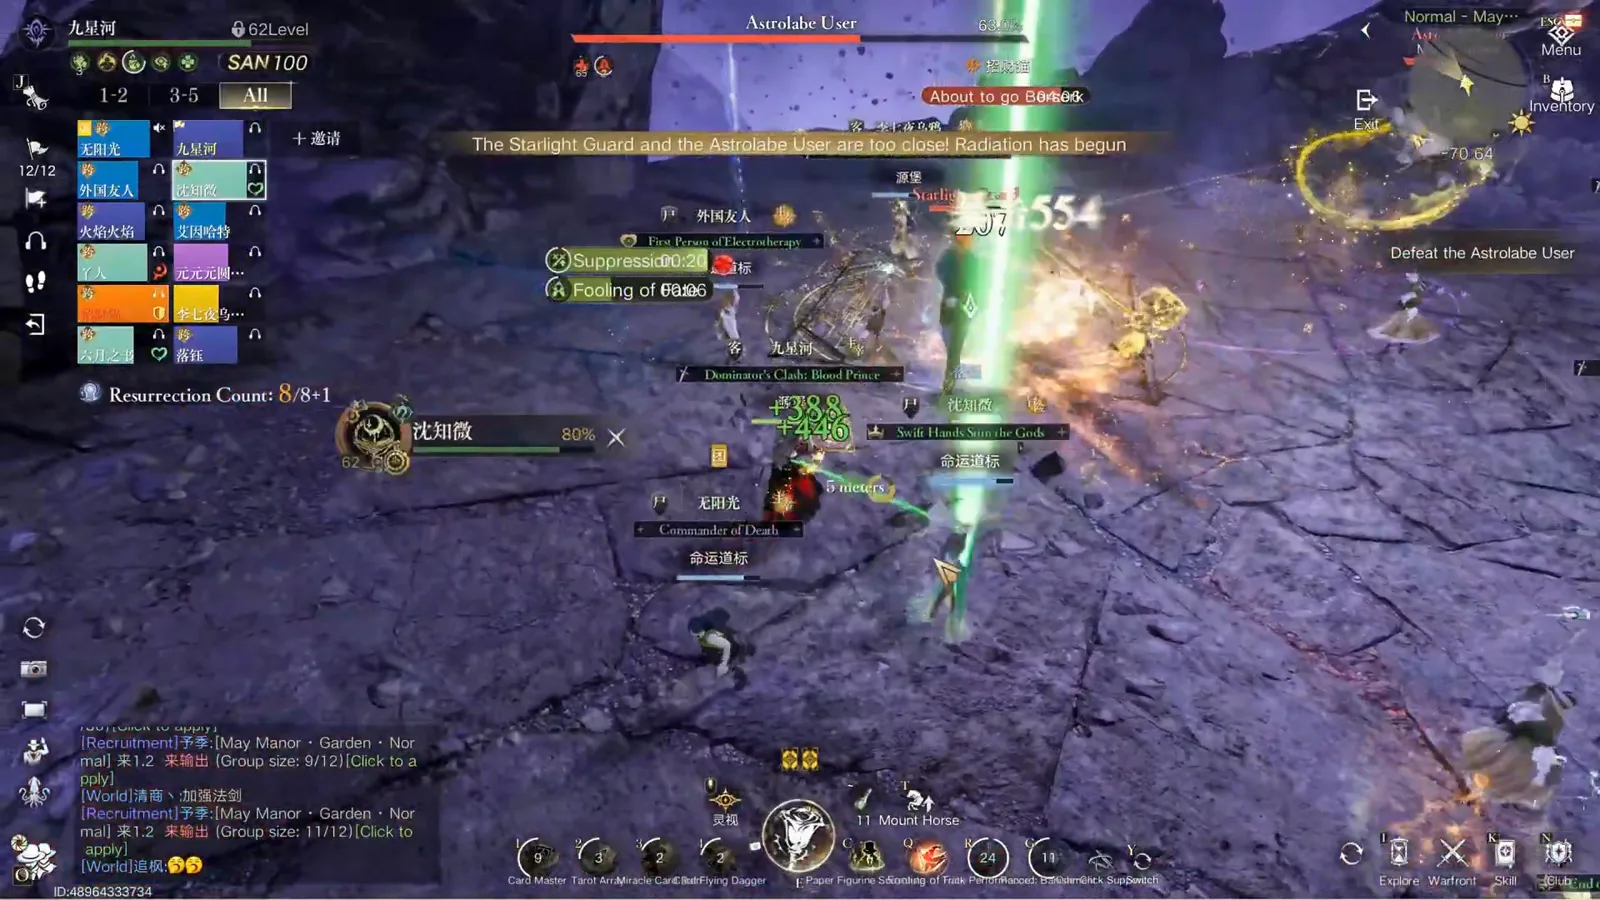
The lock-on banner is your cue that the attack list just grew.Watch from 2:28 - 04
Rescue or eat the wipe — the tradeoff call
This is the decision the fight is built around. Sometimes saving the trapped teammate costs more than losing them, because the rescue route runs straight through every attack the boss is casting. The on-screen prompt in this frame asks the party to remove the restriction and rescue the trapped member while watching the team's health — both halves of that sentence have to be true at once.
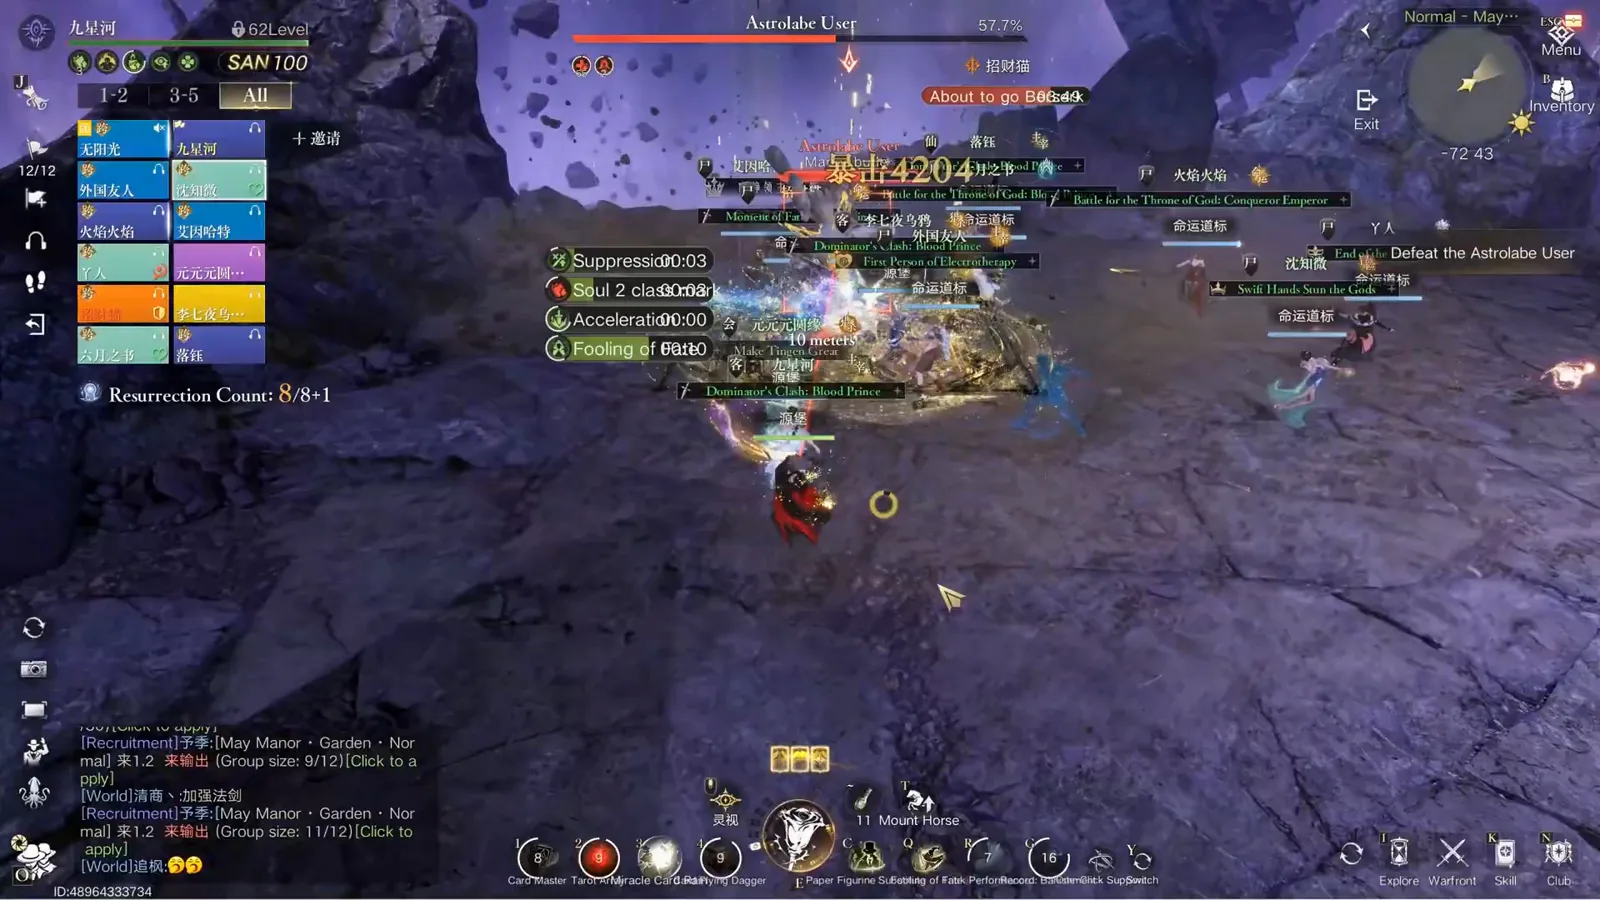
The prompt says rescue. The health bars decide whether you can afford it.Watch from 2:45 - 05
Rotate the players taking the shared damage
The big iridescent field in this frame is the shared-damage sweep. The game tip tells you to rotate the members taking the damage — the soak is not something one player holds, it is a queue. Parties that fail here usually do not wipe on damage, they wipe because nobody called the next soak.
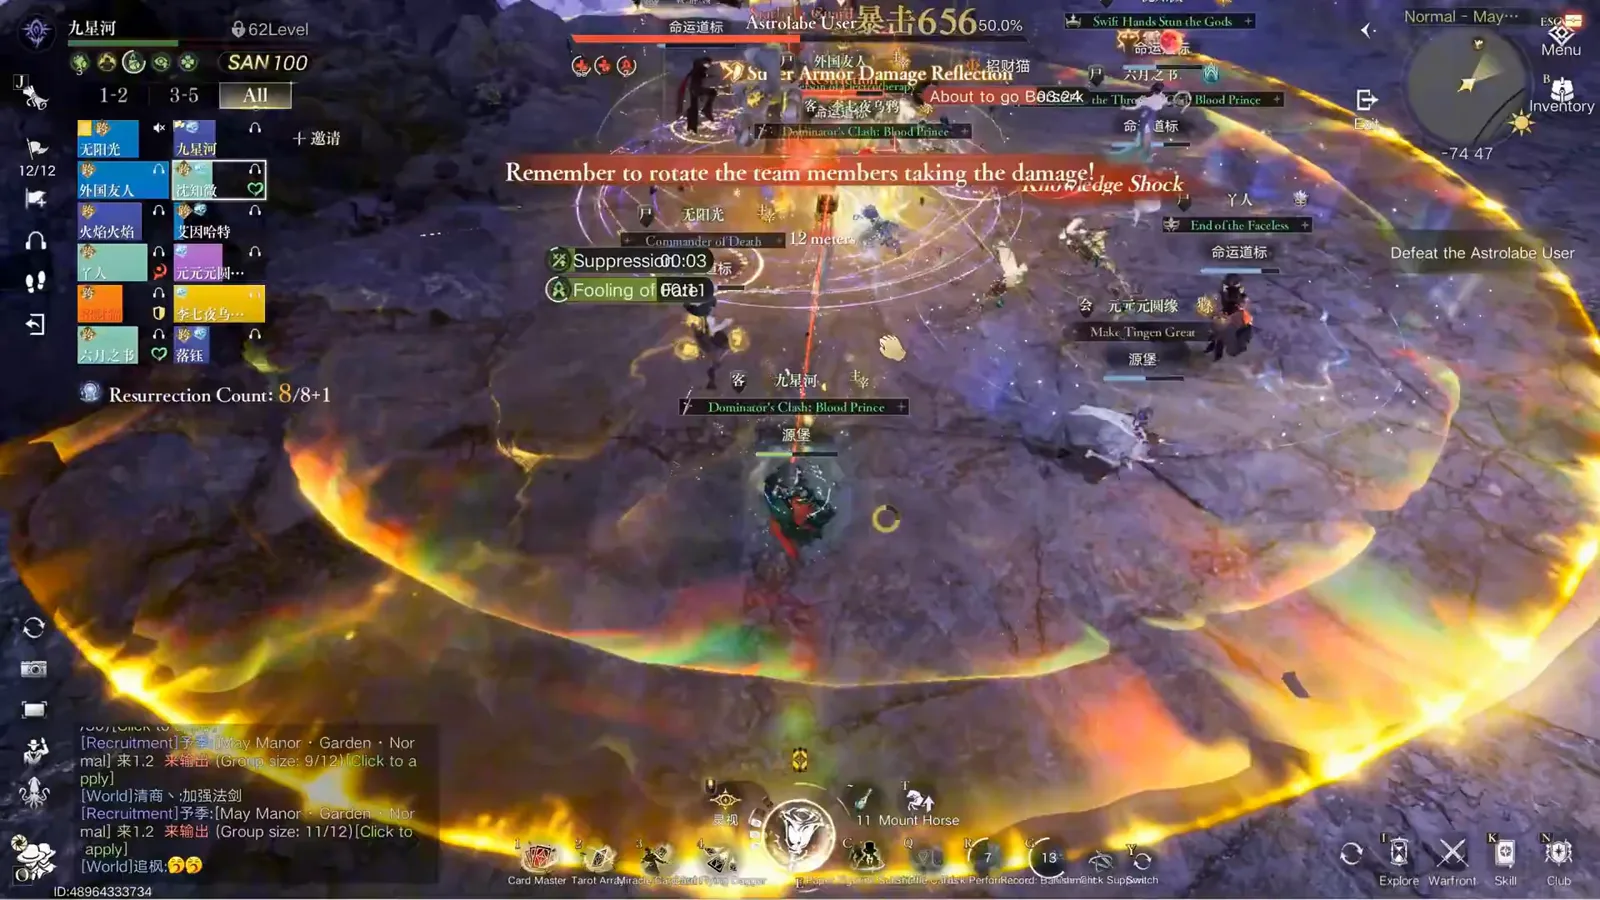
A dome, a tip, and a soak queue that has to be called out loud.Watch from 3:10 - 06
The flame circle is the punishment for bad separation
These yellow pools are what an unseparated False Servant does to the floor. They stack with the boss's own telegraphs, which is why the separation has to happen early in the servant's life rather than when the party is already moving through a meteor lane.
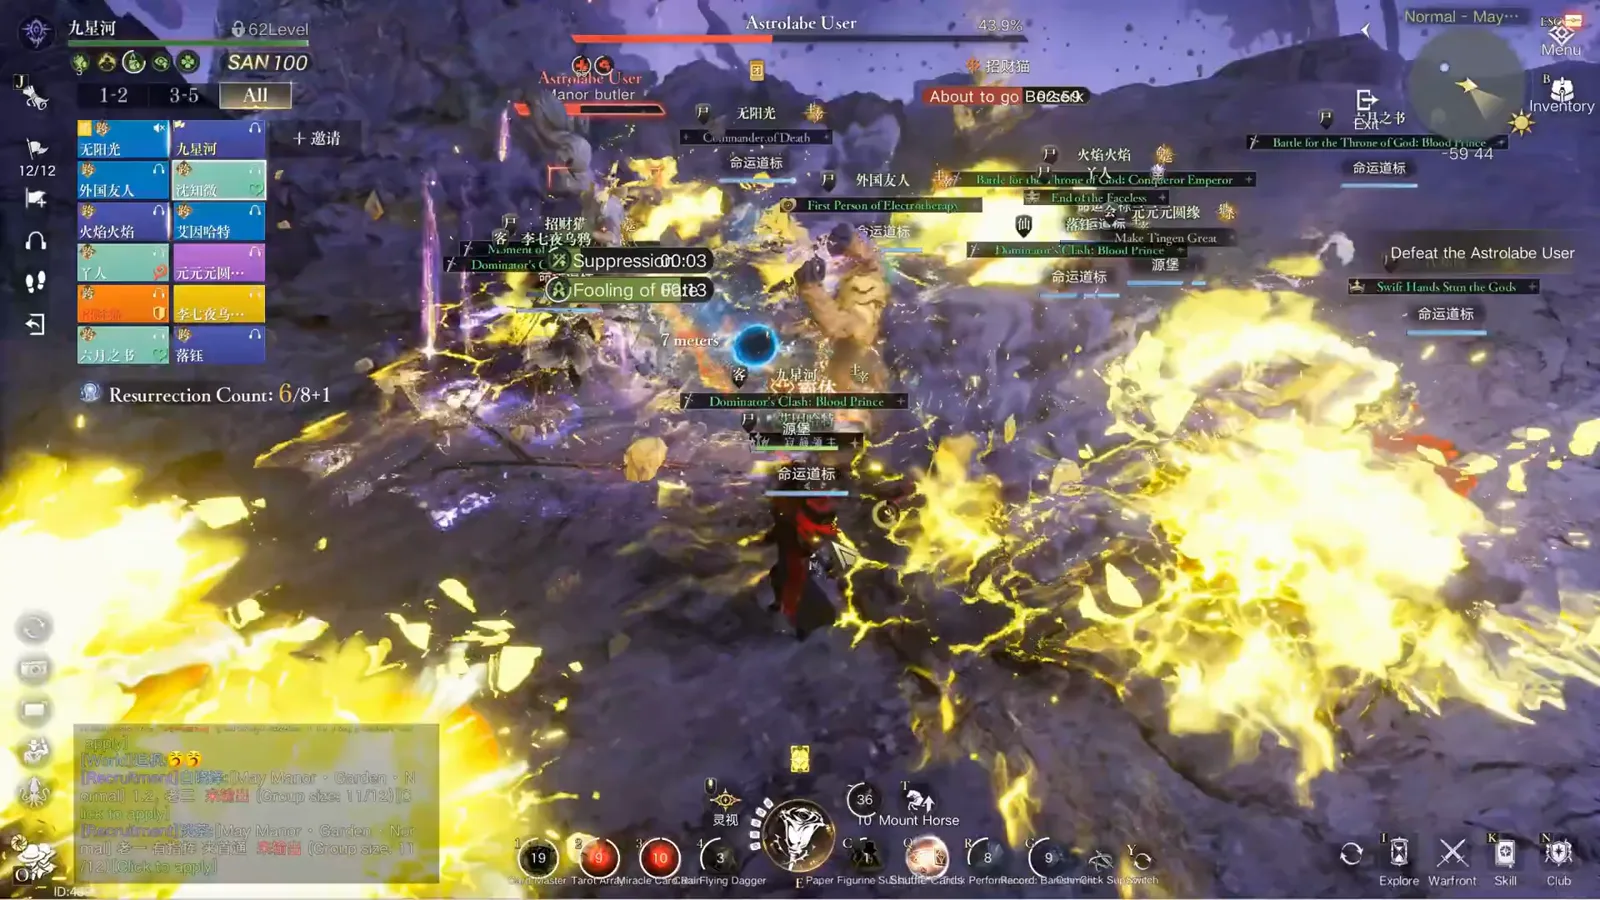
Every second standing in one of these costs 40% of your HP.Watch from 3:35 - 07
Stage three: track four things at once
Immediately after a prison breaks, the boss fires another meteor, spawns another bodyguard and keeps its normal attacks running — the creator counts four things to track at the same time. The frame is the middle of that press: the party spread across the cracked floor with damage landing and no marker to follow.
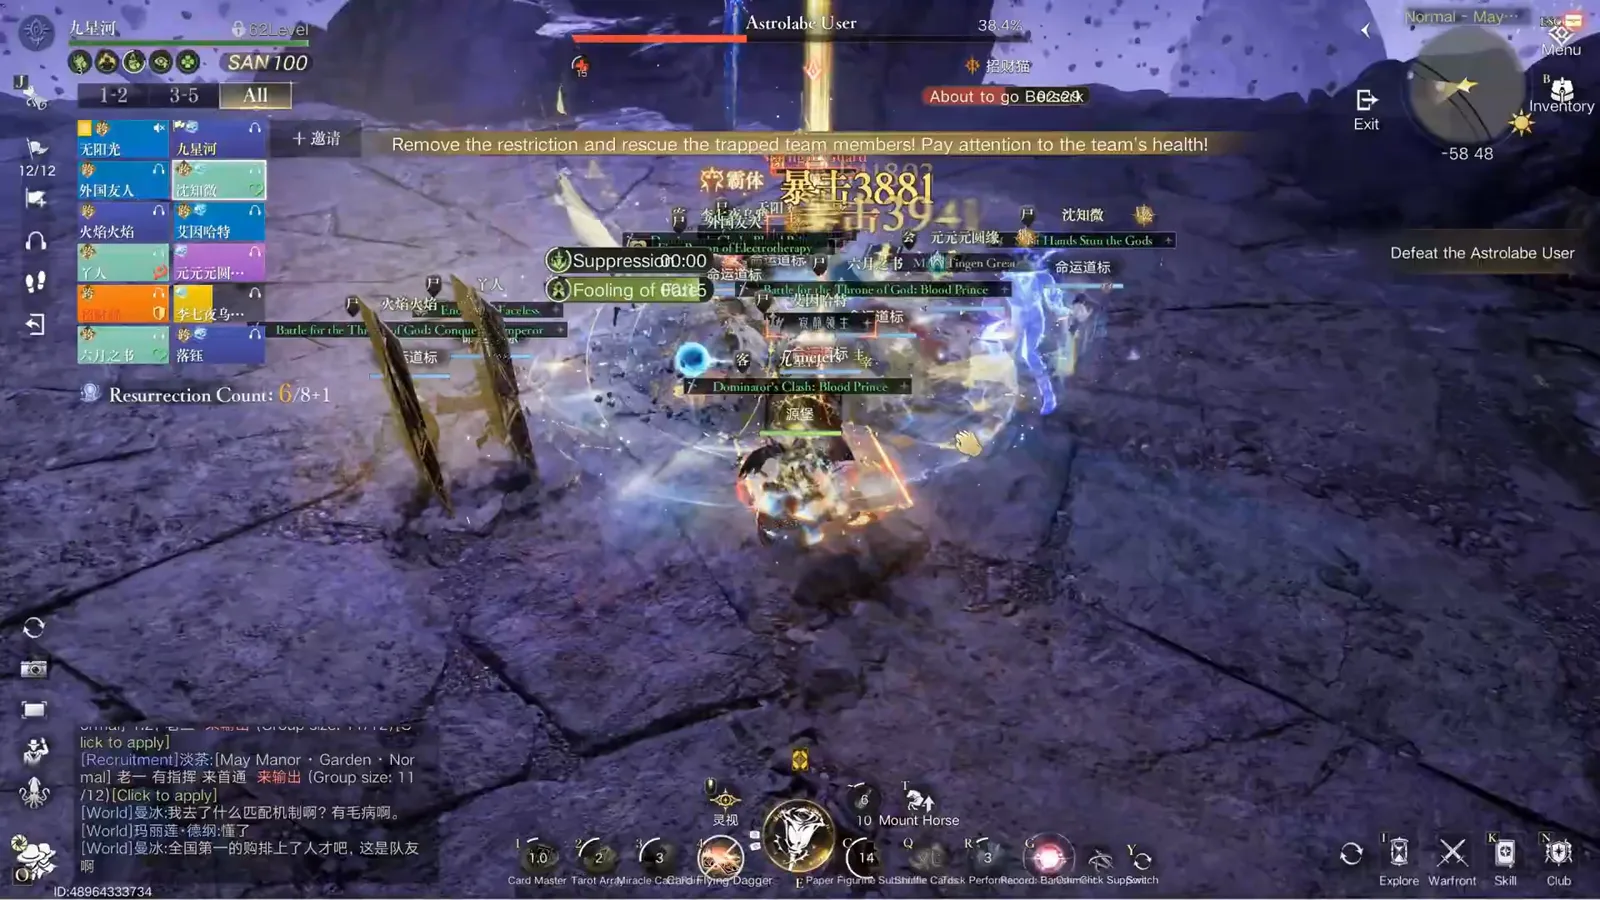
Four concurrent threats — this is where 12k DPS stops being a suggestion.Watch from 4:05 - 08
If you are being prisoned, move toward the boss
Before the prison closes you get a warning: a red mark and a flash of light over your head. The correct reaction is to stick toward the boss, so the party breaks the prison while it is still damaging the boss instead of repositioning across the arena. The stacked ring in this frame is that ideal — rescue and damage in the same place.
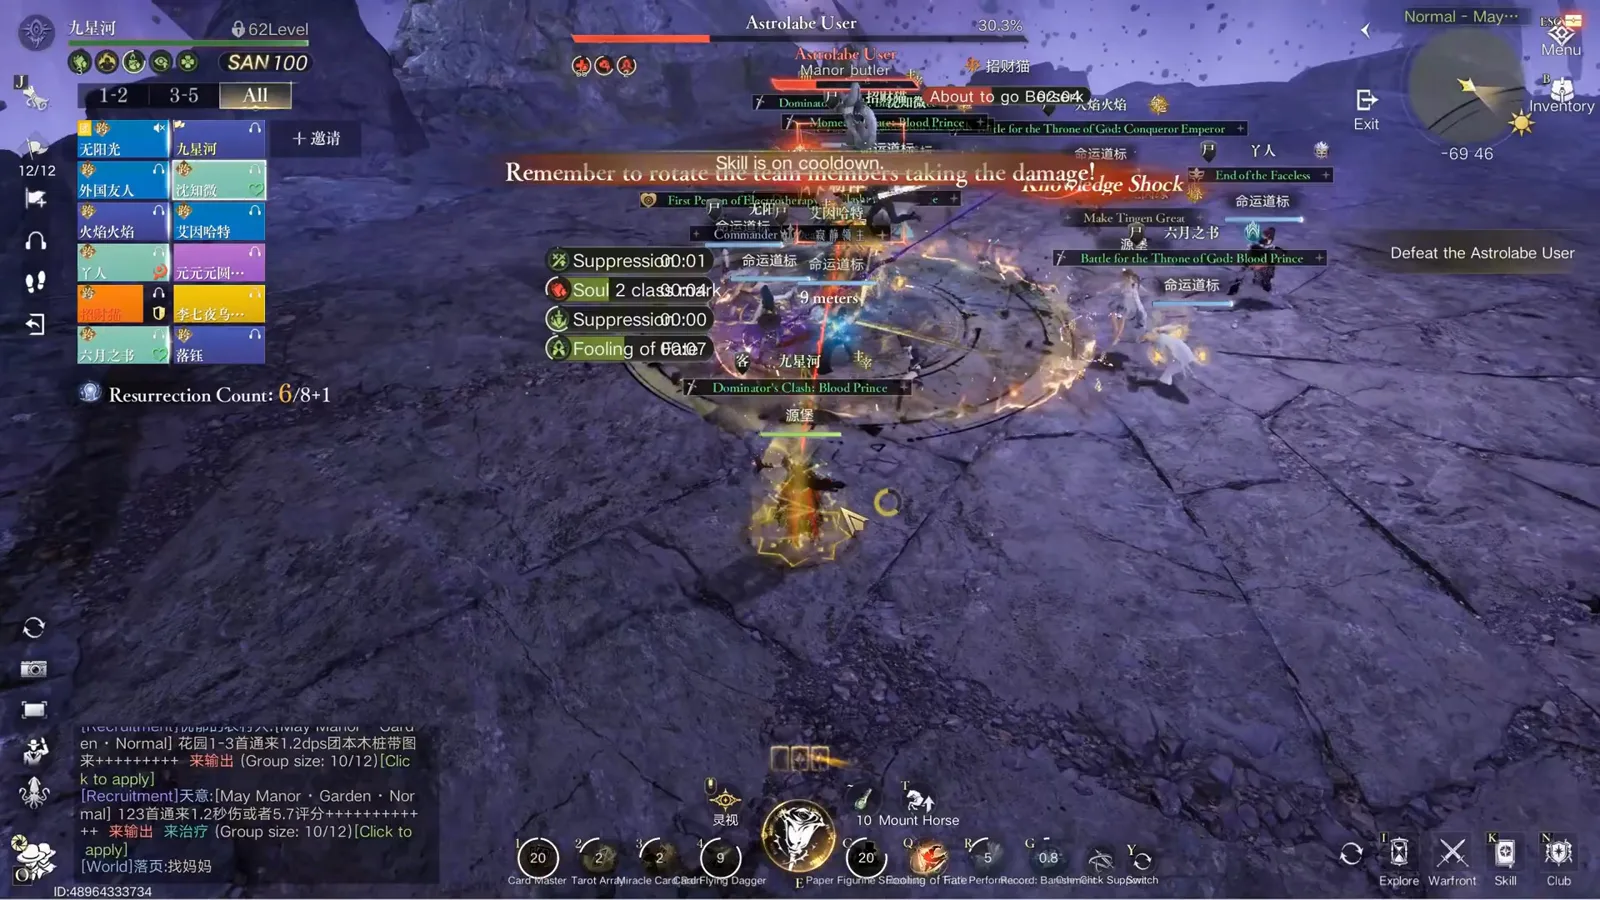
The ideal geometry: one position that is both DPS and rescue.Watch from 4:30 - 09
Late fight: the rescue prompt never stops
Deep into the fight the boss keeps cycling the same library of attacks, and the rescue prompt keeps firing. The creator is blunt about this stretch: from here it is a consistency test on the party, not a new mechanic. Note the "Ask a Spectator to rescue" line — the game offers a specific rescue interaction, and the party that ignores it loses players to a breakable cage.
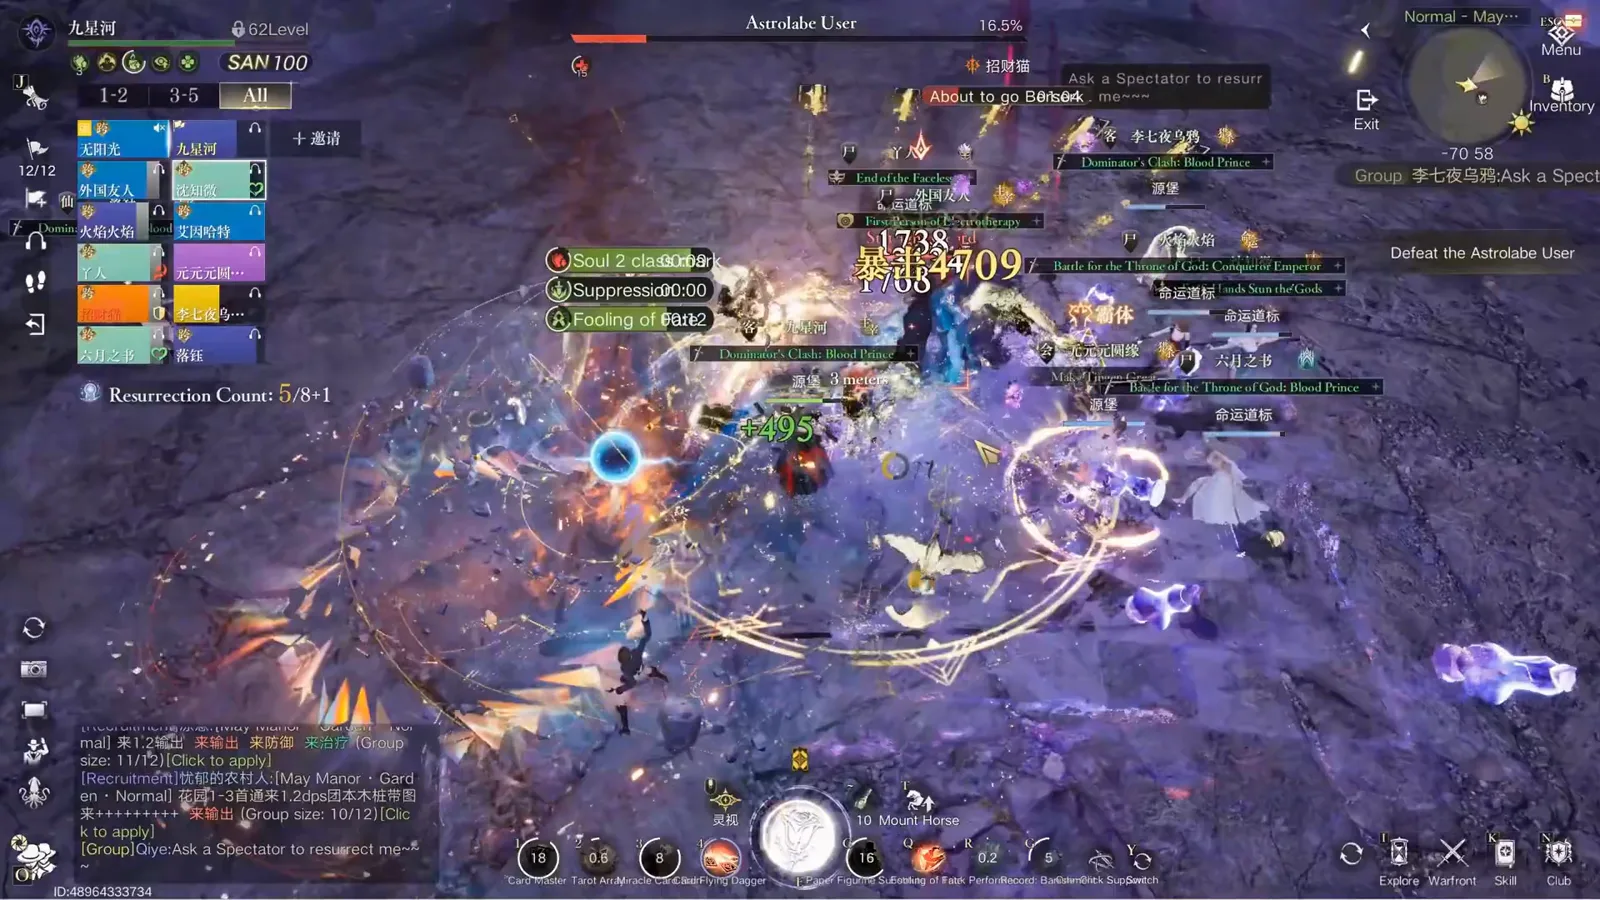
Same mechanics, less margin. The rescue prompt keeps coming.Watch from 5:30 - 10
Giant Wave of Knowledge: the wide sweeper
The red-screen sweep in this frame is the boss's widest attack. It is survivable on Normal, but it is the attack most often overlapping a prison, which is how parties end up having to eat the whole cast to save one player.
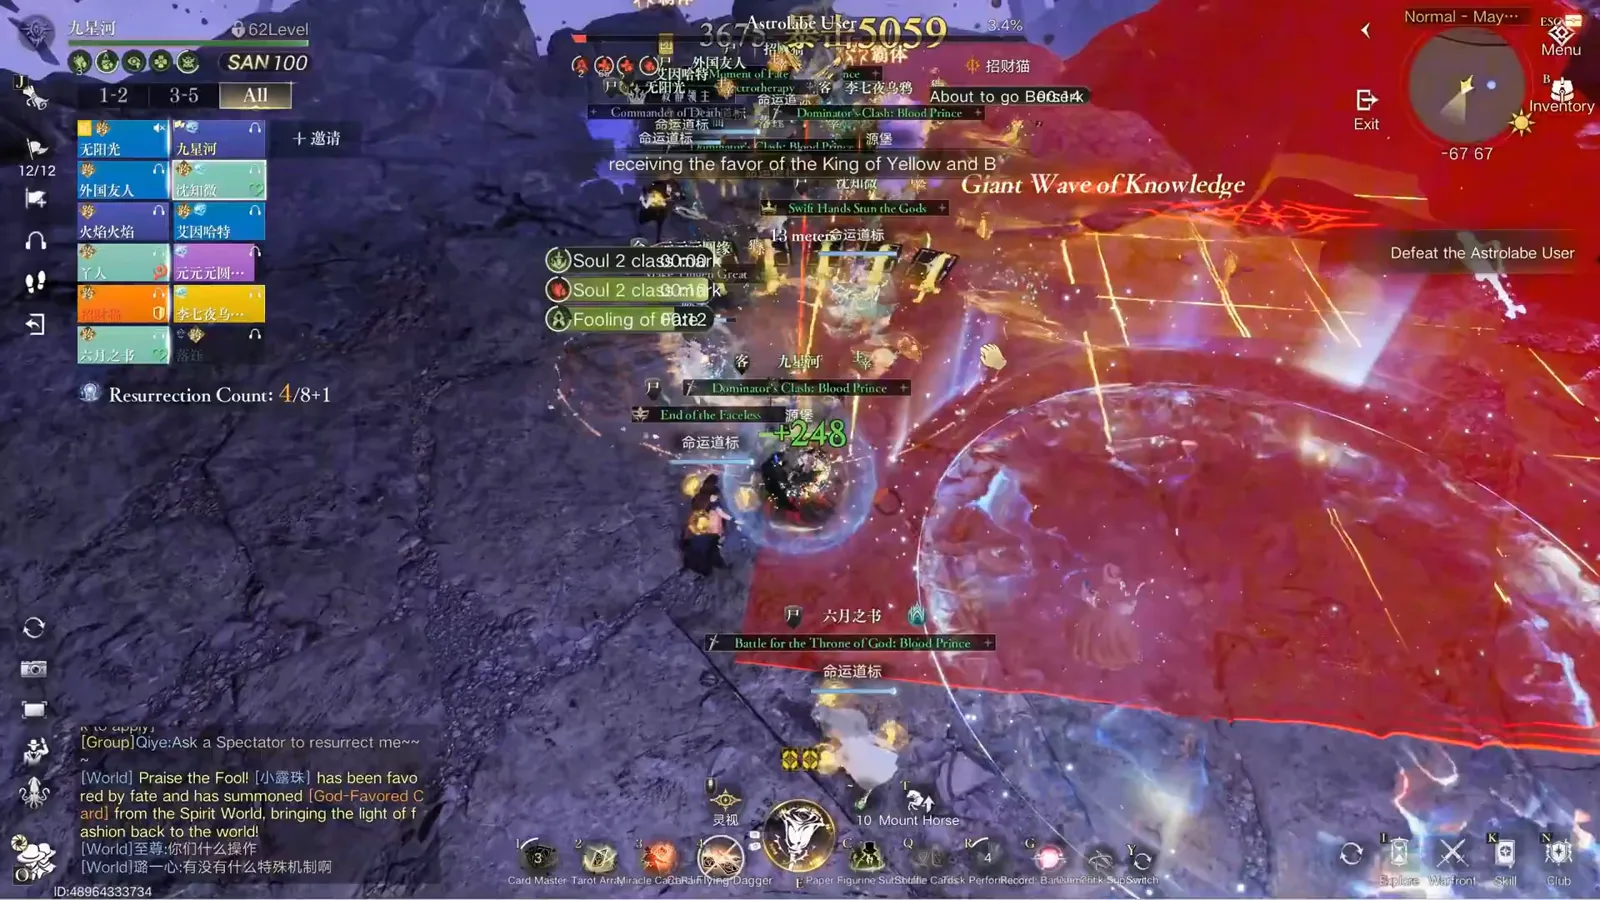
The sweeper that decides whether a rescue is worth its cost.Watch from 6:20 - 11
The 10% check and the bodyguard quota
On Normal difficulty there is no minimum number of bodyguards you have to kill. On the harder difficulties the boss requires nine False Servant kills, and if the party is short at 10% boss health it is wiped outright. The "Knowledge Restriction" cast in this frame is the boss running that check window.
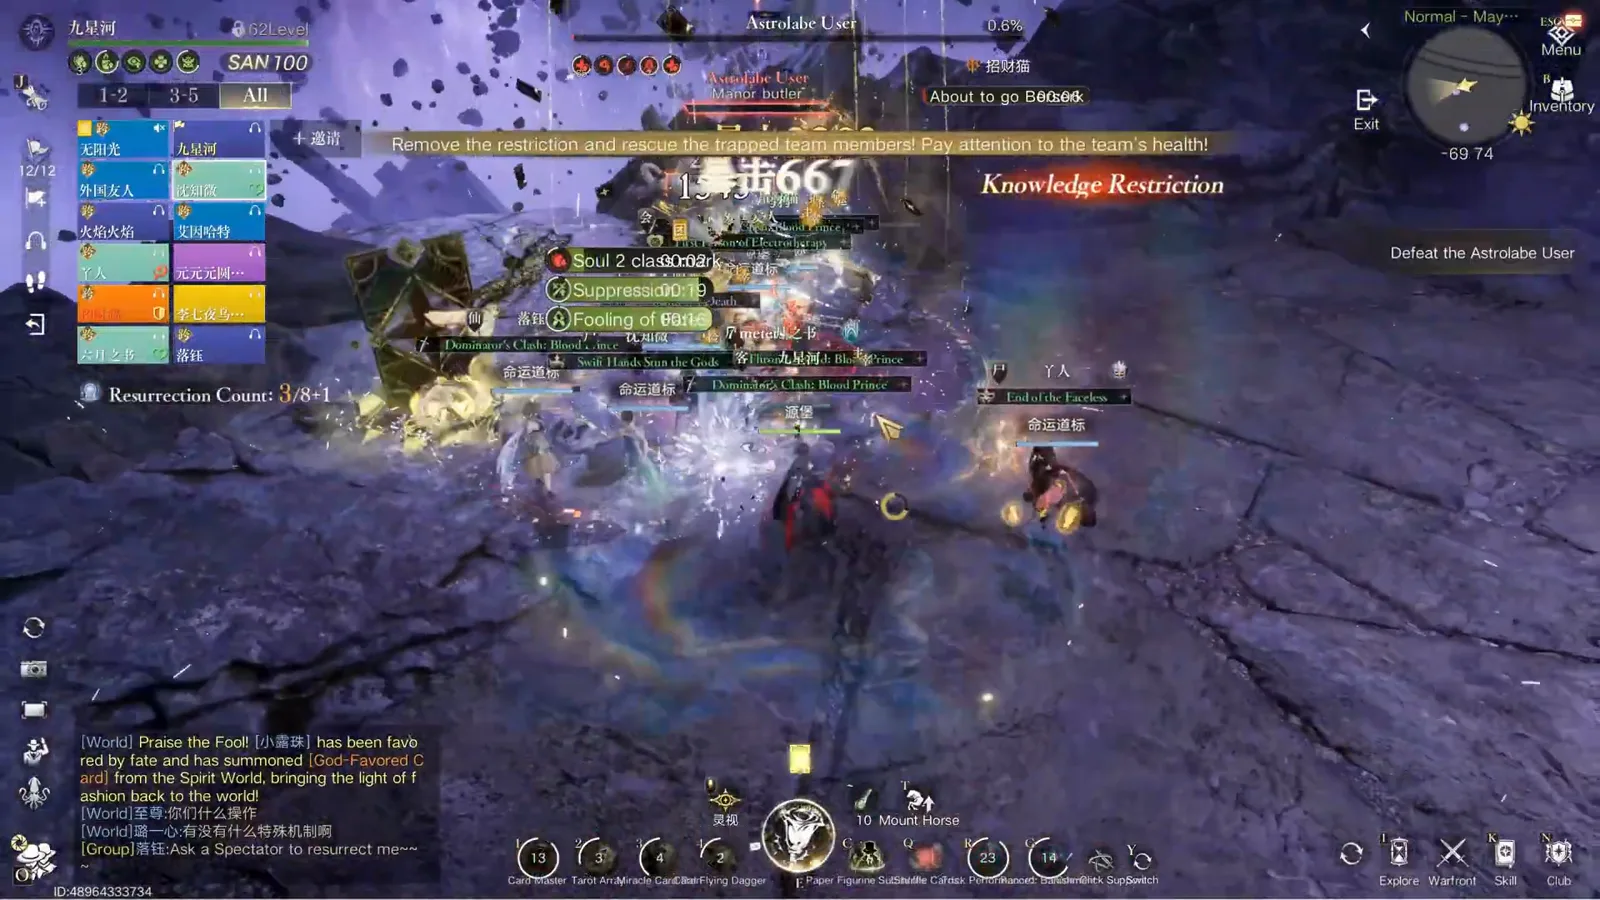
Nine servant kills on harder modes — or the 10% mark wipes you.Watch from 6:28 - 12
What the first clears actually looked like
The clear panel from this recording: 4,647,600 total damage on the Brilliant Stars rating screen, with the Cocoon Silk timing badge and the World Adventure Treasure progress. The creator records this as one of the first successful clears of the dungeon, which is worth remembering when you compare your own numbers — the reference point here is a hard early-week kill, not a farm run.
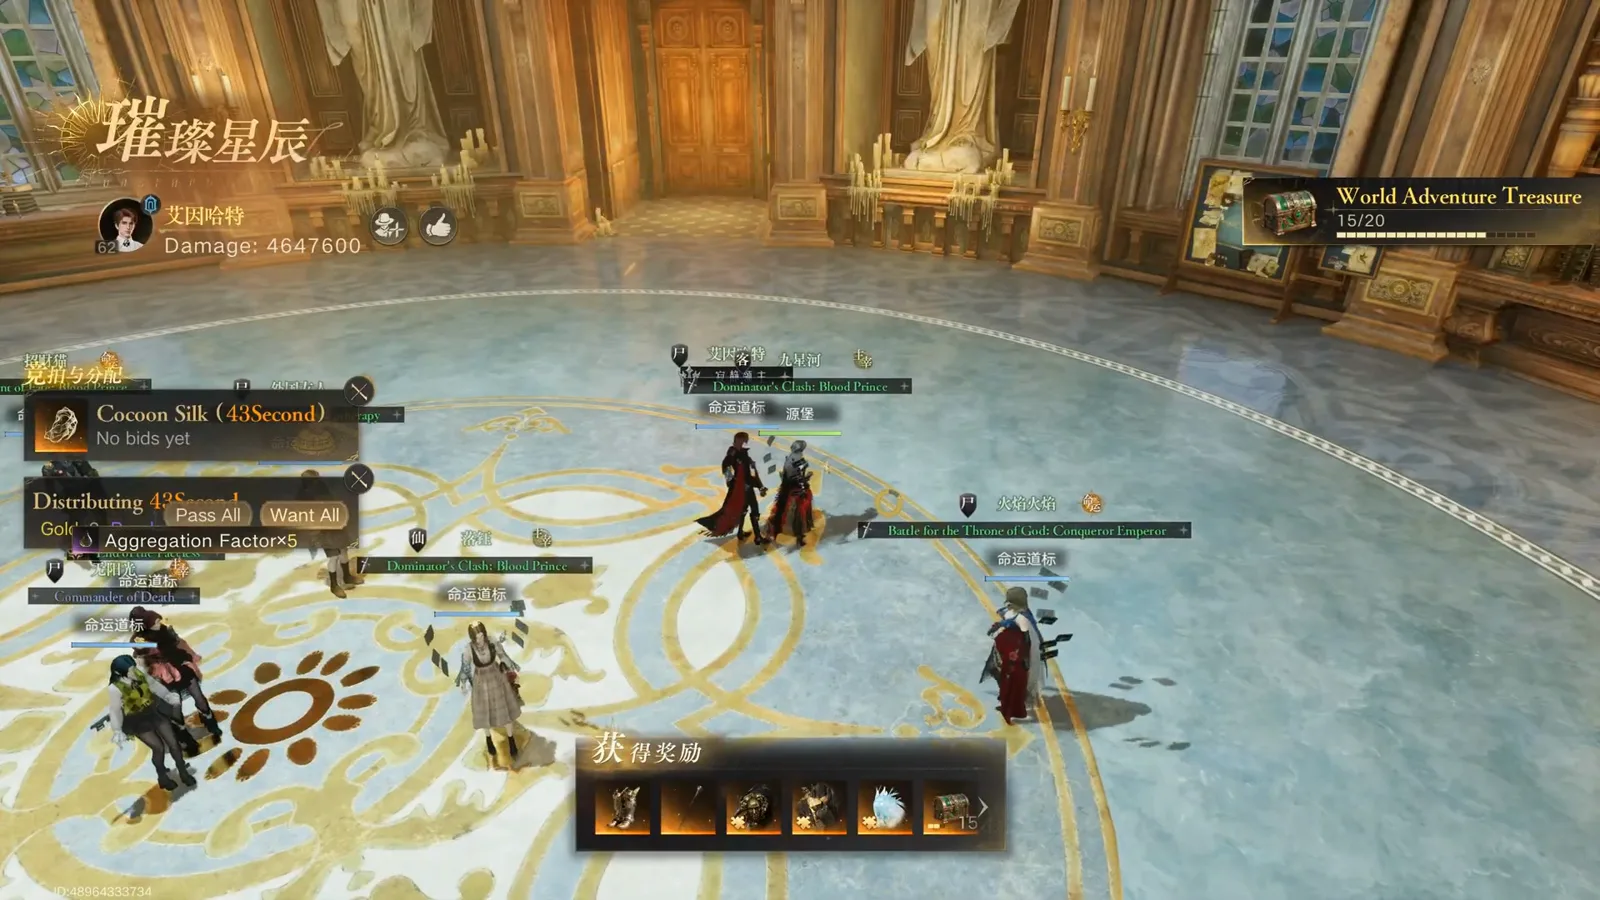
4,647,600 total damage on an early-week clear — treat it as a floor, not a target.Watch from 6:56
All frames come from the linked recording, and each step timestamp jumps to that second. The 12,000 DPS recommendation, the 40%-per-second flame circle and the nine-kill quota on harder difficulties are the creator's own spoken figures from this run — community reference values, not official numbers. Mechanics described here are what the recording demonstrates on Normal difficulty.
Astrolabe User FAQ
- Q1.What is the core mechanic of the Astrolabe User?
- A prison of light that traps one teammate for the entire fight. Break it inside the window or the trapped player dies instantly. Everything else in the encounter is layered around that cycle.
- Q2.Should I always rescue the trapped player?
- No, and that is the point of the fight. The creator shows cases where the rescue route forces the party to eat every attack the boss is casting, which costs more than the lost player. Judge it from the team's positioning at that moment.
- Q3.How much DPS does the party need?
- The creator recommends at least 12,000 DPS per player plus full voice chat, and notes that this recording is one of the first successful clears of the dungeon. Treat the number as a video-measured community reference.
- Q4.Which attack is the hardest to read?
- The third attack of stage two. It has no red ground marker, so you have to watch the meteor lane itself and jump on it rather than reacting to a telegraph circle.
- Q5.Do I have to kill the bodyguards?
- On Normal there is no kill quota. On the harder difficulties you need nine False Servant kills, or the party is wiped when the boss reaches 10% health.
- Q6.Is this boss meant for the first week?
- The creator says no — attempt it in week one only if you are confident in your DPS and your coordination, because the fight punishes hesitation on the rescue call far more than it punishes low damage.