Lord of Mysteries Clown Boss Guide (2026): Antigonus Dungeon
The Clown is the final boss of the Antigonus dungeon, and structurally the simplest of the three May Manor-era encounters we have documented: one positioning mechanic, one shared-damage circle, one add wave, and a lot of damage. That simplicity is the trap — the card-symbol check is instant-death when missed, and the DPS gate is the reason most parties fail their first attempt.
The creator is explicit that you are not expected to kill this boss in the first week, and that a failed attempt still counts toward the following week. The number he gives for a clean clear is a minimum of 4,200 DPS per team member.
Verification rule
[unverified] / 〔待核验〕 marks a detail the footage or cited sources could not confirm — the marker stays inline so you know exactly which claims to double-check.
Mechanic-by-Mechanic Walkthrough With Frames
Key Takeaways Before You Pull
- ◆Minimum 4,200 DPS per player. Below that the fight simply does not end inside the timer.
- ◆Lines drawn under your character mean reposition so your area attack does not hit a teammate.
- ◆The big orange circle is shared damage — the whole party gathers inside it.
- ◆Kill the doubles as soon as they spawn. The on-screen objective is literally "Defeat all the doubles to interrupt the research".
- ◆When the curtain rises, a card symbol appears over your head. Stand on the matching suit plate or die.
- ◆Second and third rotations hit harder — the mechanic list never grows, only its damage does.
Verified gameplay source
Clown final boss mechanics — Antigonus dungeon clear
- 01
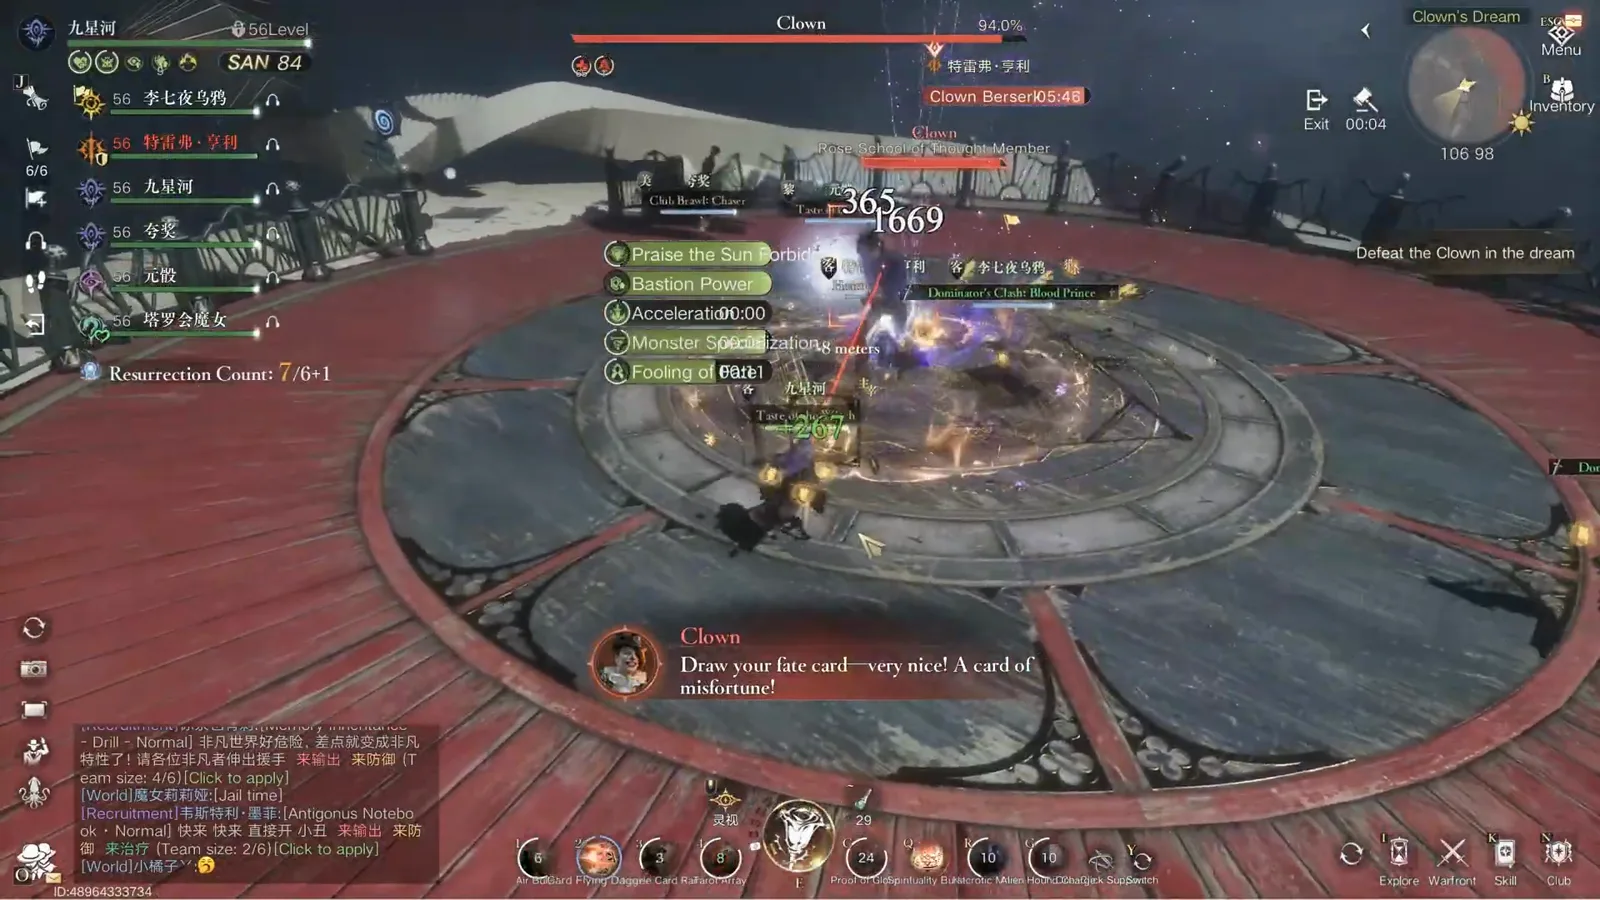
Early fight: damage, and move your lines off your team
The opening minute is a pure damage check with one rule. When you see lines drawn under your character, position so the resulting area attack does not overlap a teammate — the mechanic punishes clustering, not the player holding it. The four violet plates ringing the stage in this frame are the boss's own markers.
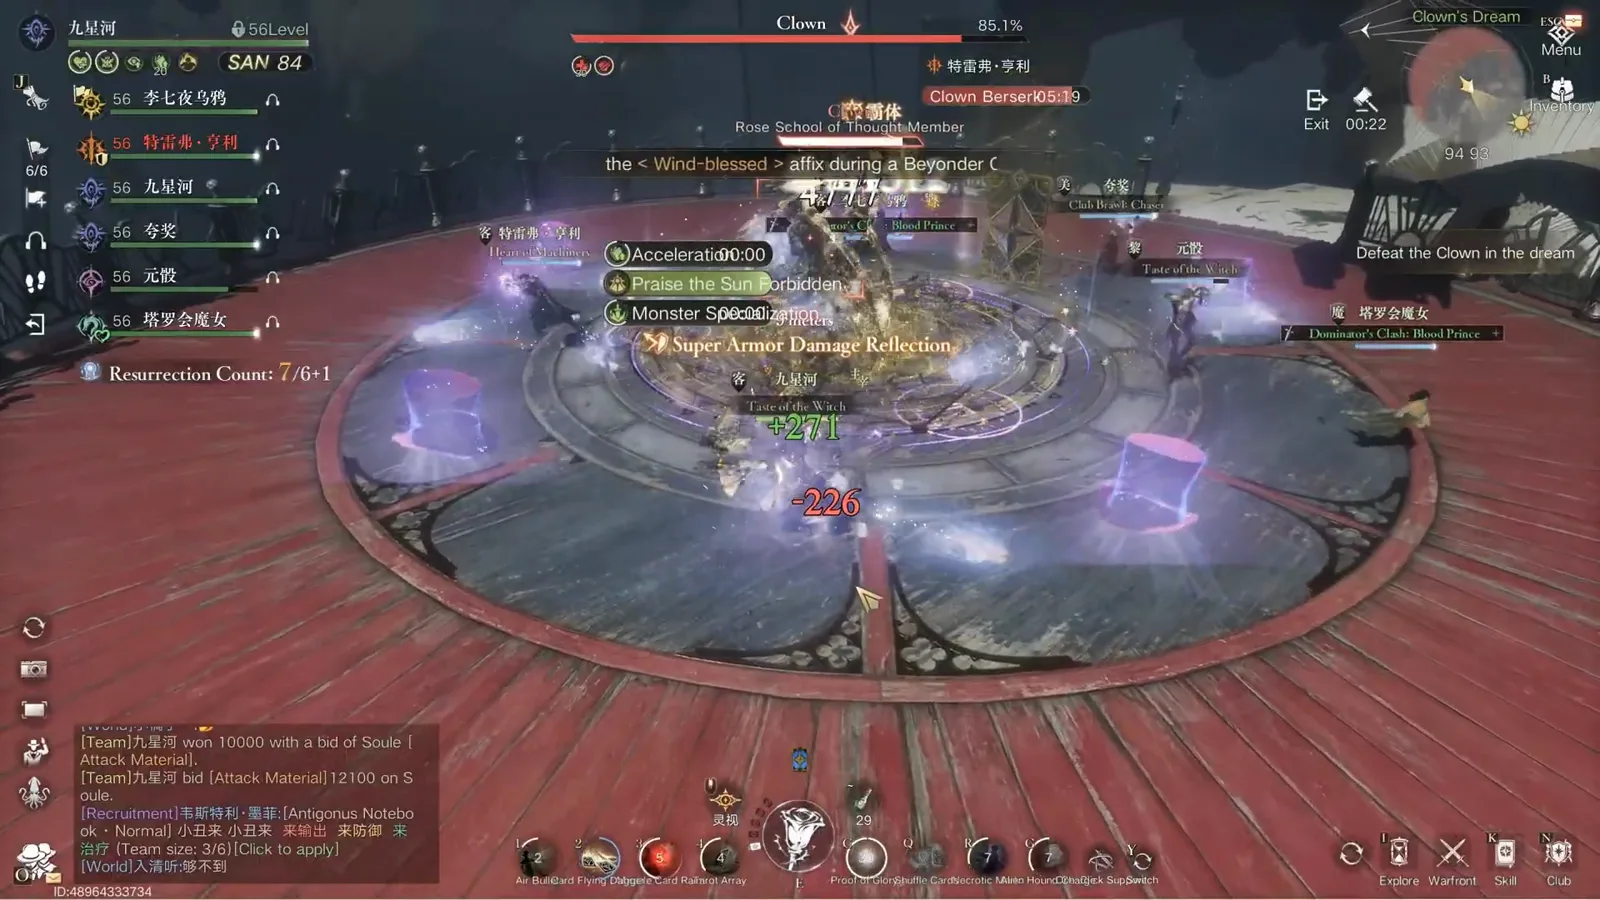
Stage one: the only job is damage, plus moving your line somewhere empty.Watch from 0:42 - 02
The big orange circle: everyone inside, together
When the large orange circle appears, the whole party gathers inside it to share the damage. On Normal difficulty this attack does not hurt much yet — the creator stresses that it will on the harder difficulties, so build the habit now rather than learning it under pressure. The "snatching Sealed Artifact" line in this frame is the boss's own flavour text over the same cast.
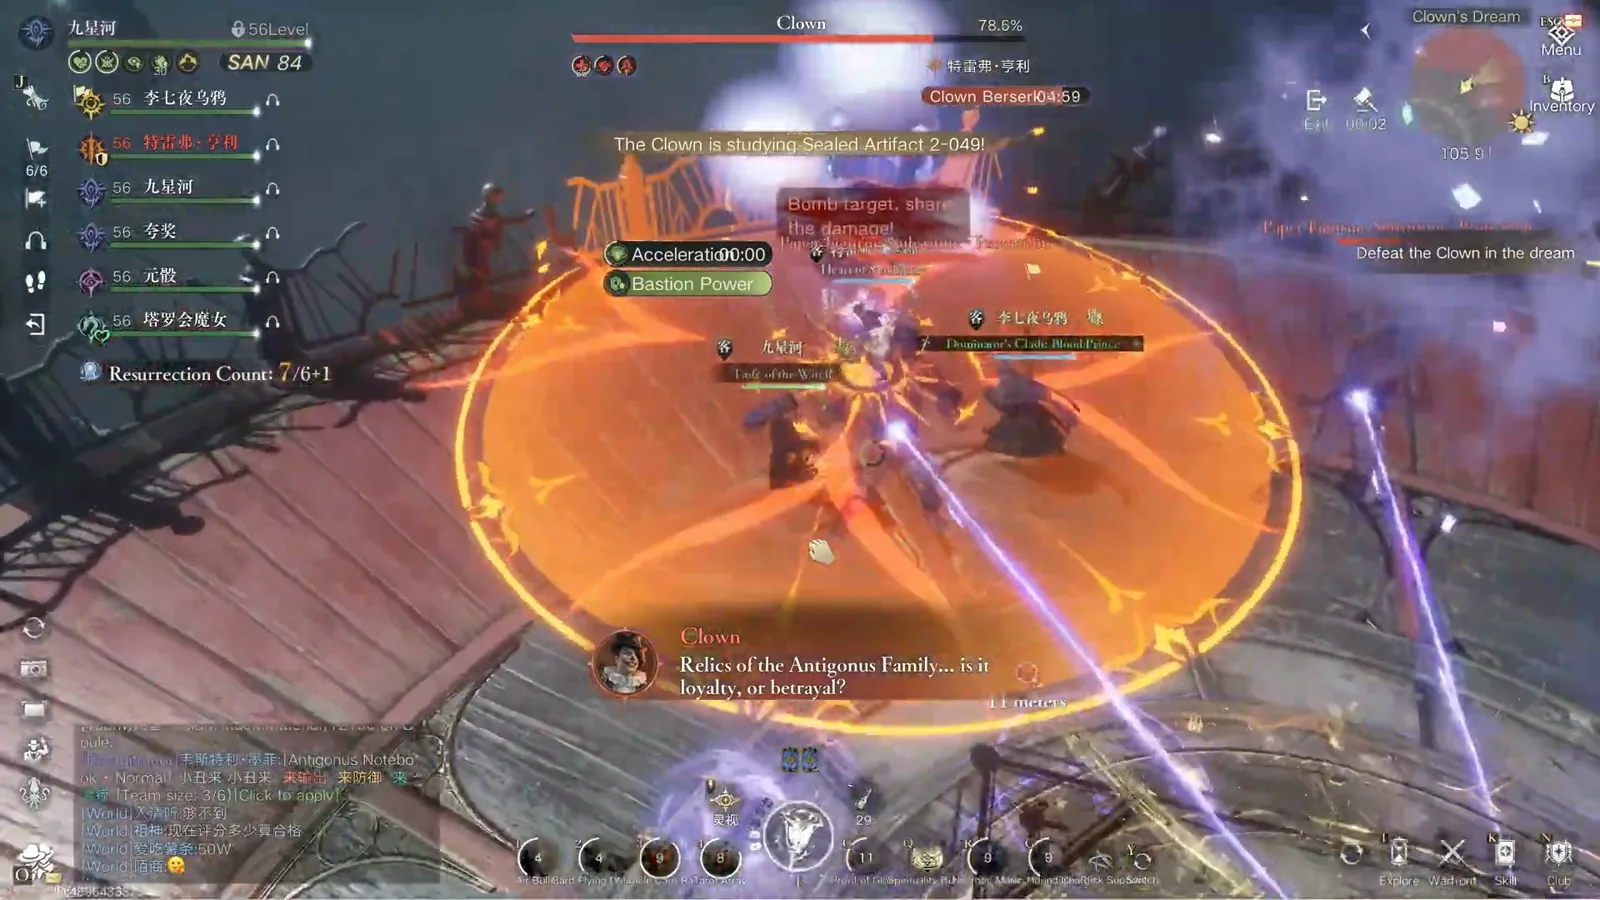
Harmless on Normal, lethal on harder modes — practise the stack here.Watch from 1:02 - 03
Doubles spawn: stop the boss damage and kill them first
When the boss spawns doubles, every DPS player prioritises them. The objective banner in this frame is the rule written by the game itself: defeat all the doubles to interrupt the research. If you fail to clear them in time, the run's failure risk rises sharply because the boss will not break out of the sequence.
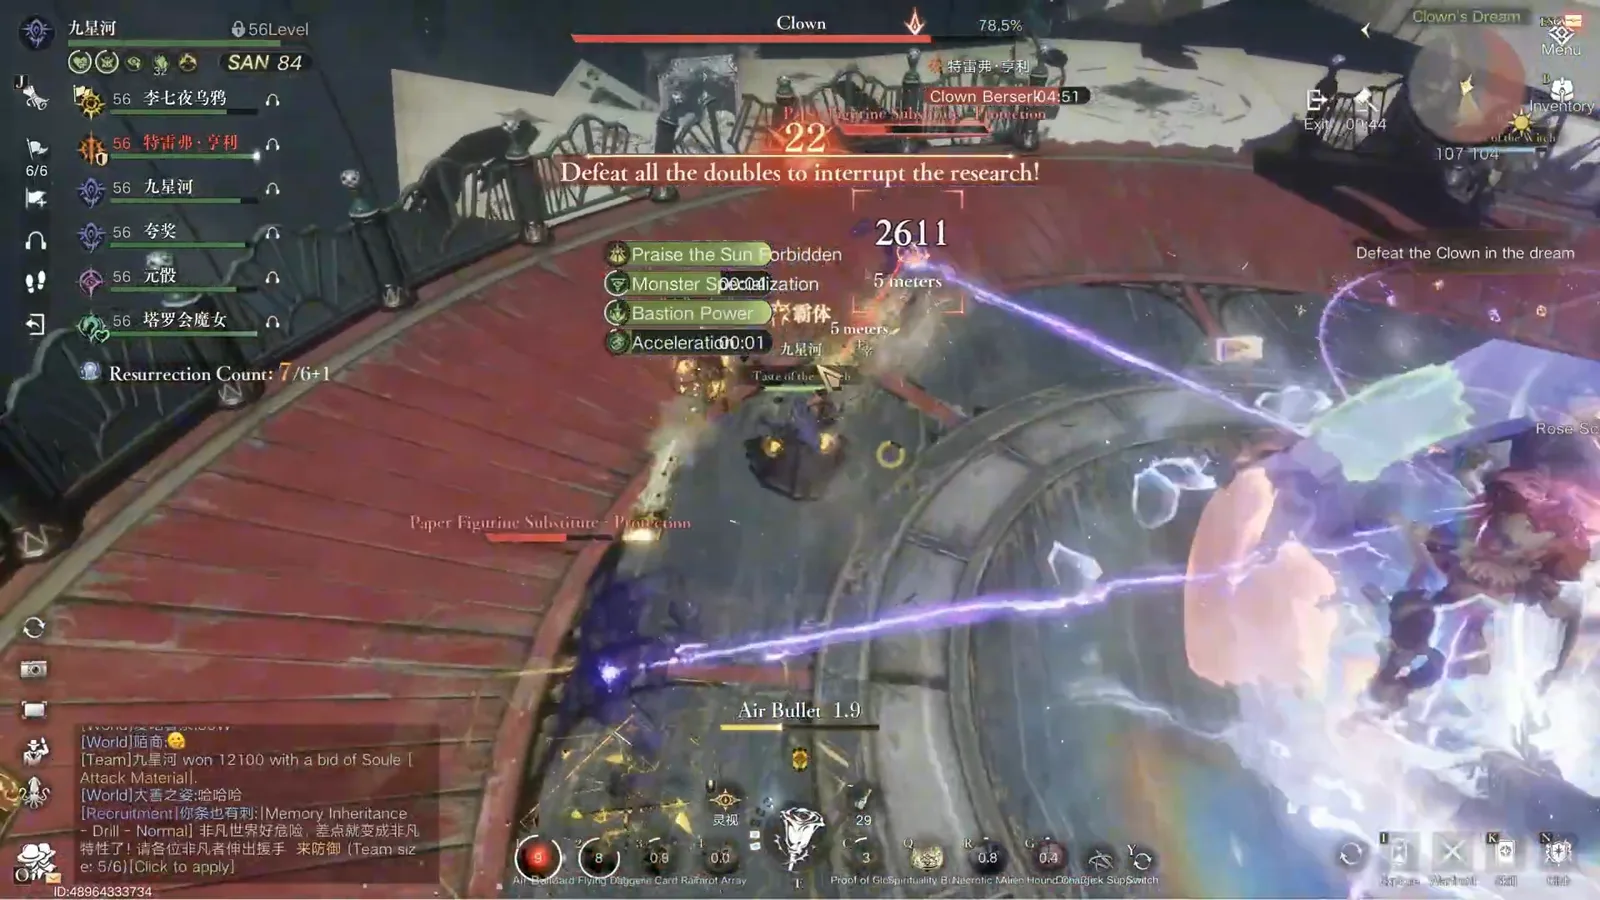
The doubles are not optional — the banner is the mechanic.Watch from 1:10 - 04
Clearing the doubles encloses the Clown
Killing the full set pays off immediately: the banner flips to "Successfully defeated the doubles", and the boss is enclosed for a fixed window. That window is your burst phase — the party in this frame is already stacked on the boss with damage numbers running.
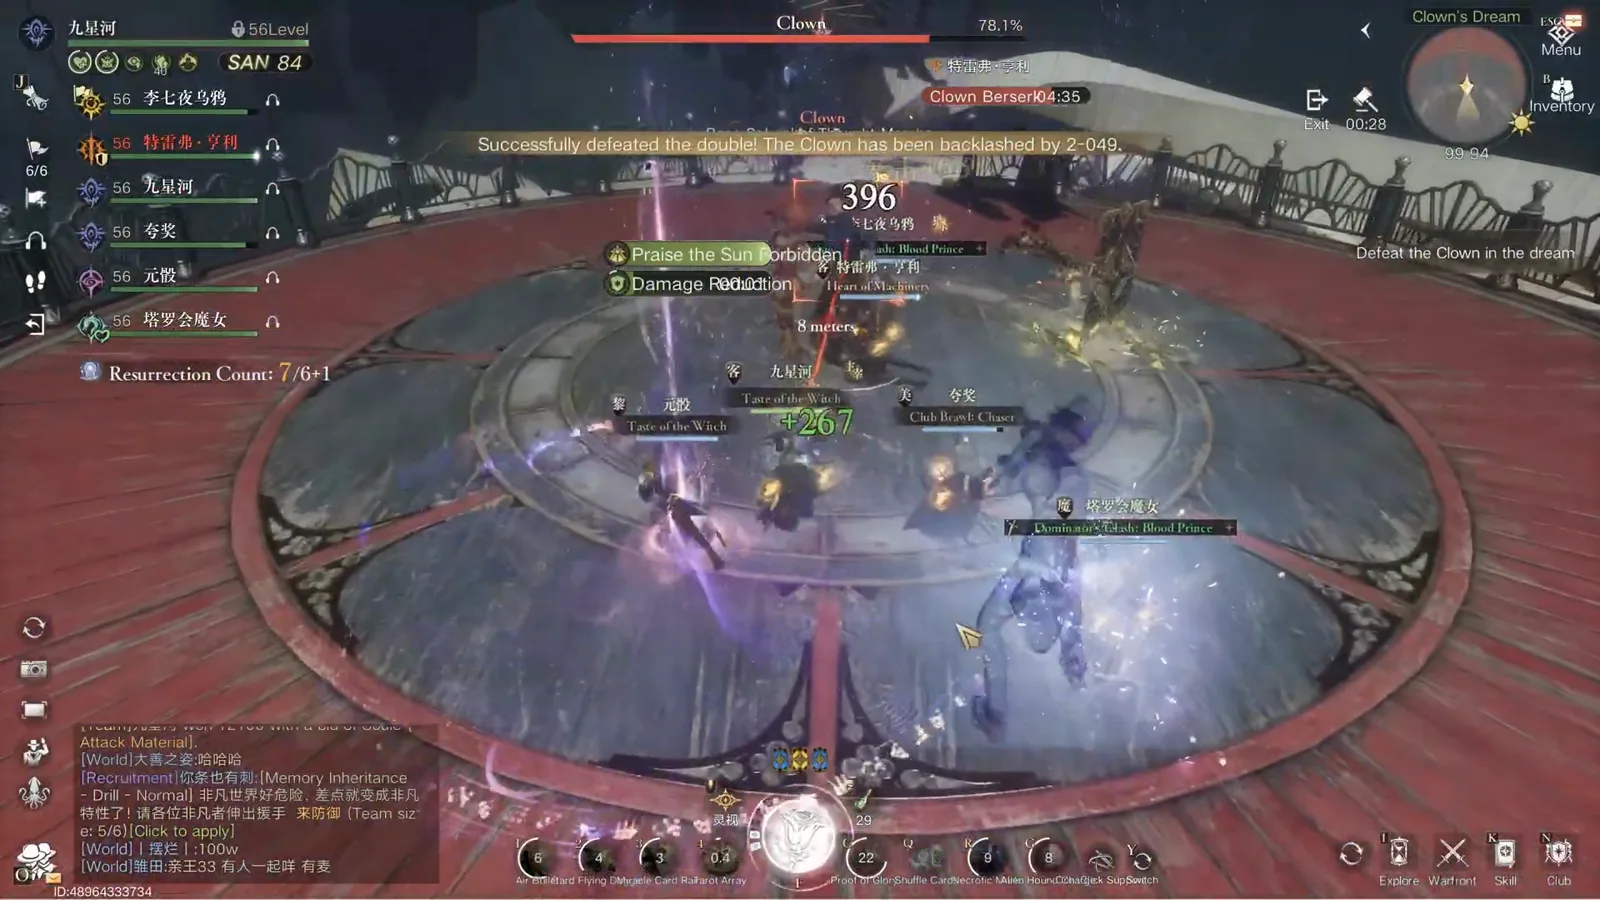
The enclosure is the reward for a clean add wave.Watch from 1:26 - 05
Card Juggling: keep the rotation running
The Card Juggling cast is one of the boss's repeating attacks, announced by the "Juggling time! Dangerous stunts, please do not imitate." line. It does not add a new requirement — the party keeps its rotation and stays out of the falling cards, which is why the stacked formation in this frame is safe here and unsafe during the doubles wave.
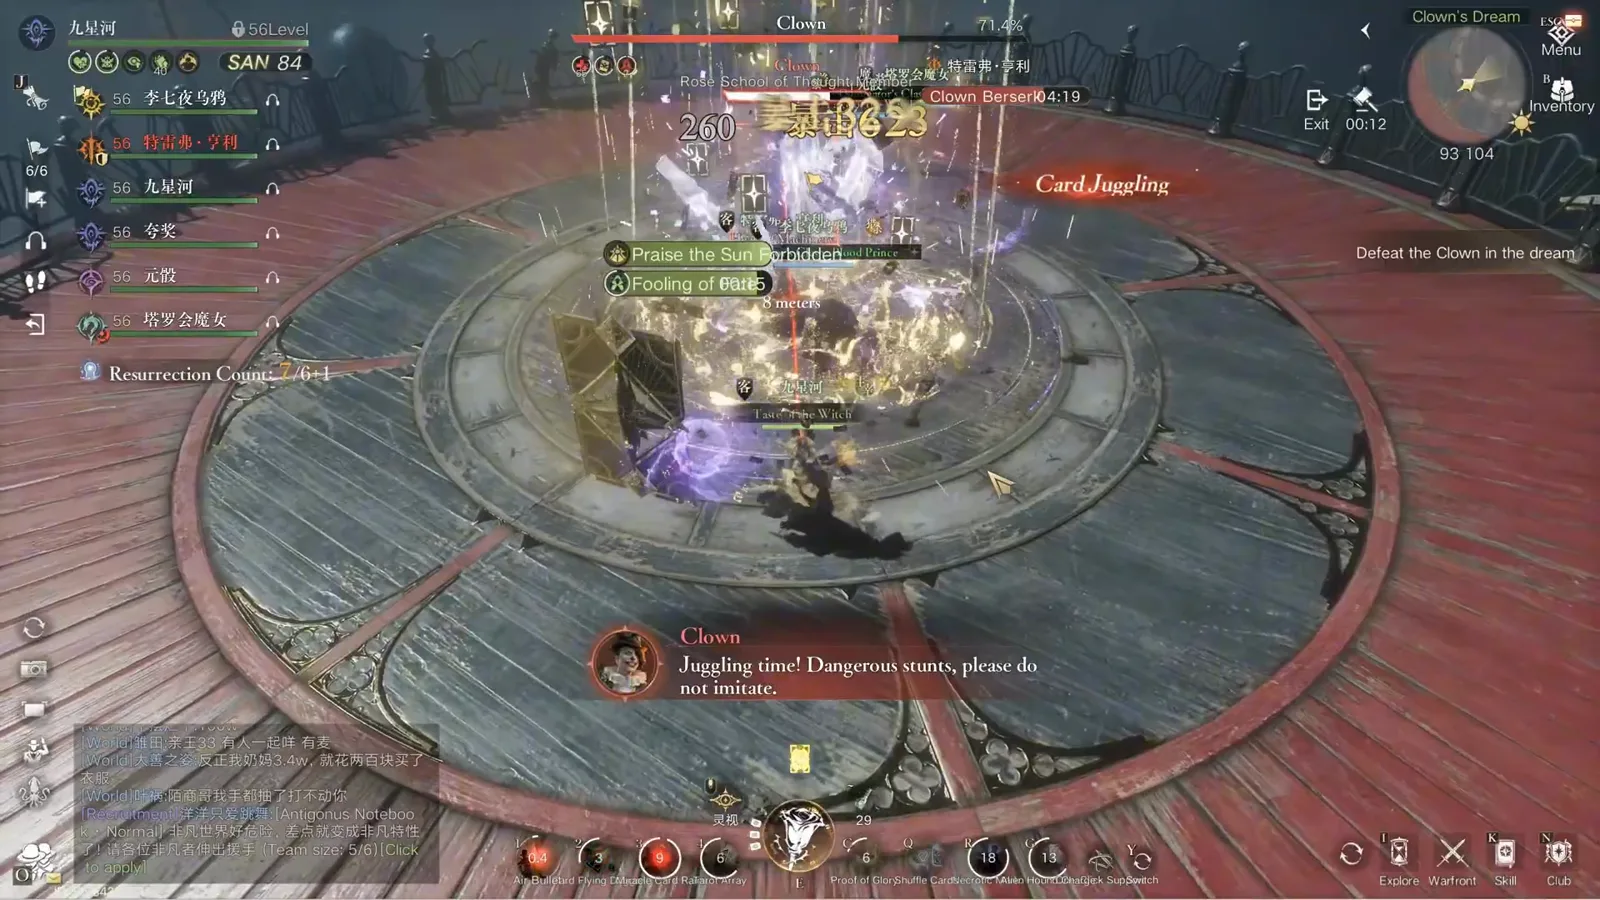
A repeating cast: nothing new to read, just keep pressing.Watch from 1:42 - 06
Shadow doubles and the pools they leave behind
Later waves bring shadow doubles and ground pools that keep ticking after they land. The same priority applies — the adds first, then the boss — and the party has to break the stacks to stay out of the pools, which is what the spread in this frame is doing.
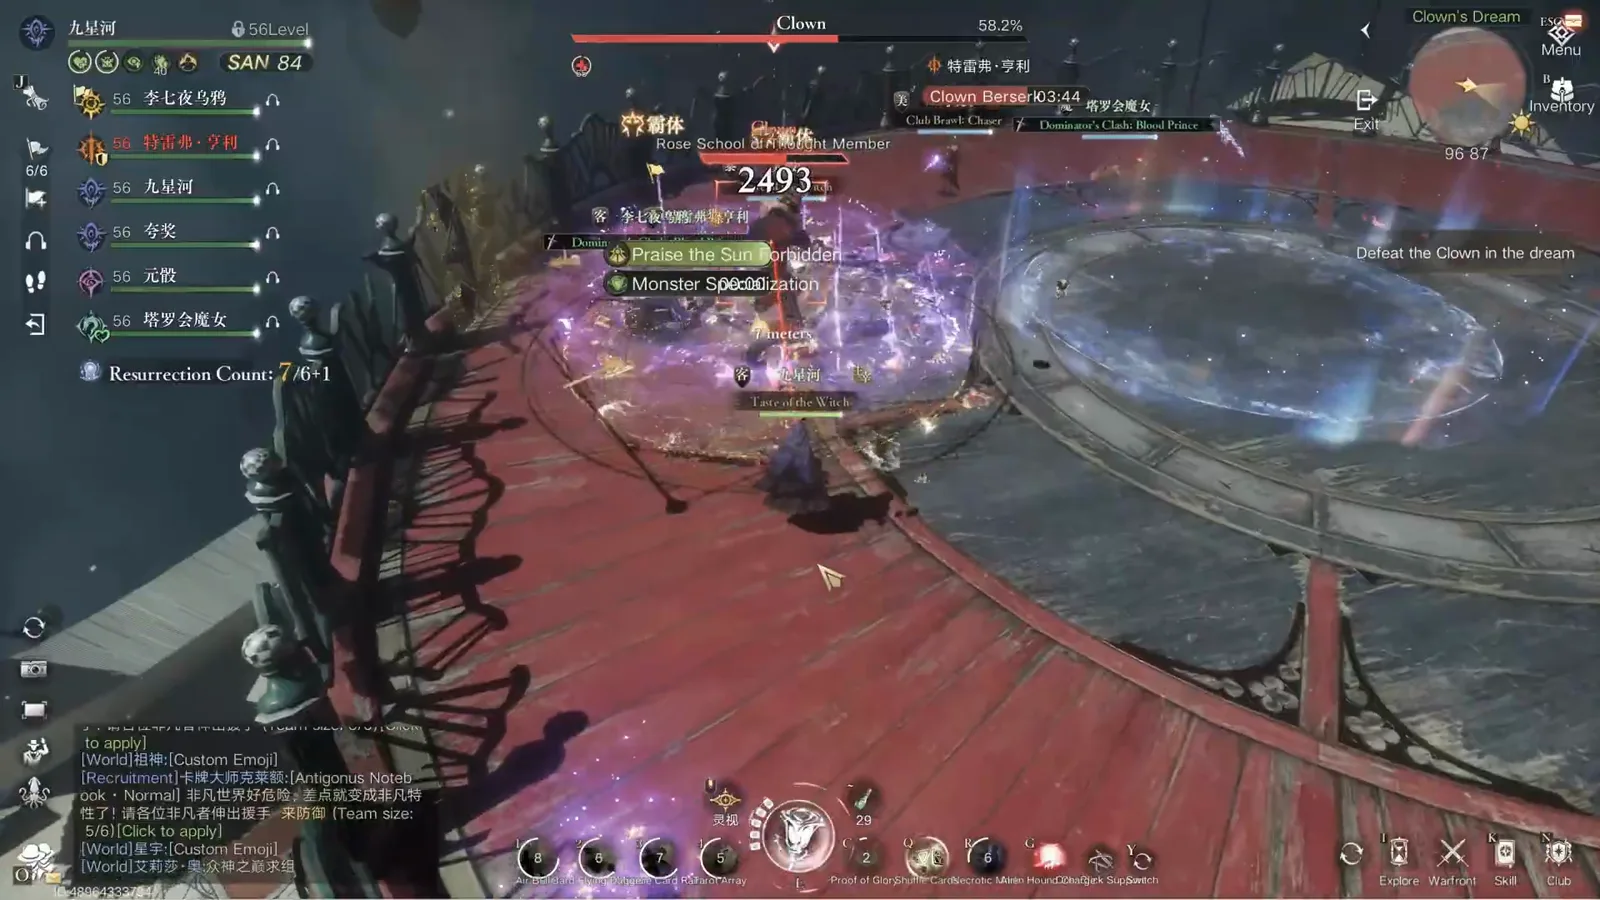
Adds plus lingering damage: the reason you cannot stay stacked forever.Watch from 2:17 - 07
The curtain rises: the positioning phase begins
The curtain is the transition the whole fight builds to. The stage goes dark, spotlights sweep in, and the announcement "The curtain rises, the show begins!" fires. Keep using your skill rotation during it — the creator emphasises that the abilities are still available, so the curtain is a positioning phase, not a downtime phase.
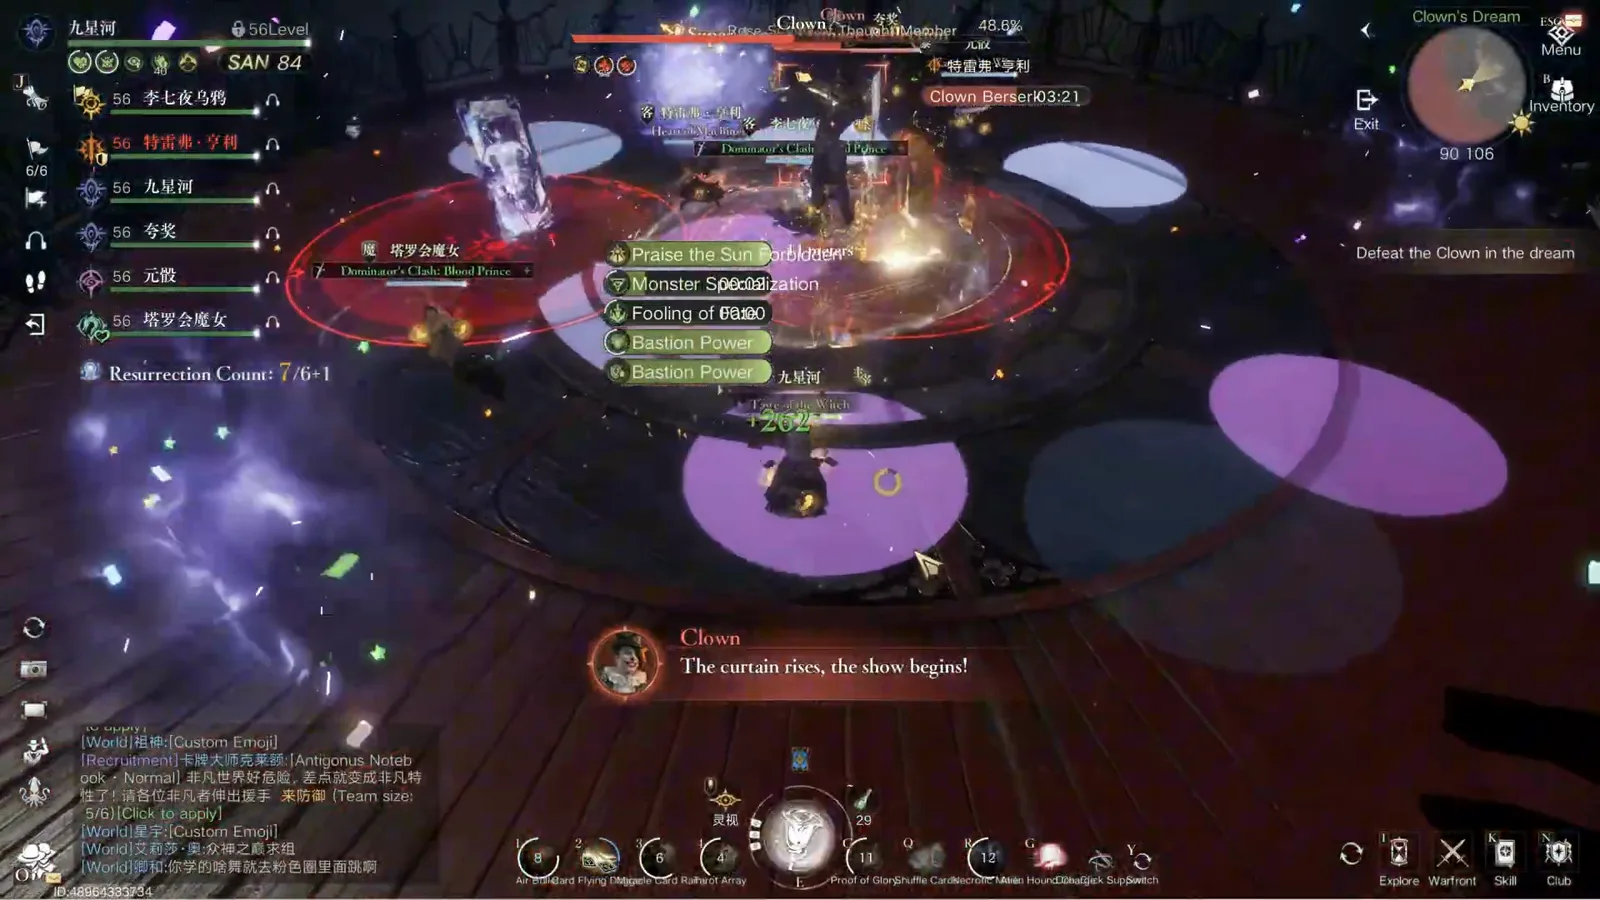
Spotlights and confetti: the check is about to be handed out.Watch from 2:40 - 08
Match the card symbol above your head to the floor plate
Each player gets a card symbol overhead. You have to move your character onto the matching suit plate — the on-screen instruction in this frame reads "Quickly enter the area corresponding to your card!". Positioning wrong is not a damage penalty; the creator states plainly that this attack can instantly kill you.
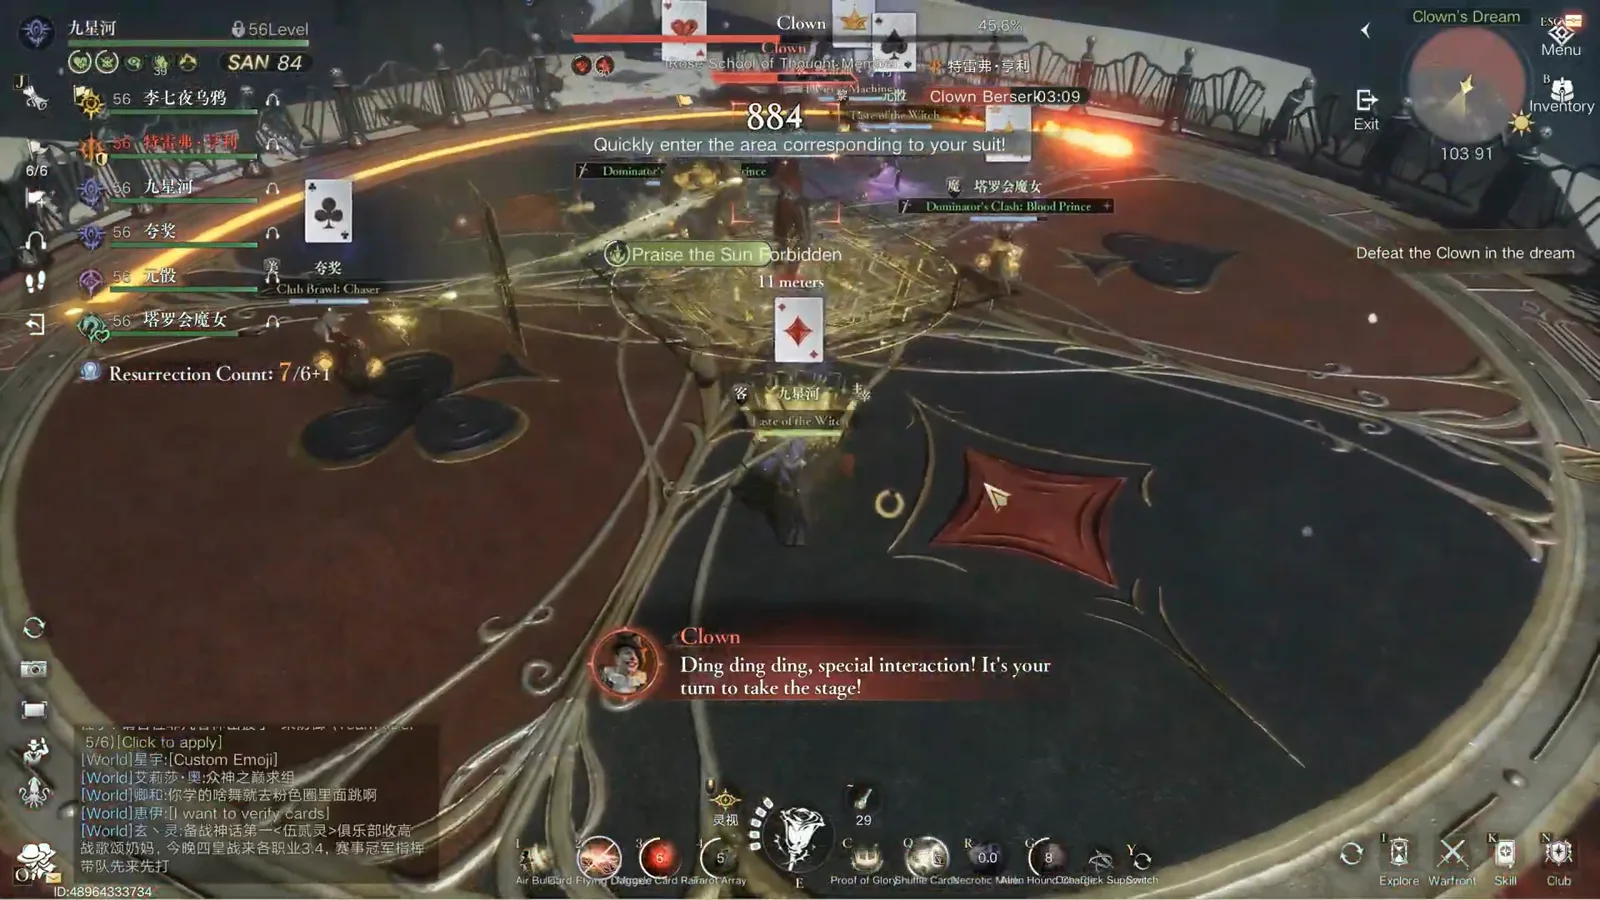
One card overhead, one matching plate on the floor. Miss it and you die.Watch from 2:52 - 09
The fire completes the circle, and the boss checks your position
The check is not instant. The fire ring around each plate has to complete before the boss evaluates whether you are standing in the right place, which is the window you use to finish a rotation or cross the stage. Air Missile fires during this stretch, so the crossing is not free.
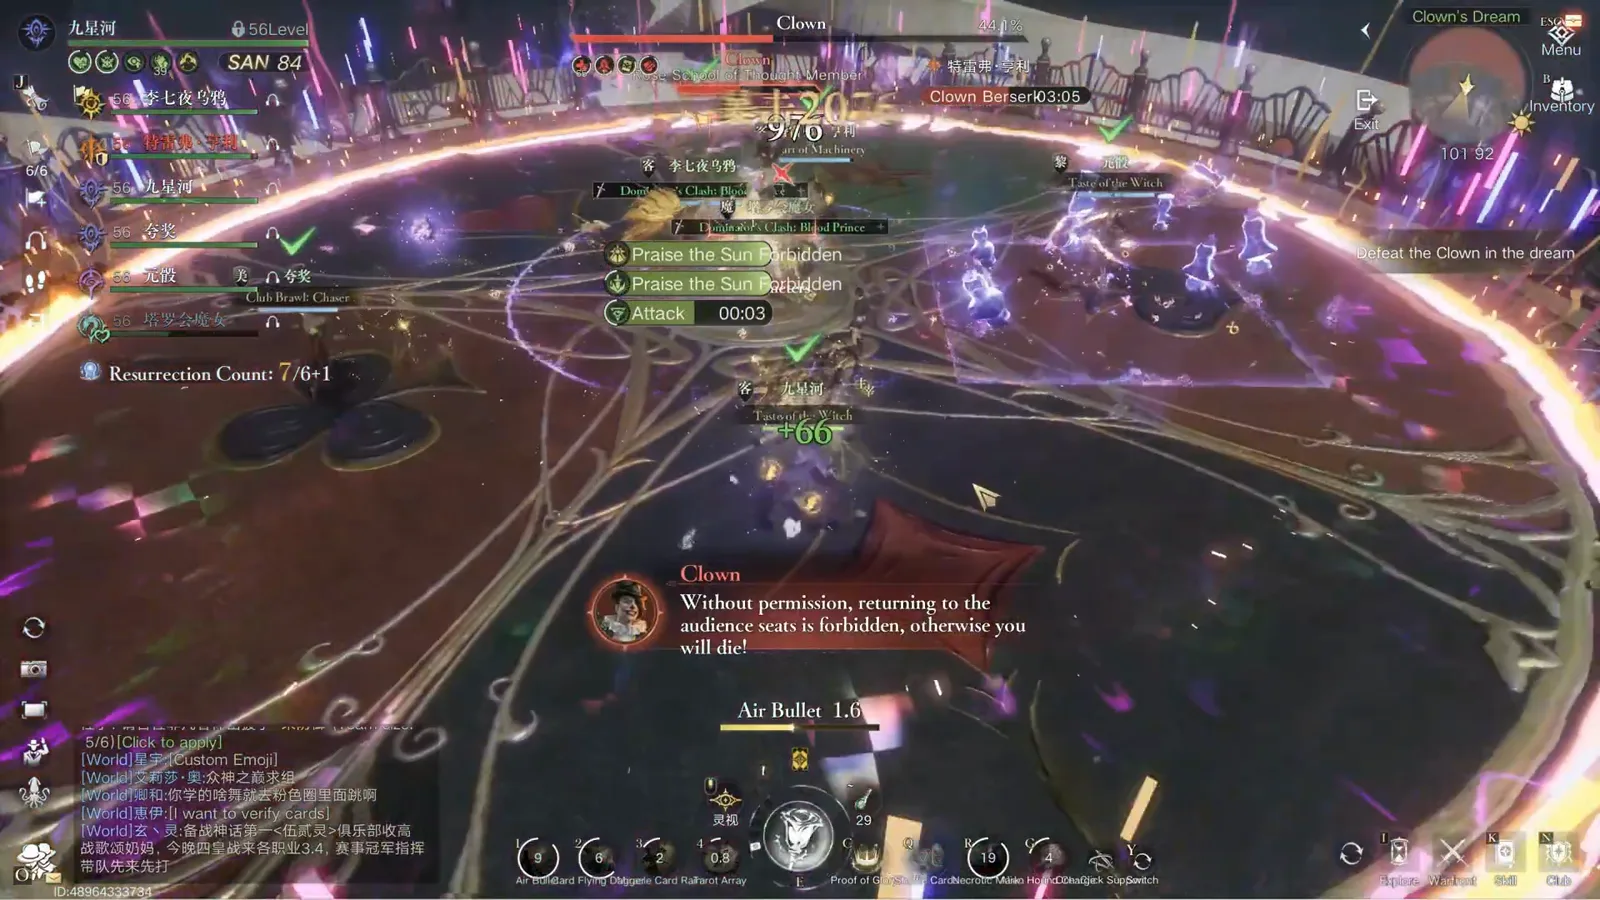
The ring closing is the timer — finish moving before it completes.Watch from 2:56 - 10
Read the suit plates from the arena geometry
The stage itself is the map: hearts, spades, clubs and diamonds are engraved into the floor in fixed positions, and the golden gate arches mark the edges of the plates. Parties that memorise the geometry stop hunting for their symbol under pressure, which is the difference between passing the check and being erased by it.
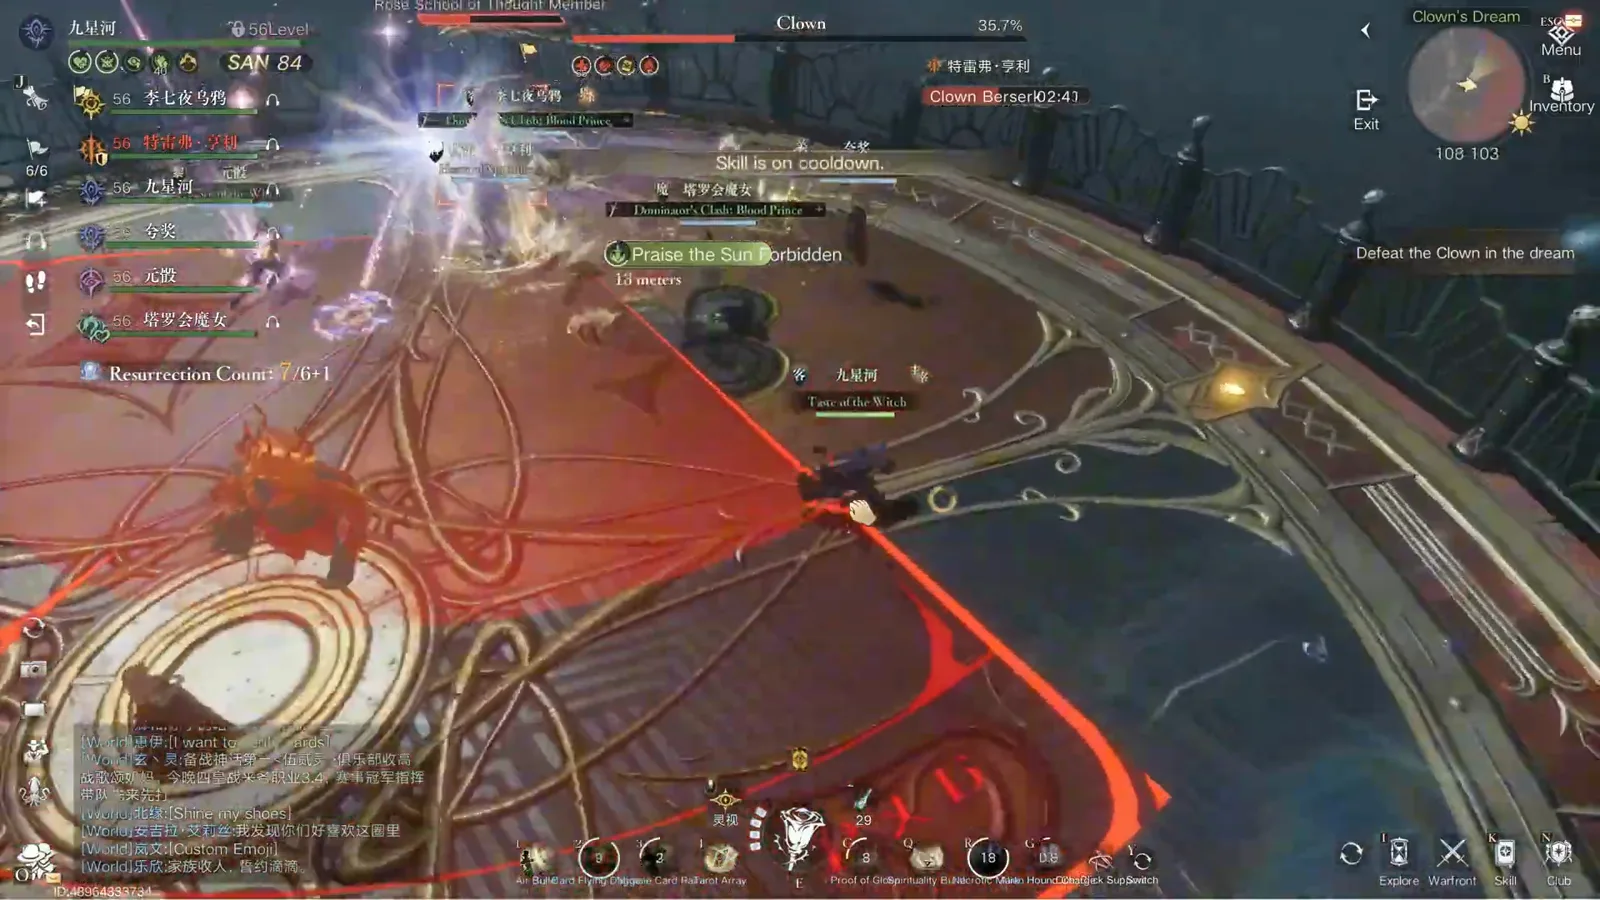
The floor is the answer sheet. Learn where each suit sits.Watch from 3:20 - 11
The 4,200 DPS gate is the real requirement
After the mechanics, the fight is a damage race. The creator's figure is a minimum of 4,200 DPS per team member, and he notes that parties clearing the second boss already have a useful reference point for whether they are close. The numbers in this frame are what a passing party looks like mid-rotation.
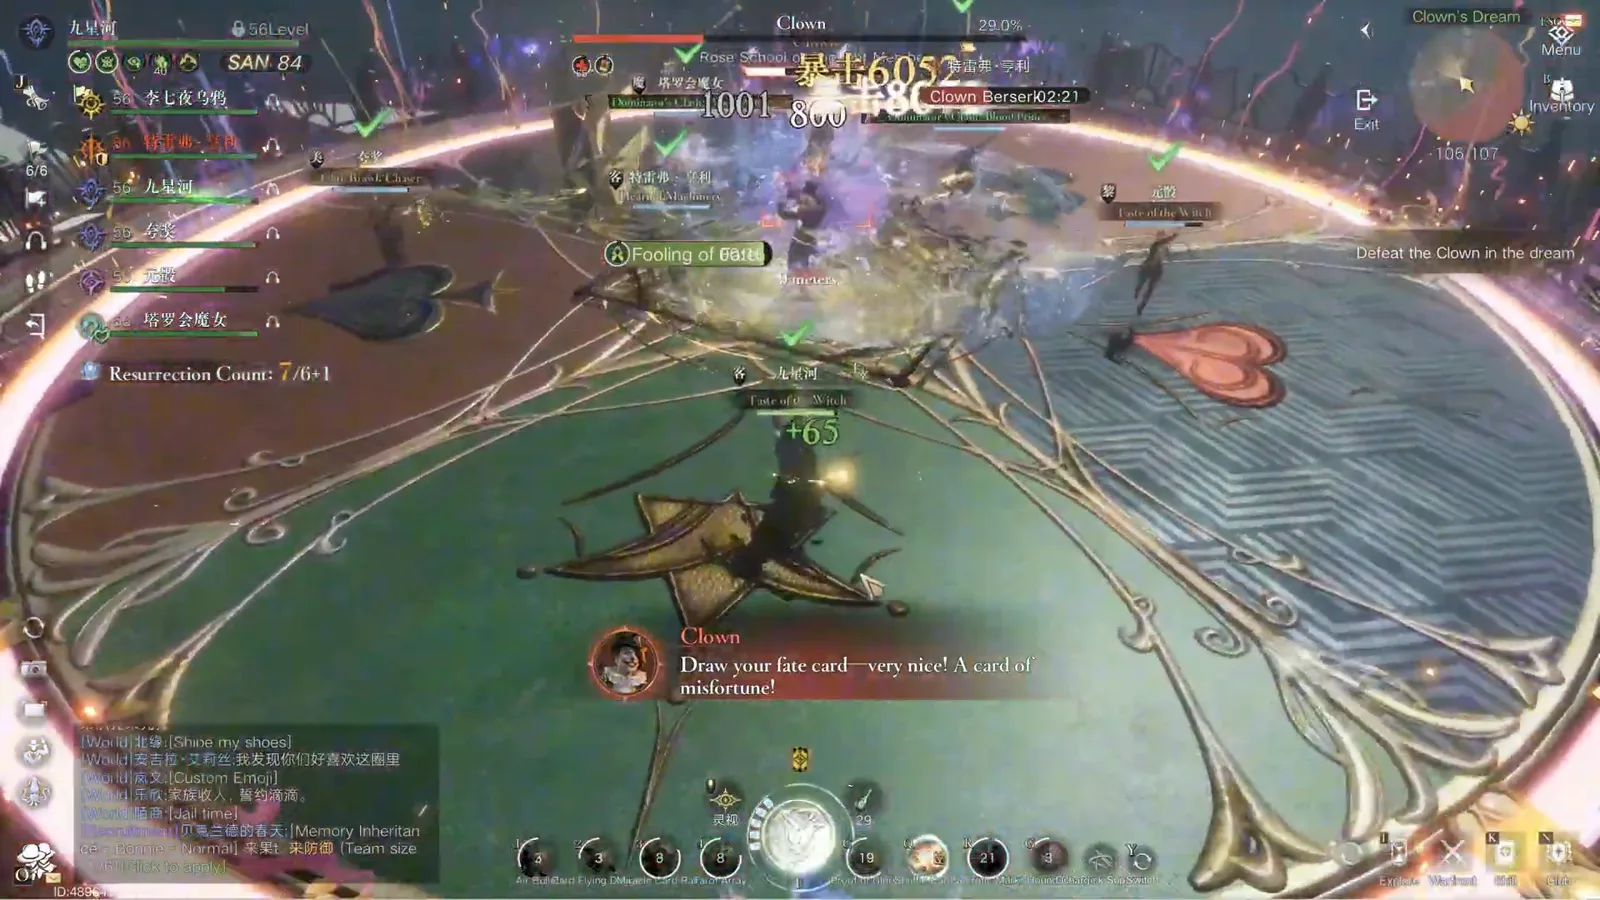
4.2k per player is the line the creator gives for a clean clear.Watch from 3:40 - 12
Rotations two and three hit harder
The mechanic list never grows. What grows is the damage on each repeat — the creator points out that on most bosses in this game the second and third rotations hit harder, and the Clown follows that rule. Late-stage frames look identical to early ones except for how little room the party has for a mistake.
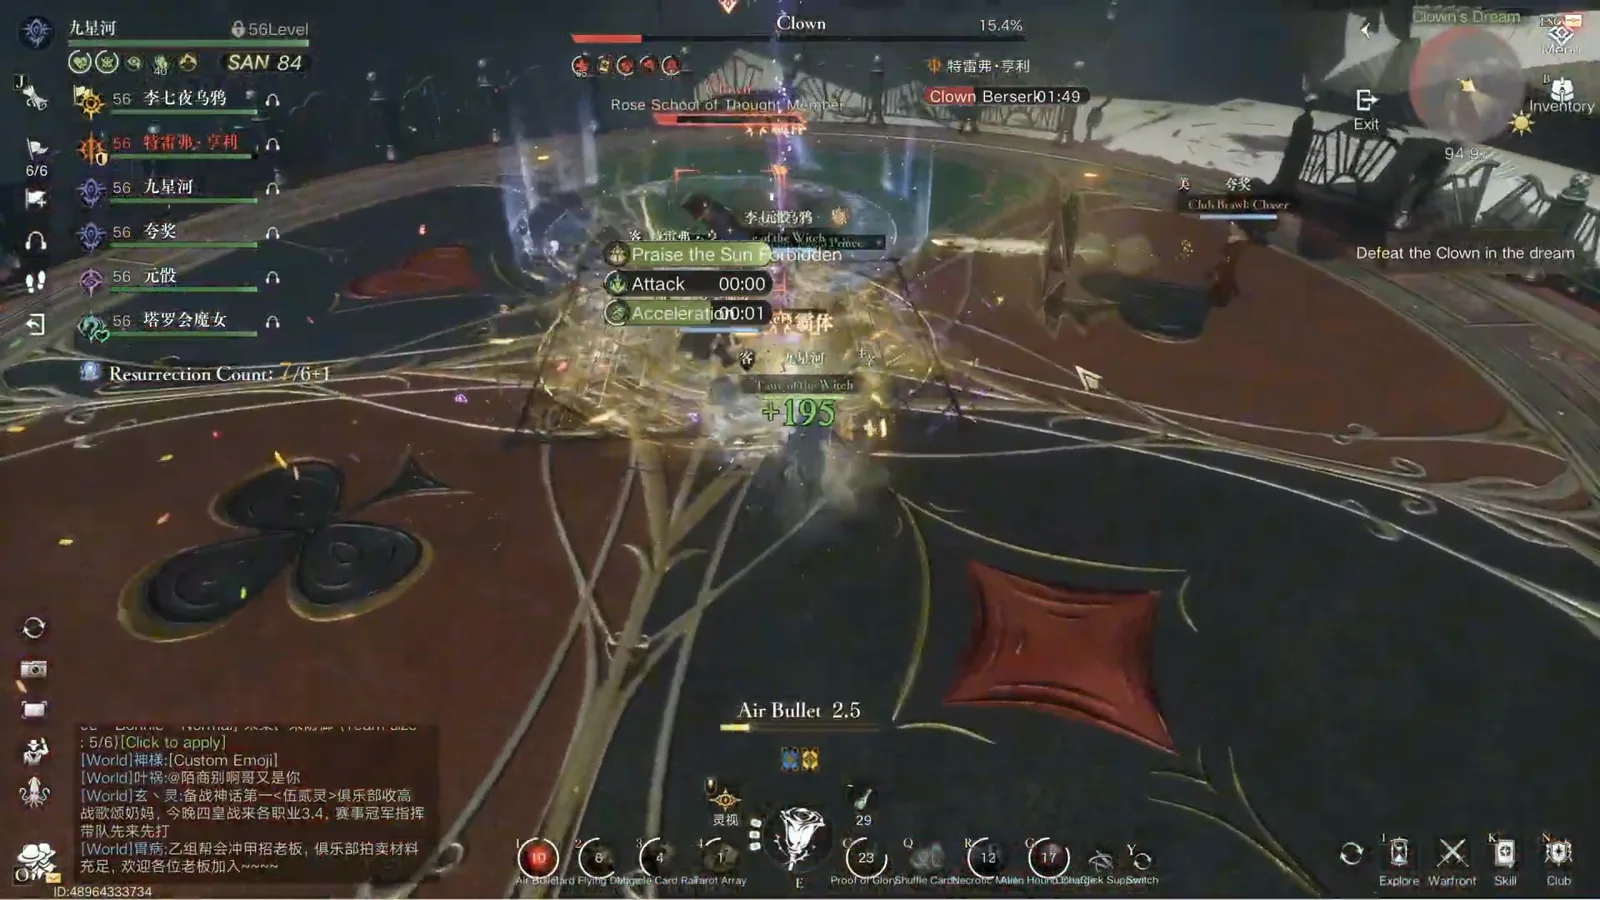
Same mechanics, less margin. The last minute is a spacing test.Watch from 4:12 - 13
The clear panel and the group auction
The results screen from this run: Brilliant Stars rating, 1,568,443 total damage, and the Abund Closure timing badge, followed by the group auction window listing the sealed-artifact materials and their starting bids. This is the frame to compare against your own attempt when you are deciding whether the party is ready to stop practising and start racing.
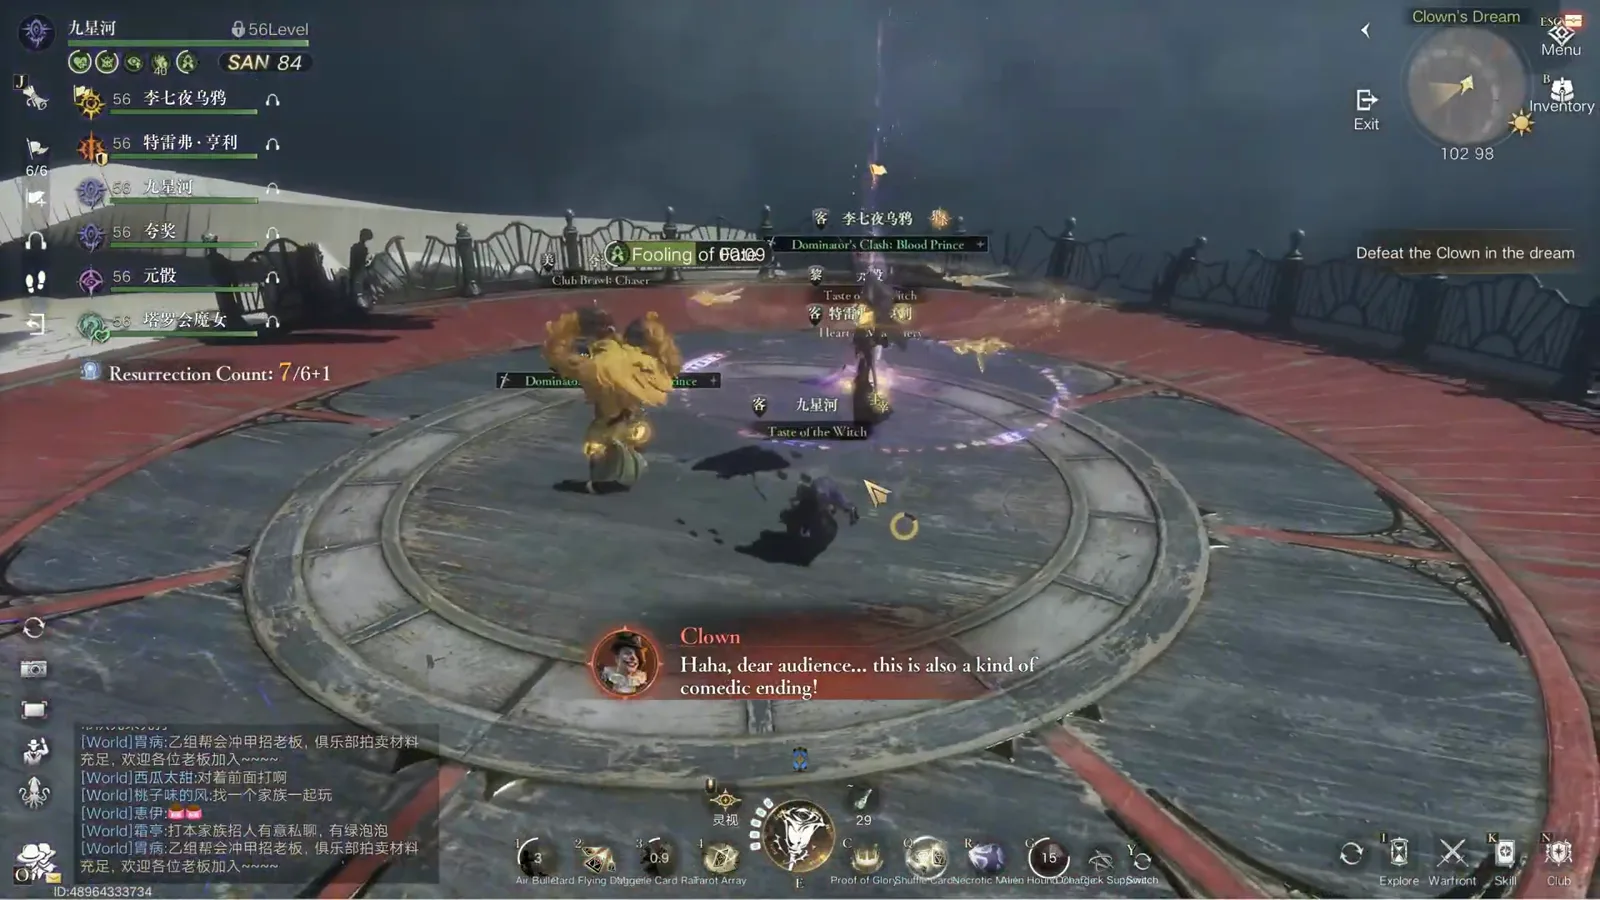
1,568,443 total damage on this clear, plus the auction that follows it.Watch from 5:18
Every frame is captured from the linked recording and each step timestamp deep-links to that second. The 4,200 DPS per-player figure and the "instant kill" wording on the card-symbol check are the creator's own statements from this run — community reference values, not official design numbers. A second Antigonus run (Ray, Lv52) exists as an unlisted cross-check; it is not quoted on this page because the mechanics here are all visible in the primary recording. Described behaviour is Normal difficulty only.
The Clown FAQ
- Q1.What kills parties on the Clown?
- The card-symbol check. Every other mechanic in the fight is a damage or spacing question with a soft failure; standing on the wrong suit plate when the fire ring closes is an instant kill.
- Q2.How much DPS do we need?
- The creator gives a minimum of 4,200 DPS per team member for a clean clear, and notes that attempts carry over to the following week if you cannot meet it yet.
- Q3.What is the orange circle?
- A shared-damage attack. The whole party gathers inside it. On Normal it barely hurts, but the creator warns it will on harder difficulties, so treat the stack as a habit to build early.
- Q4.Do the doubles have to be killed?
- Yes. The objective banner reads "Defeat all the doubles to interrupt the research", and failing to clear them in time stops the boss from breaking out of the sequence.
- Q5.Can I keep using skills during the curtain?
- Yes — the creator calls this out specifically. The curtain is a positioning phase, not a lockout, so keep the rotation running while you move to your suit plate.
- Q6.Is this boss meant for week one?
- No. The creator says you are not expected to clear it in the first week, and that a failed attempt still counts toward the following week, so use early tries to learn the plate geometry rather than to race the timer.