Lord of Mysteries Viscountess Boss Guide (2026): Castle Wing
The Viscountess is the final boss of the Castle wing of May Manor, and the first encounter in the raid that runs three mechanic stages instead of two. Everything in this guide comes from one recorded clear: the tags, the night stage, the clover soak and the four-zone gate are all frames from that fight, in the order the party met them.
Two things decide this boss before damage does. The first is that your party names a butler-tag player and a spirit-tag player before the pull. The second is that stage three is a movement check, not a DPS check — five seconds to reach the gate that glows in your zone, and two hits anywhere in that stage erase you.
Verification rule
[unverified] / 〔待核验〕 marks a detail the footage or cited sources could not confirm — the marker stays inline so you know exactly which claims to double-check.
Stage-by-Stage Walkthrough With Frames
Key Takeaways Before You Pull
- ◆Three mechanic stages, not two — the last one only makes sense once you have watched the whole rotation.
- ◆Name the butler tag and the spirit tag before the pull; the marks land on whoever is standing there if you do not.
- ◆Night stage: everyone stands in the lantern light, and the butler-marked player stays out of it or the raid is wiped.
- ◆Stage two adds wraiths that chase the furthest player, plus a four-leaf clover soak for the orange circle.
- ◆Stage three splits you into four zones — run to the gate throwing the light beam in your clean area, five seconds.
- ◆Video-measured numbers from this run: 28k DPS on the Viscountess dummy, roughly 23k party average to clear.
Verified gameplay source
Viscountess mechanics walkthrough — full clear recording
- 01
Assign the butler tag and the spirit tag before the pull
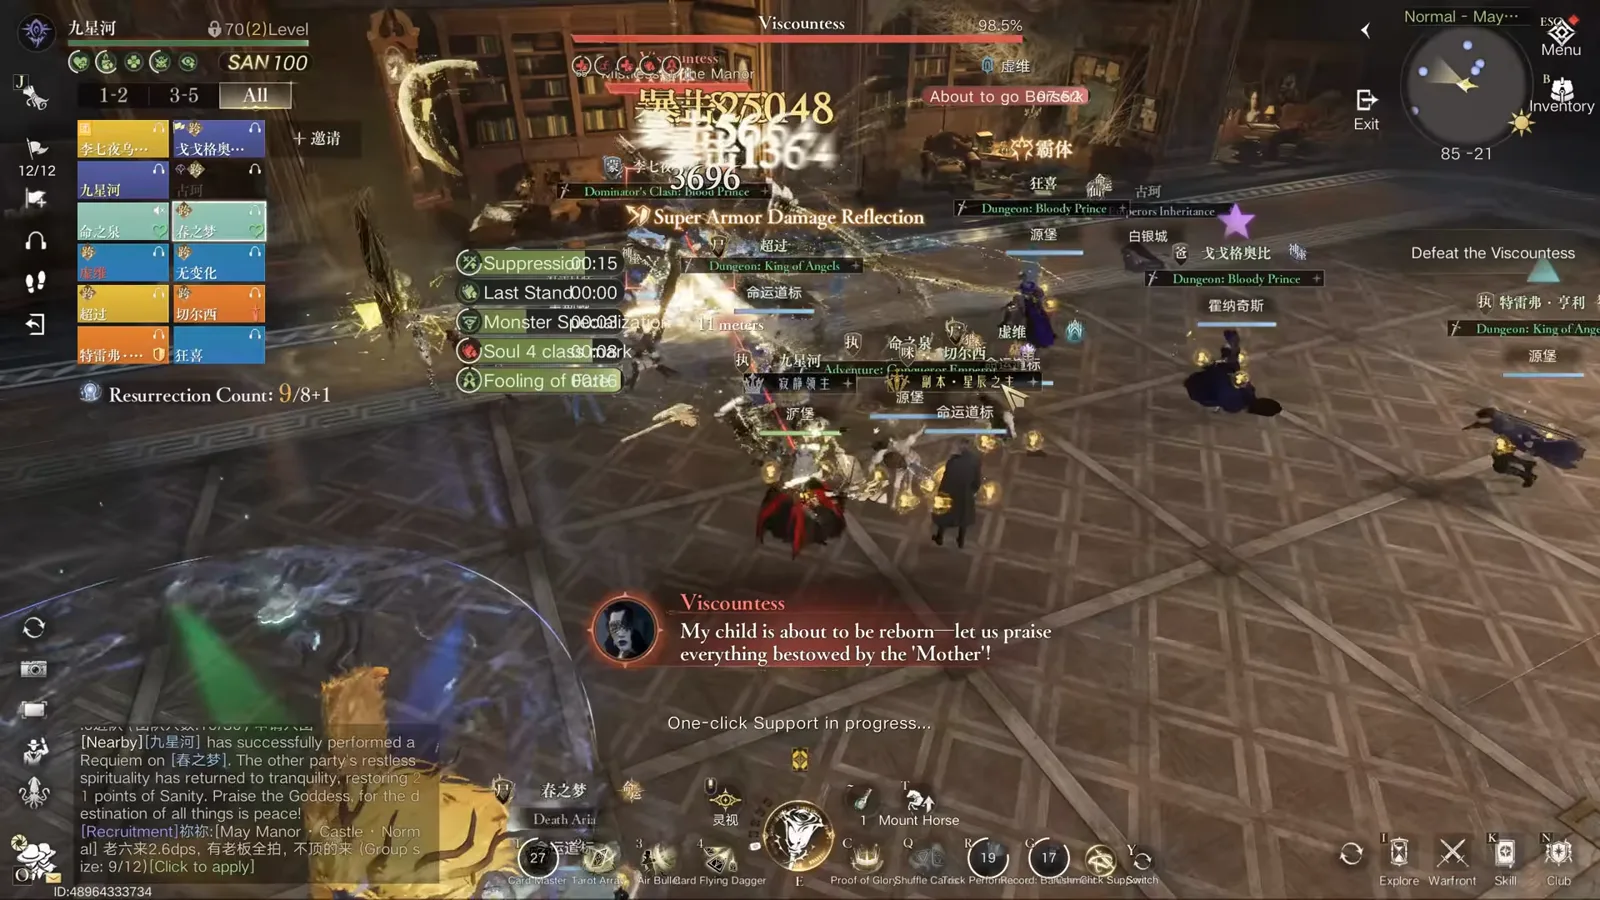
The fight opens with two named marks, and the decision belongs to the party before the pull, not to whoever reacts fastest afterwards. One player tags the butler, one tags the spirit. In this frame the raid is already stacked inside the boss's red fan while the Viscountess delivers the line "A mere sacrifice, yet you dare to dream of escaping?" Whoever holds the butler mark is frozen in place and bleeds damage over time — if the adds kill that player before the butler drops, the run is worth restarting.
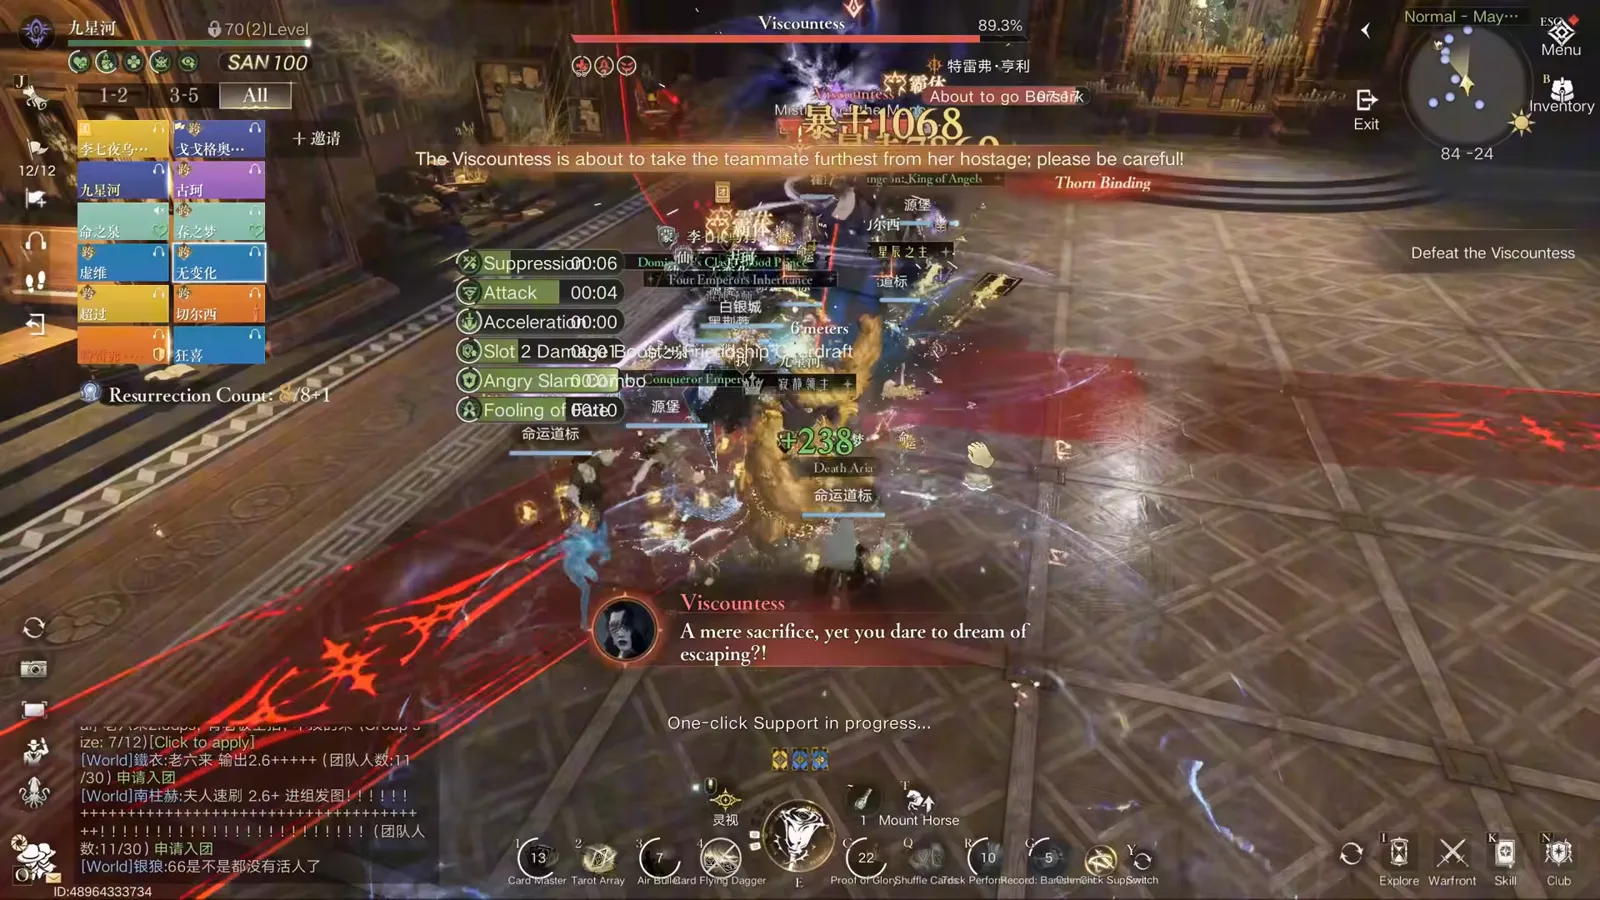
Cycle one: the party stacks through the fan while the two tags are settled.Watch from 0:40 - 02
Burn the butler the moment the residue notification lands
When the spirit residue notification appears, the butler and the spirit spawn in the same window. The tagged player runs in, takes the mark, and the raid has to kill the butler before the immobilised DoT kills the friend holding it. Here the spirit has already come back for a second time on the plateau, with the party's red laser line and ground fires still on the floor — the marks do not wait for a lull.
Second residue spawn: marks and adds arrive together, so call the burn early.Watch from 2:05 - 03
Keep the boss separated from the butler
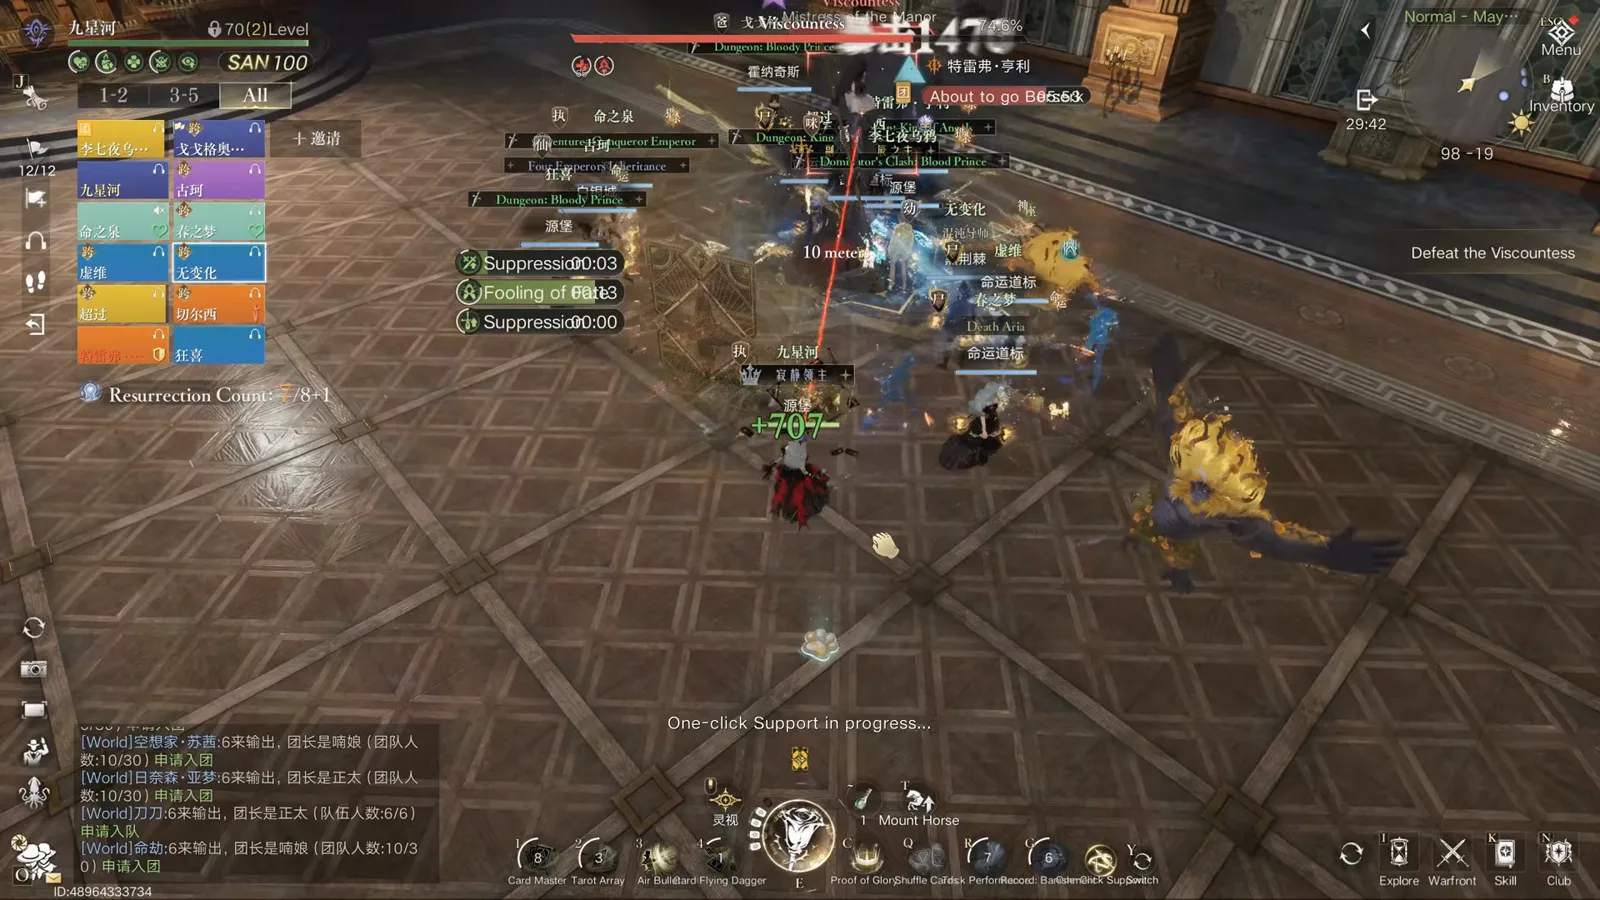
Do not drag the boss onto the butler. Separated, the pair is manageable; together, the boss launches a heavy attack straight into the frozen marked player — the creator shows exactly that mistake costing a run. This frame is the tail of stage one: the Viscountess bar at 4.6% with the whole raid spread across the library hall, which is the spacing you want before the lights go out.
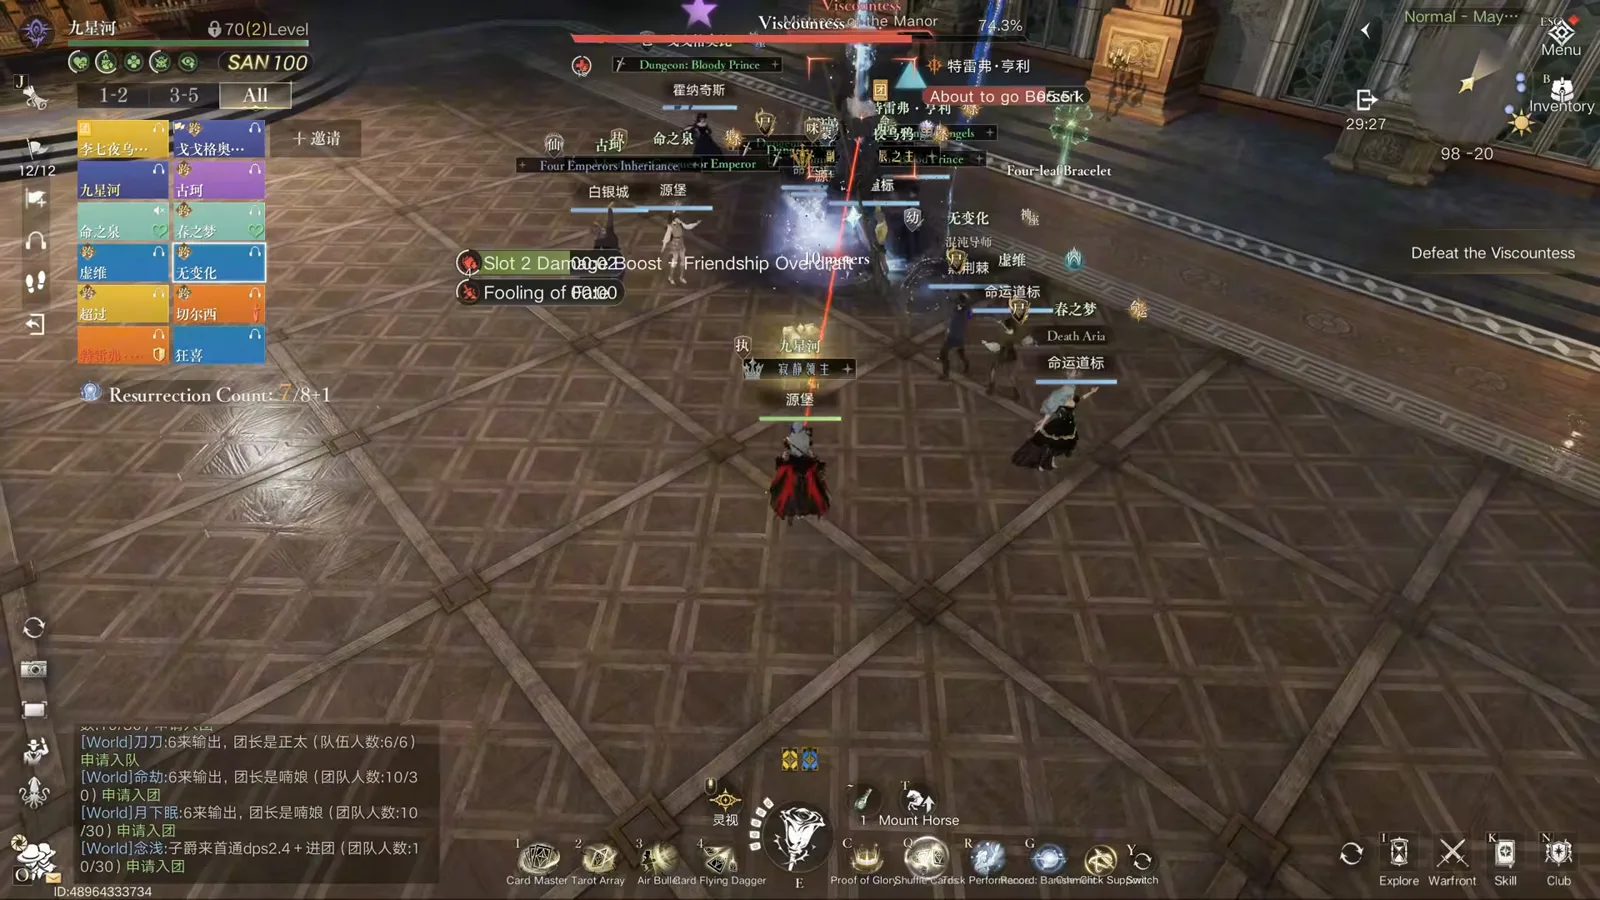
Spread spacing at the end of stage one — before the night stage starts.Watch from 2:20 - 04
Night stage: stand in the lantern light or die
After two marks are set, the arena goes dark. Everyone stands close to the player holding the spirit lantern, because the raiders left outside the light are killed instantly — and you genuinely cannot see the floor without it. Put headphones on and keep the channel quiet: the spirit-tagged player has to listen for the bell to locate the younger spirit.
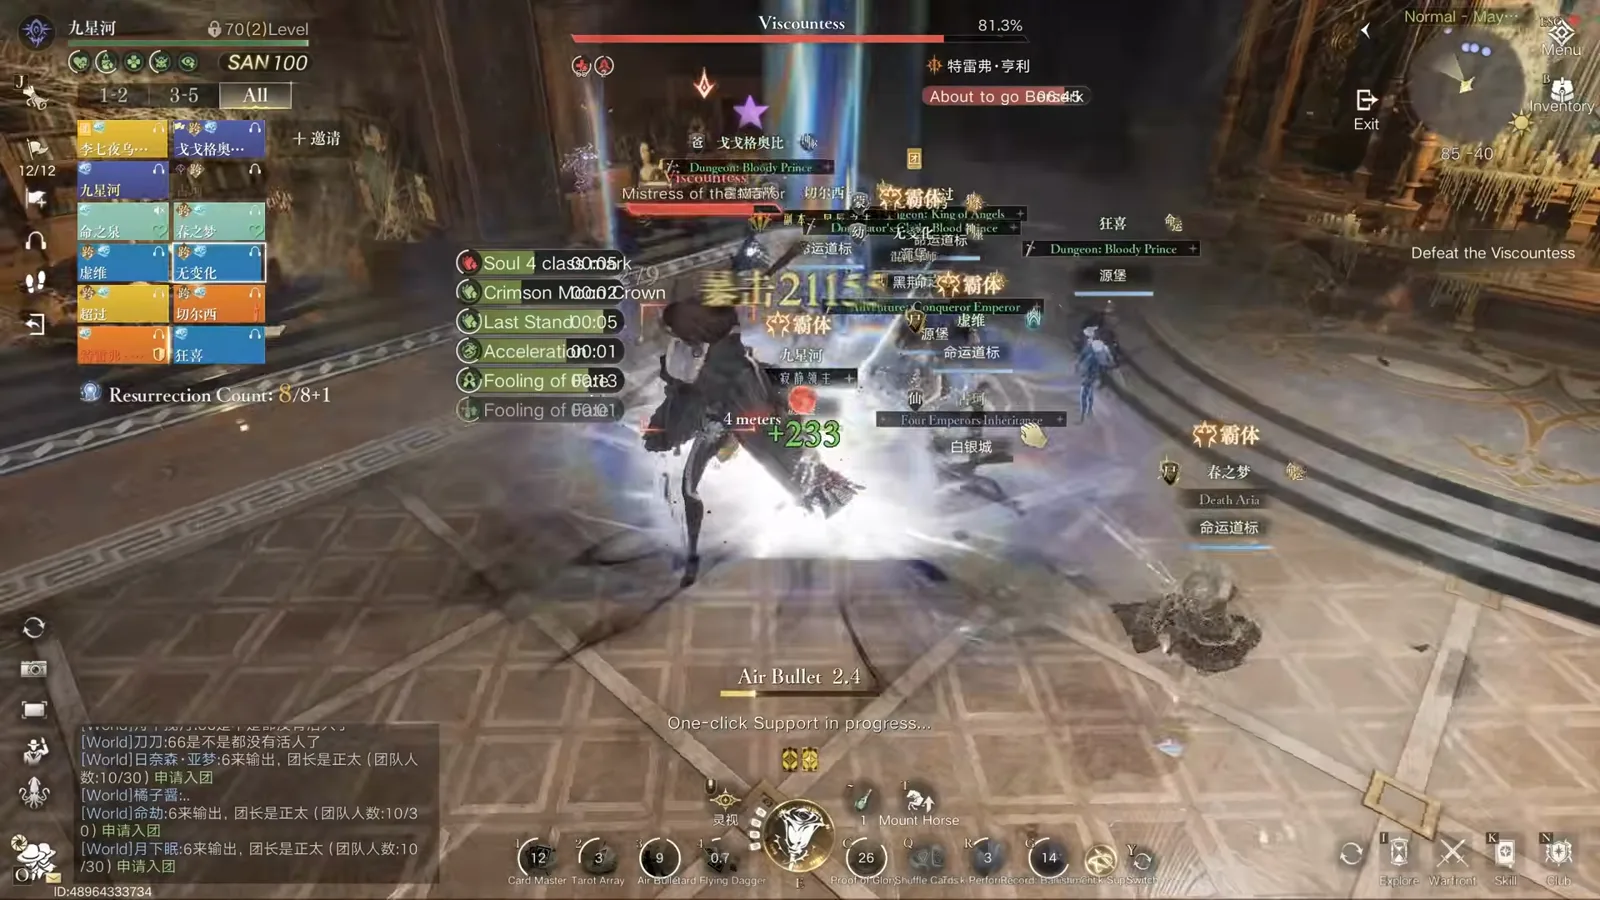
Darkness falls: the whole raid folds into the lantern radius.Watch from 1:12 - 05
The butler-marked player must stay out of that light
The other half of the same rule: whoever carries the butler mark cannot be near the lantern, or the entire team is wiped. So the party follows the lantern and the butler carrier orbits outside it. The Young Viscount Phantom line in this frame — "妈妈,我终于找到你了!" — is the tell that the spirit has found its target. The boss then attacks immediately, sometimes before the light comes back up, and every landing leaves a three-second ground DoT.
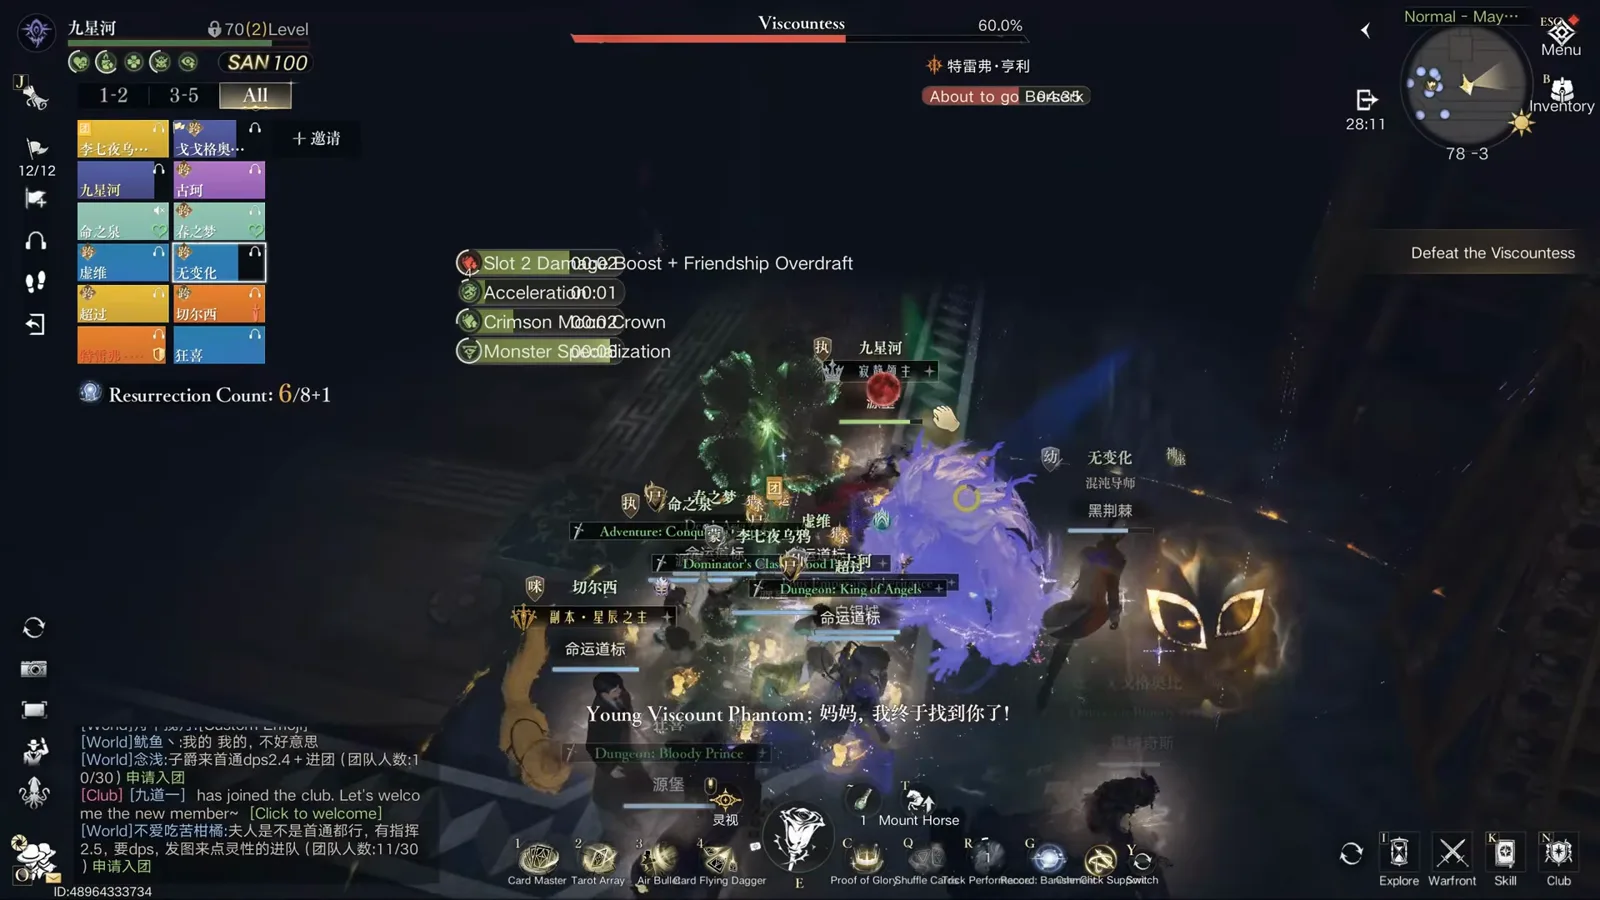
The lantern glow is the only safe radius in the dark — except for one player.Watch from 3:36 - 06
Stage two keeps the marks and adds wraiths on the furthest player
Stage two is stage one with more on top: lucky clovers appear, a few extra attacks are layered in, and wraiths spawn that aggro the furthest person in the raid. That player separates and uses a damage-reduction skill or they die instantly. The red circles in this frame are those landings — wherever one lands it keeps dealing damage, so the separation has to happen away from the group's own standing area.
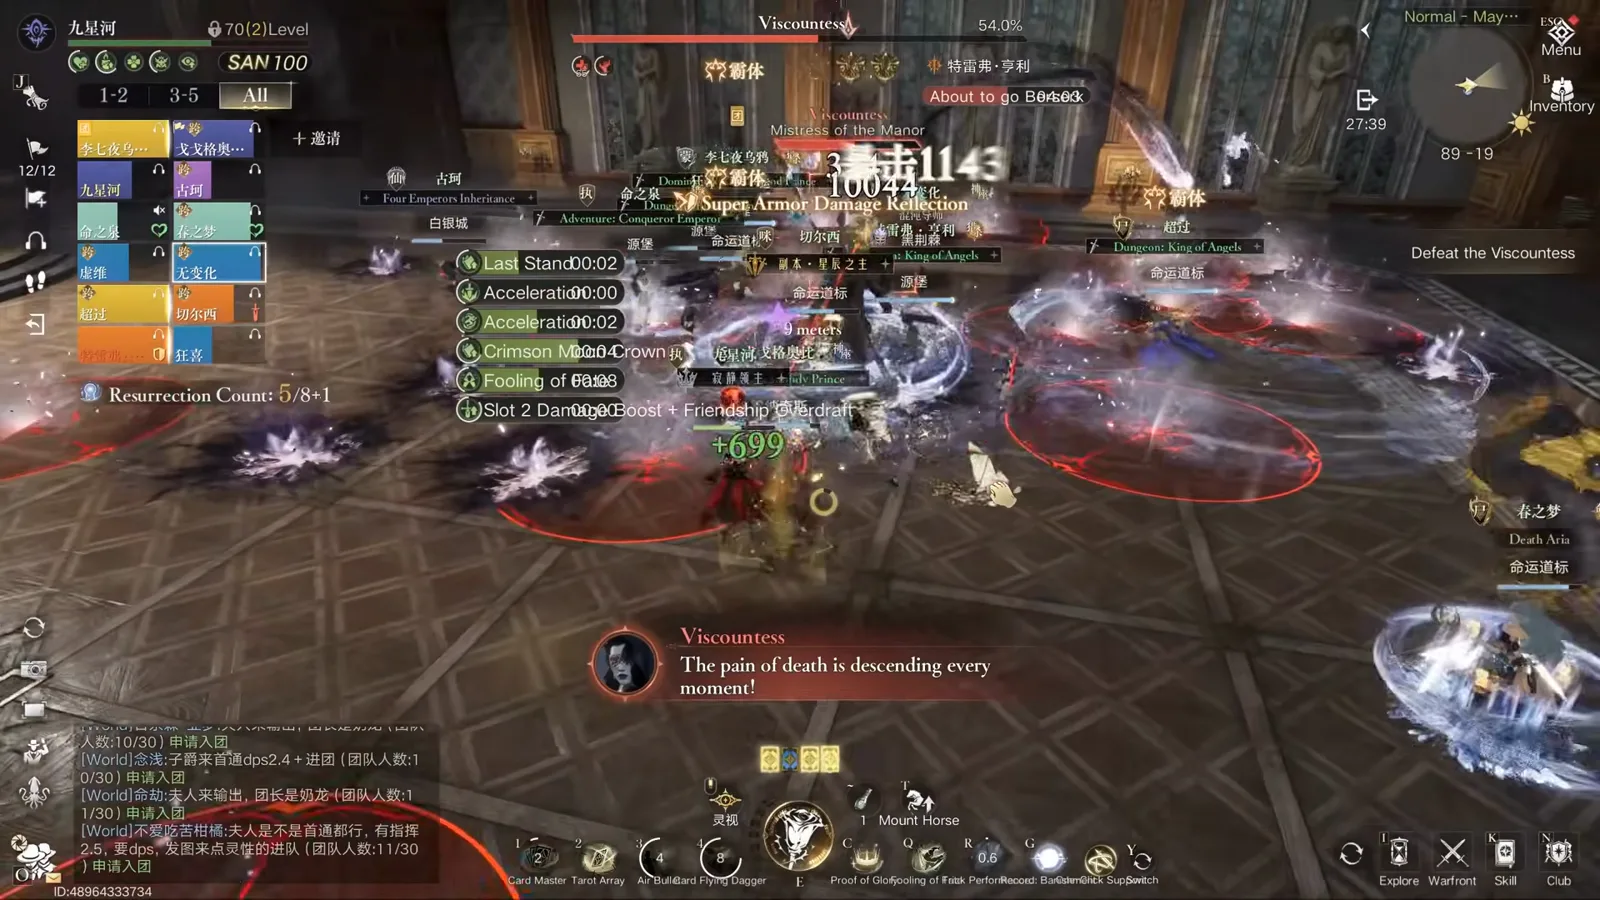
Wraith landings: the DoT stays on the floor after the hit resolves.Watch from 4:08 - 07
Grab the four-leaf clover before the orange circle resolves
After the first night of stage two, the boss starts spawning four-leaf clovers somewhere on the stage. Nominate one player to hold the clover, and start preparing for it the moment the orange circle appears — if nobody holds a clover when that attack resolves, the whole team is wiped. The charge takes a while to fill, so burning it early still gets the holder eliminated. Ideally a tanky player takes the butler mark in this stage, because they will walk through the most telegraphs.
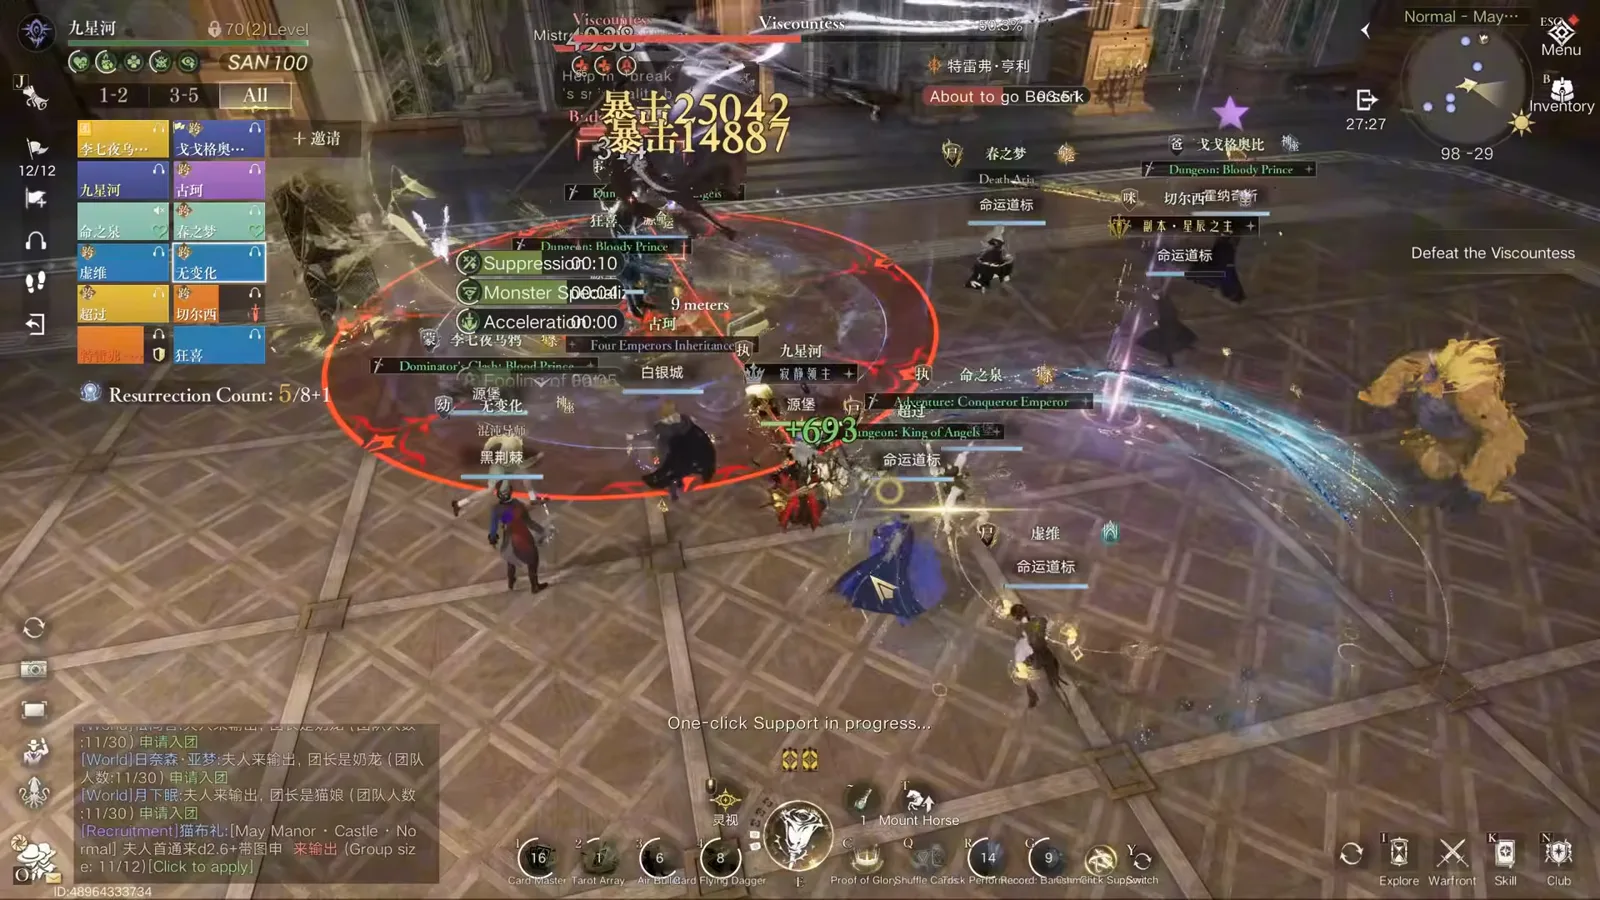
The orange circle is the stage-two wipe check; the clover holder answers it.Watch from 4:20 - 08
Mythical form opens the four-zone split
Stage three changes the shape of the fight. The boss enters Mythical Form and prepares to separate the raid into four areas. Do not panic at the split itself — the boss does not wall the regions off immediately, and that gap is your window to read the floor and start moving.
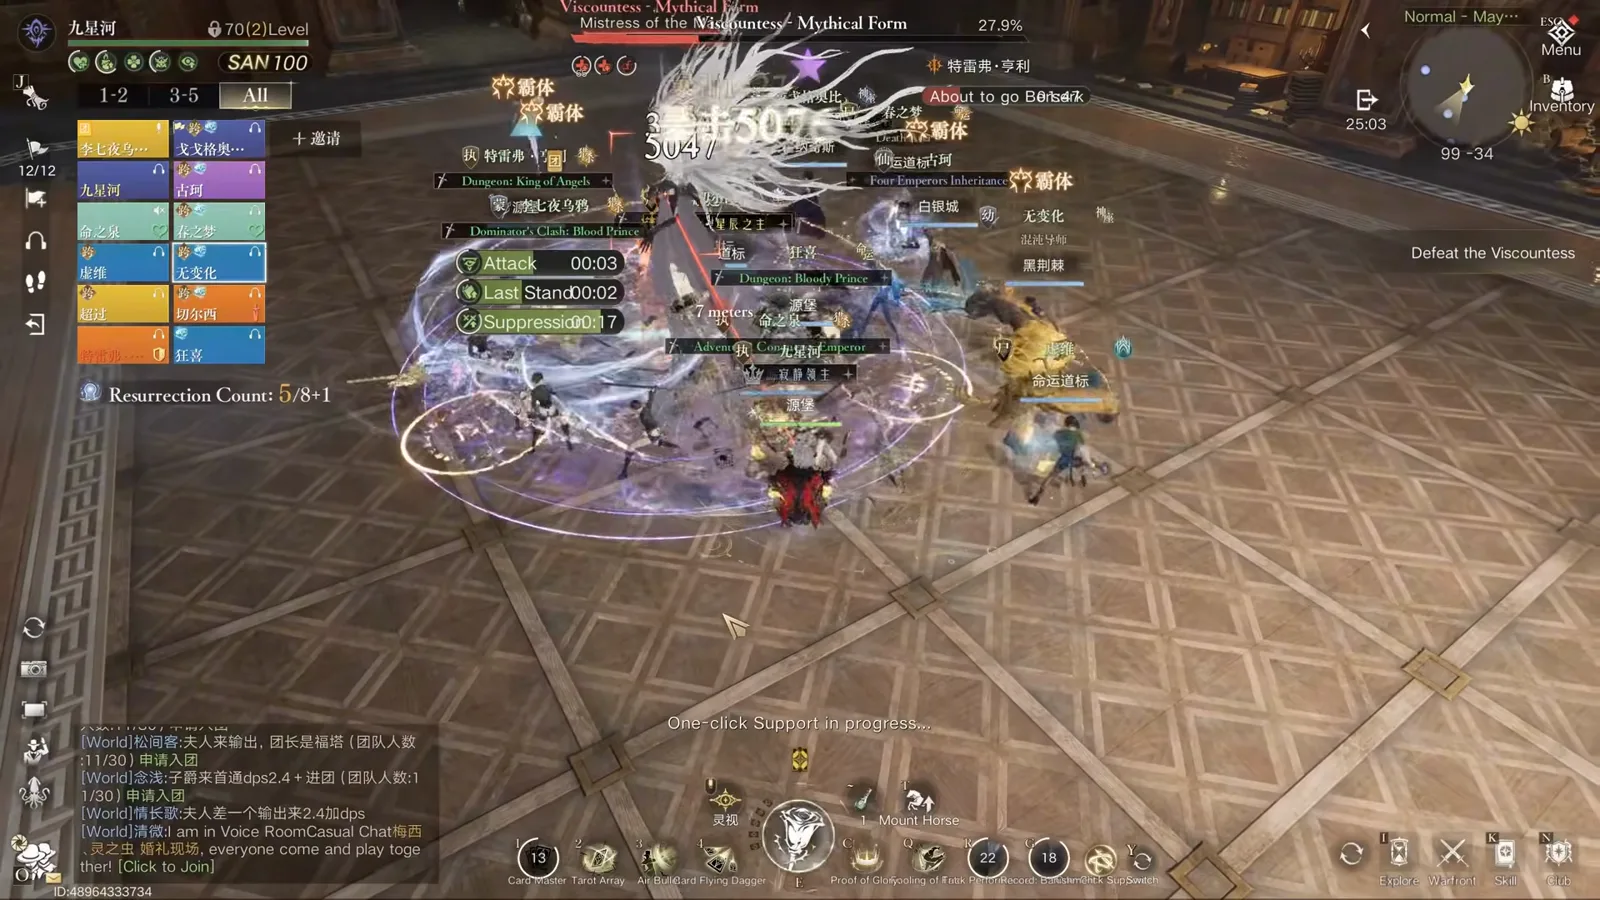
Mythical Form: the zone split is telegraphed, not instant.Watch from 5:12 - 09
Read which zone has no red marking on the ground
Every zone but one is hatched with red ground markings. In the clean area, one gate briefly glows. The violet walls in this frame are the zone boundaries; the red fan is the boss trying to stop you tilting the camera wide enough to see the other zones — the fight actively fights your field of view.
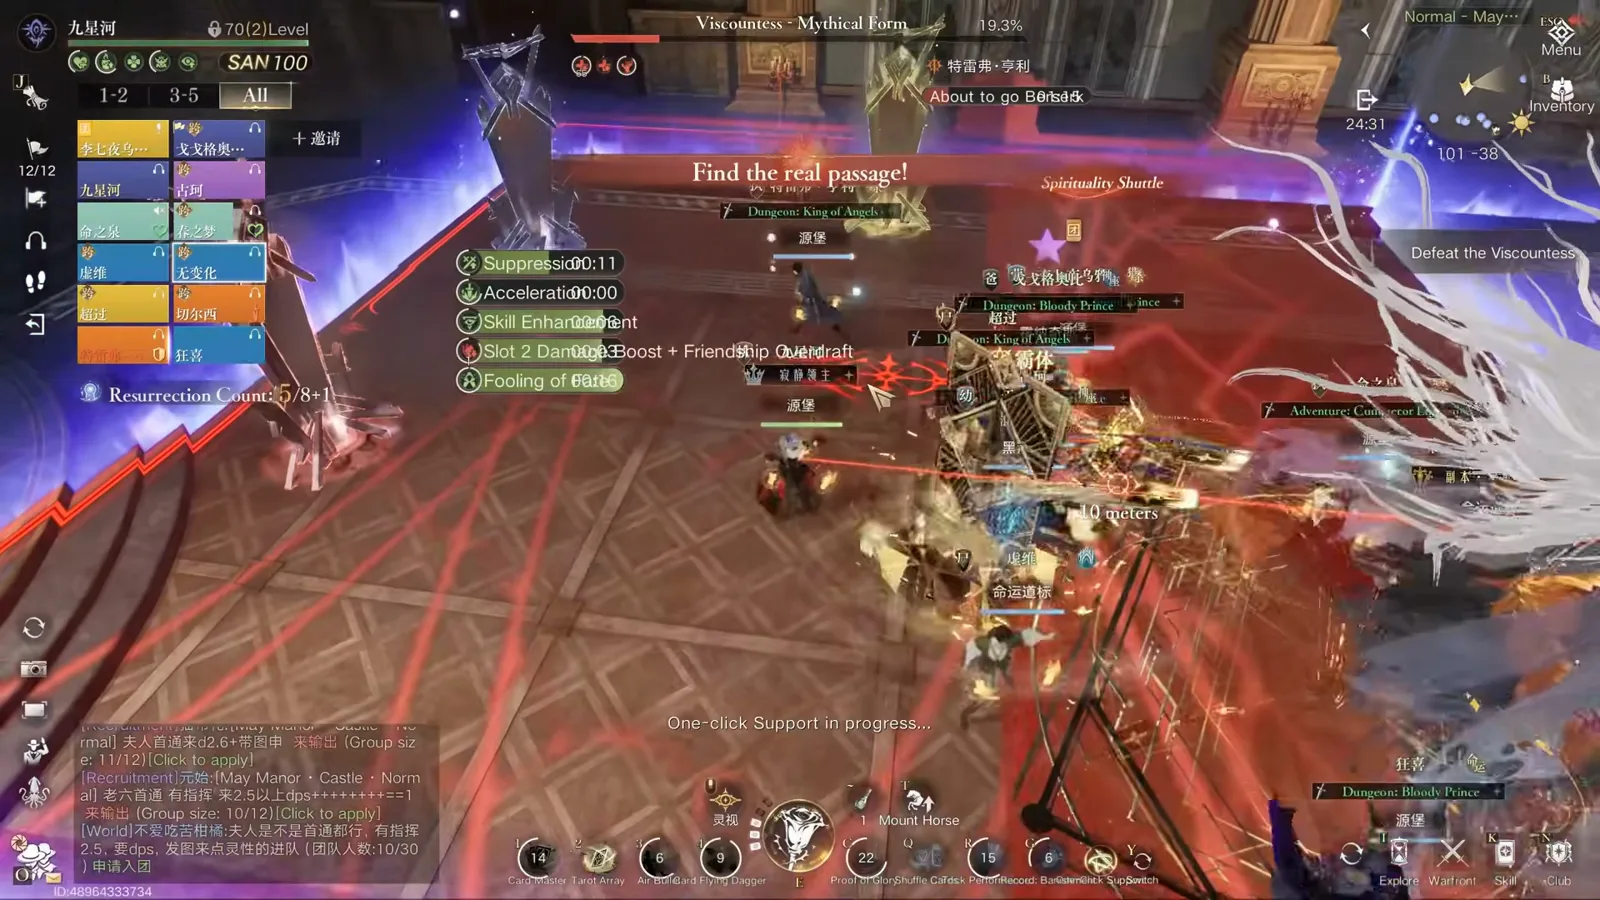
Violet walls, red floor — only one zone in view is clean.Watch from 5:54 - 10
Find the gate throwing the beam of light in your zone
Because the judgment is fast, the creator pauses the recording here to show a still of what the gate looks like: a beam of light shining straight up out of one gate. In this attempt the blue gate was lit. From far away the beam is genuinely hard to read, which is why voice chat is close to mandatory — whoever is closest to the lit gate calls it out.
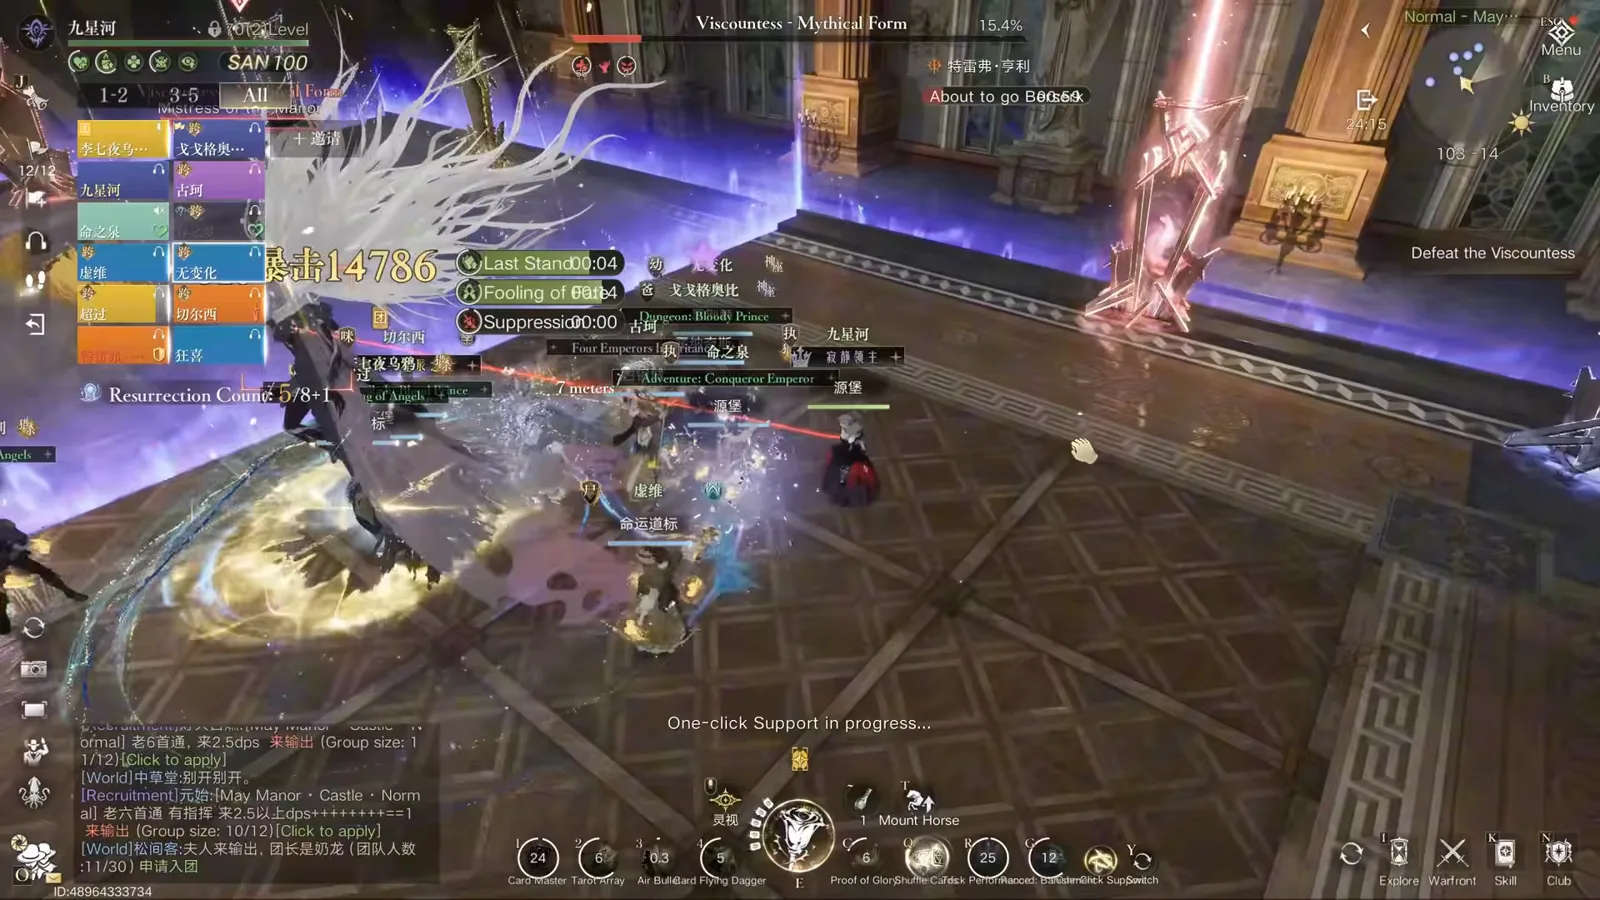
One gate in your zone throws light upward. That is the one.Watch from 6:10 - 11
Run — you have five seconds, and two hits kill you
The run window is five seconds, and taking two attacks anywhere in stage three eliminates you. A tank can face the boss away from the portals to make the gates easier to read, but that risks the tank arriving late, which means the boss is facing the portal when the party walks in. So the rest of the raid dodges on arrival and stops standing behind the tank. One mercy in this stage: the wraiths stop spawning, so reading gates is the only thing competing for your attention.
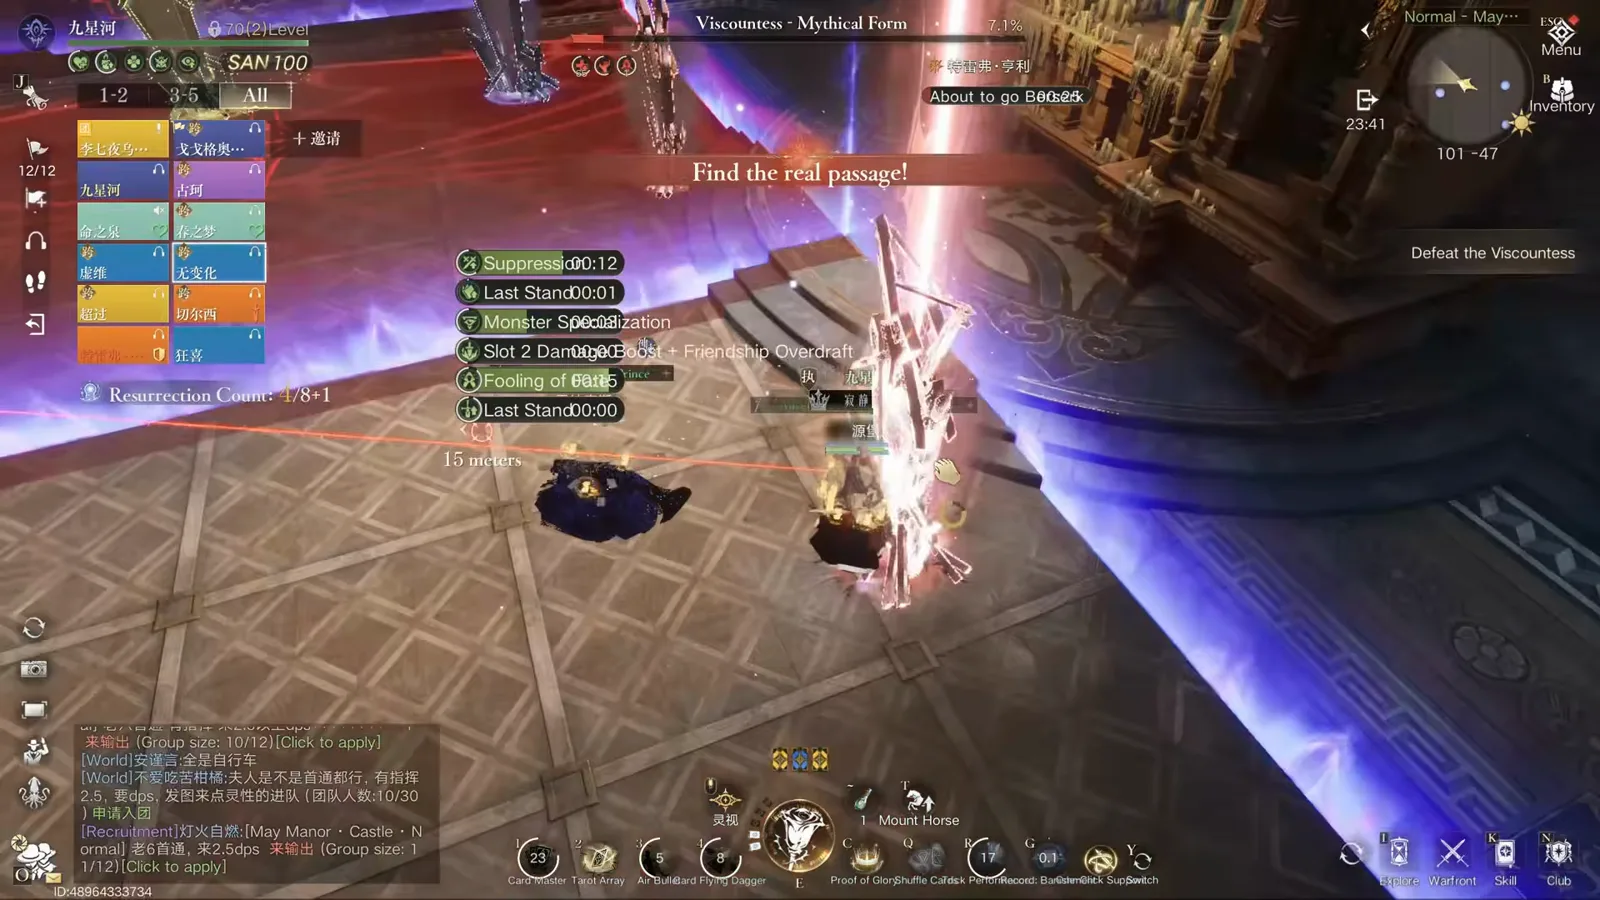
Five seconds, one gate, and a boss that may be facing it.Watch from 6:44 - 12
Skip the final gate only if the burn is certain
With about ten seconds left on the phase timer, this party chose to skip the final gate and burn the boss instead. That is a high-risk call the creator explicitly warns about: take it only when you are sure the remaining damage closes the fight, otherwise you throw away a clean attempt.
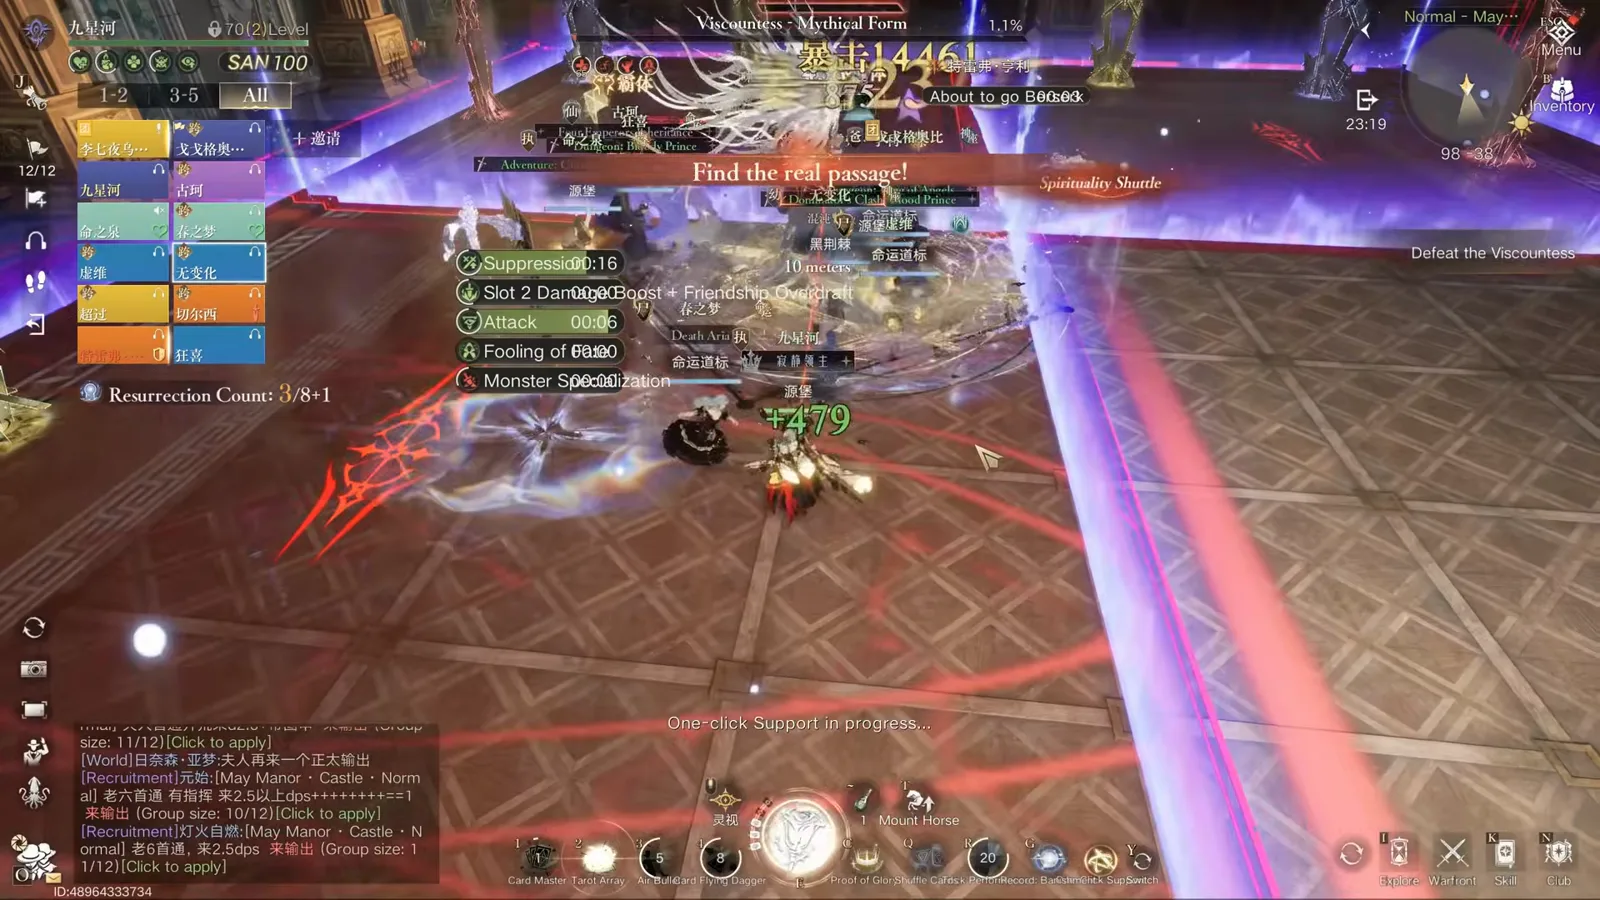
The burn-or-gate call, made with roughly ten seconds on the clock.Watch from 7:06 - 13
The kill, and the red-moon cinematic
The Viscountess falls and the cutscene plays. Nothing about the reward depends on how the last seconds went — the phase timer, not the boss health bar, is what the party was actually racing.

Red-moon cinematic: the Castle wing is cleared.Watch from 7:24 - 14
Audit the clear panel against the 23k gate
The results panel is where you check whether the run was actually as close as it felt: total damage, the Cocoon Silk timing badge, the distribution and auction rows, and World Adventure Treasure progress. This recording finished at 3,573,417 total damage. The creator's own reference numbers are the ones to plan around — 28k DPS on the Viscountess dummy in this run, but realistically about 23k party average clears the boss.
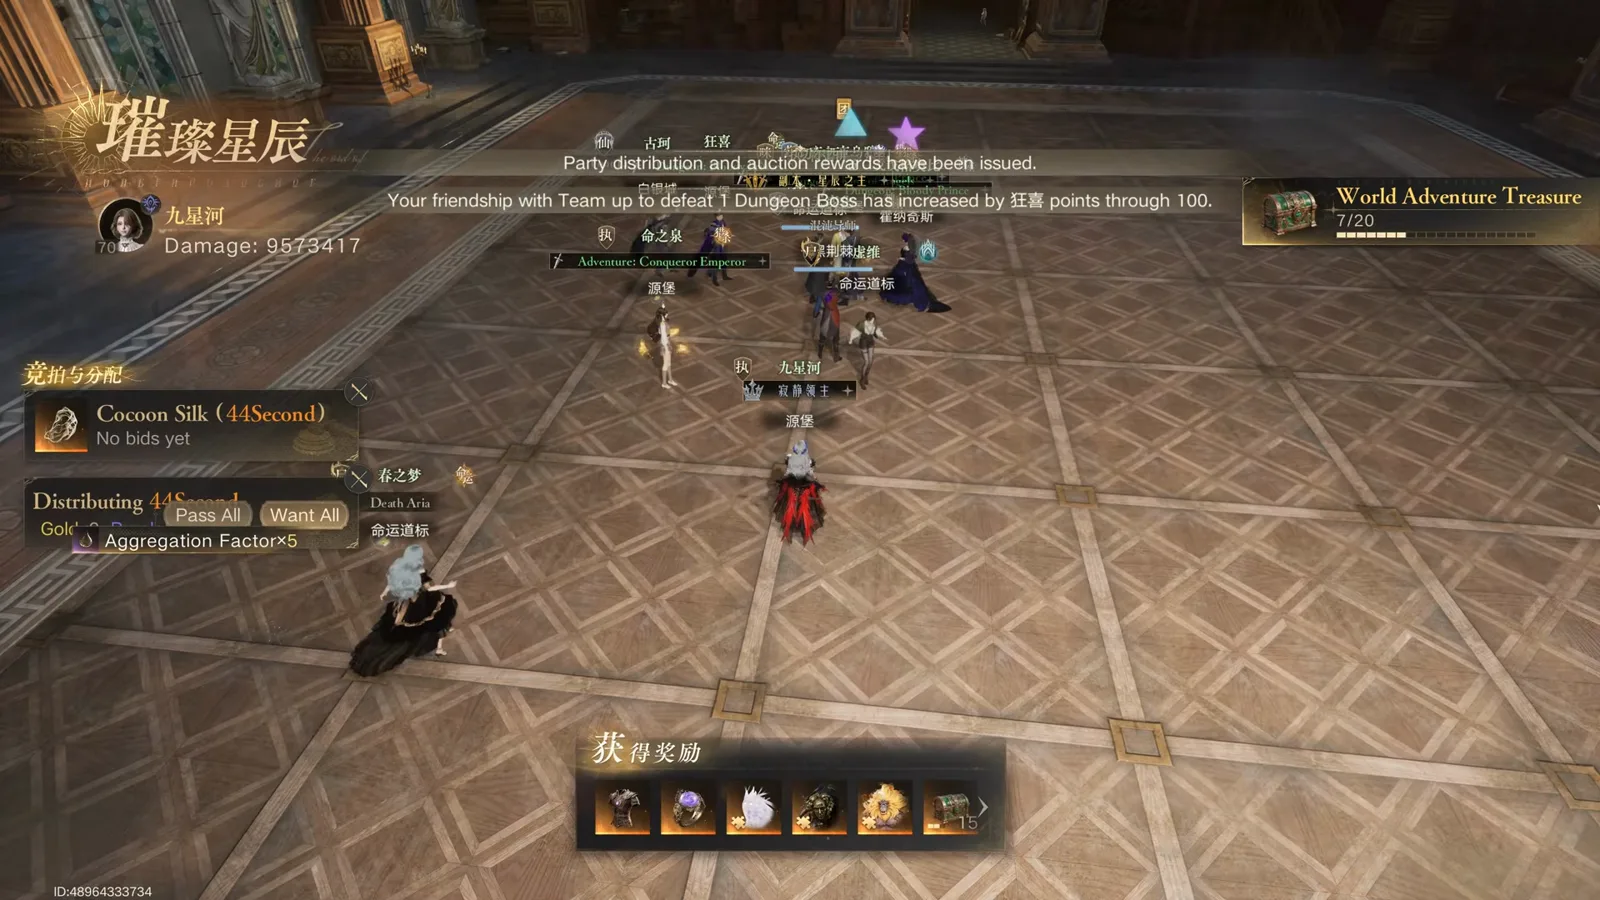
3,573,417 total damage on this clear — plan around the 23k average, not this number.Watch from 7:27
Every frame on this page is captured from the linked recording; the timestamps under each step jump to that exact second. The 28k / 23k DPS figures and the five-second run window are the creator's own measured numbers from this attempt — community reference values, not official design targets. Mechanics described here are what the recording demonstrates on Normal difficulty; higher difficulties add timers and damage that this video does not cover.
Viscountess FAQ
- Q1.How many stages does the Viscountess have?
- Three. The first two stages share the same spine — butler tag, spirit tag, night stage — and stage two layers on wraiths and the four-leaf clover soak. Stage three replaces all of it with the four-zone light gate judgment.
- Q2.What wipes parties most often?
- Two places. In the night stage, either a player is left outside the lantern light or the butler-marked player stands too close to it and wipes the raid. In stage three, a party runs the wrong gate or takes a second hit while standing behind the tank.
- Q3.Is voice chat actually required?
- For stage three, effectively yes. The lit gate is hard to read from distance, the boss deliberately fights your camera angle, and you have five seconds. The creator recommends voice chat specifically so nobody gets wiped by a late call.
- Q4.What DPS does the party need?
- The creator measured 28k DPS on the Viscountess dummy for this run but says roughly 23k average across the party is enough to clear. Treat both as video-measured community figures, not official thresholds.
- Q5.Can the last gate be skipped?
- Yes, and this run did it with about ten seconds left — but the creator flags it as high risk. Skip only when you are certain the remaining damage finishes the boss inside the timer.
- Q6.Is this the same encounter as the May Manor ballroom boss?
- No. The ballroom holds the dual weekly encounter covered in the May Manor raid guide; the Viscountess is the Castle wing final boss, and the Astrolabe User is the Garden wing final boss.