Lord of Mysteries May Manor Hound Boss Guide (2026)
The Alienated Hound — “Manor Gatekeeper”, per its own nameplate — is the first boss of the May Manor raid’s Garden wing, run at Normal difficulty with twelve players. It is the fight that audits your raid before the raid even starts: the creator’s group demands 11K DPS on a training dummy from every damage dealer, because the final phases are a timer race you cannot win short-handed.
The loop is wide — orange-circle soaks, a self-destructing Paradise Fruit Core, Crimson Roar gathers, vision dogs to kite into traps, a bell that teaches you the Ring Bell skill — and it repeats under tighter timers until the berserk clock settles it. Every frame below comes from one recorded Normal clear; the on-screen English banners carry the mechanic names.
Verification rule
[unverified] / 〔待核验〕 marks a detail the footage or cited sources could not confirm — the marker stays inline so you know exactly which claims to double-check.
Stage-by-Stage Walkthrough With Frames
Key Takeaways Before You Pull
- ◆The entry gate is DPS: every damage dealer does at least 11K on a training dummy first (creator-measured), or the late phases outrun you.
- ◆Orange circle: everyone gathers inside to split the hit, then disperses — and the circles never overlap.
- ◆The Paradise Fruit Core runs on a Self-Destruct Countdown — kill it fast or the blast takes the people in range.
- ◆The Crimson Roar banner is a gather call: stack at the agreed point and let the healers top the raid.
- ◆Kite the red-named vision dogs into the trap rings; the Scarlet Hound Soul drops a bell that teaches the Ring Bell skill.
- ◆When the chargers come, pre-stack at one point so the whole raid dodges together — the recorded clear finished with about a minute to spare.
Verified gameplay source
12 Player Raid: May Manor Hound Mechanics
- 01
The pull: twelve players, one garden circle
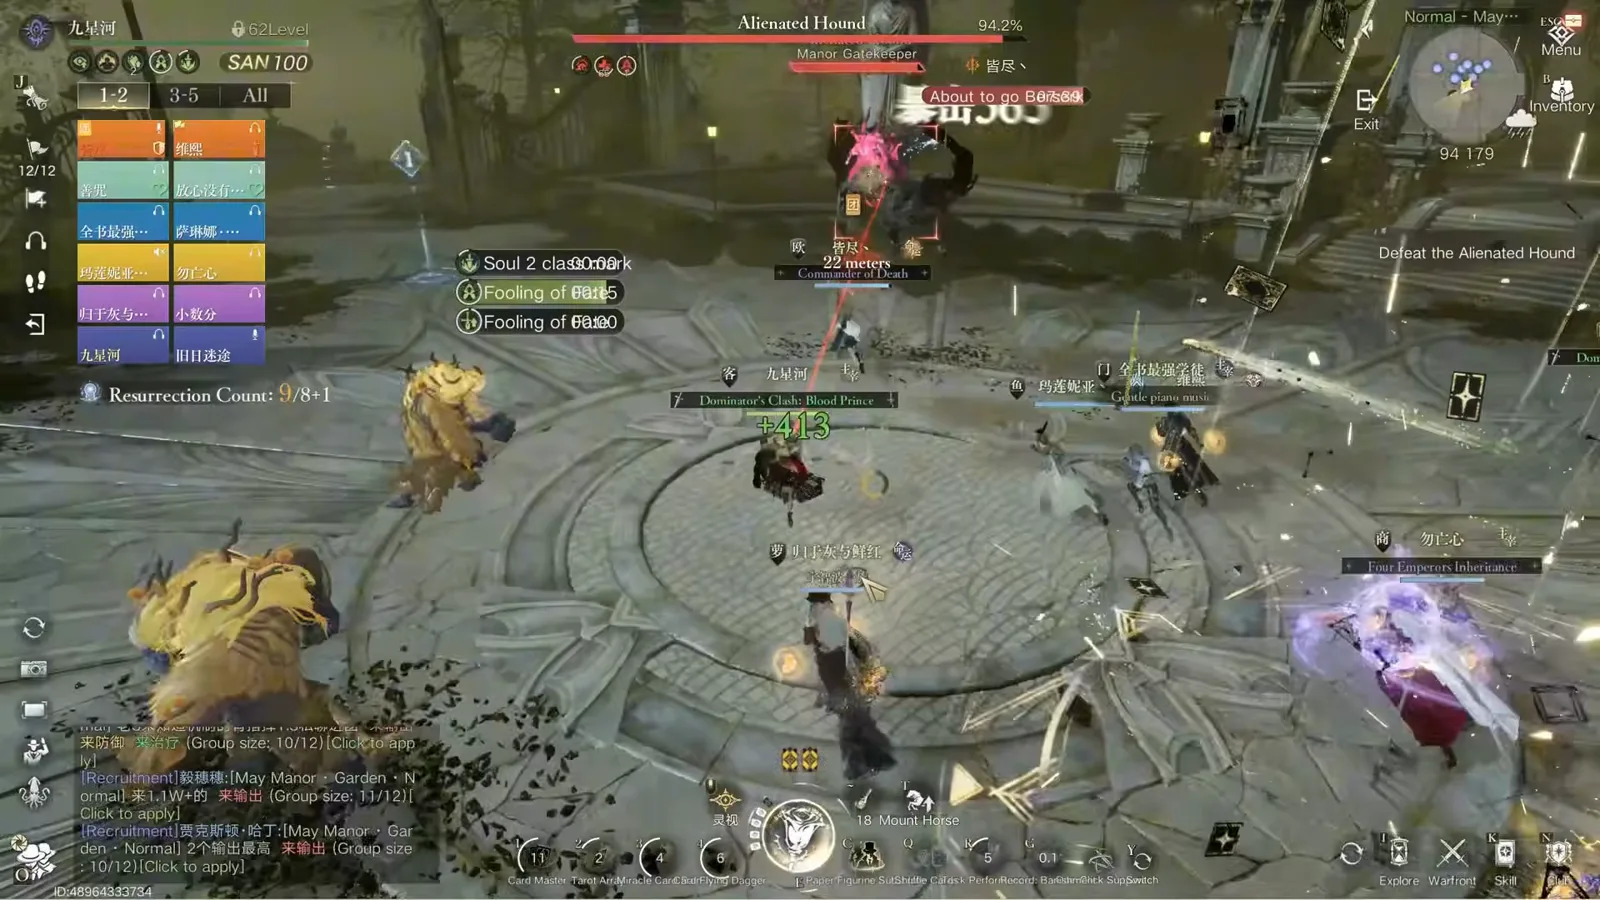
The Alienated Hound opens in the manor’s garden arena, nameplate reading “Alienated Hound — Manor Gatekeeper”. Before this moment the raid has already done its homework — the creator’s rule is 11K DPS per damage dealer on a training dummy, verified in the recruiting chat’s “Garden 1 · Normal” listings. The fight will repeat its mechanics on tightening timers, so everything you learn in the first minute, you will be asked to reproduce faster later.
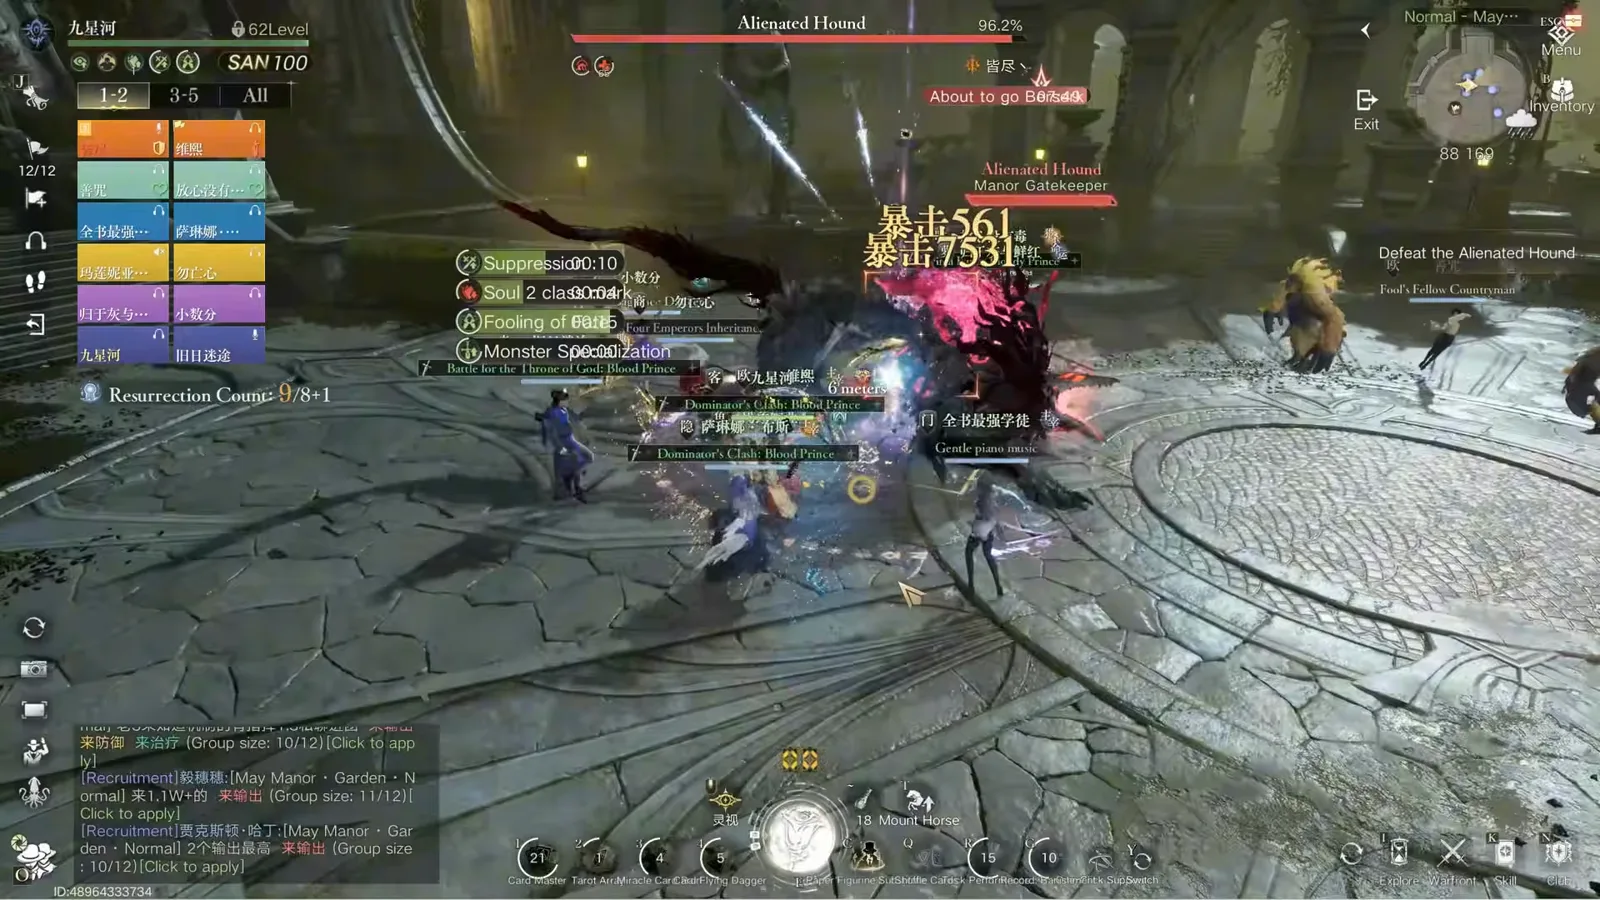
The pull: nameplate up, twelve players, one arena to orbit.Watch from 0:20 - 02
The orange circle: gather in, then disperse
The golden orange circle is the fight’s signature soak, and the on-screen banner teaches it in one line: “Gather to resist the pressure and disperse to avoid the aftermath!” Everyone enters the circle to split the hit, then spreads so no one eats the aftermath twice. The corollary the recording repeats: never let two orange circles overlap — one soak per circle, always.
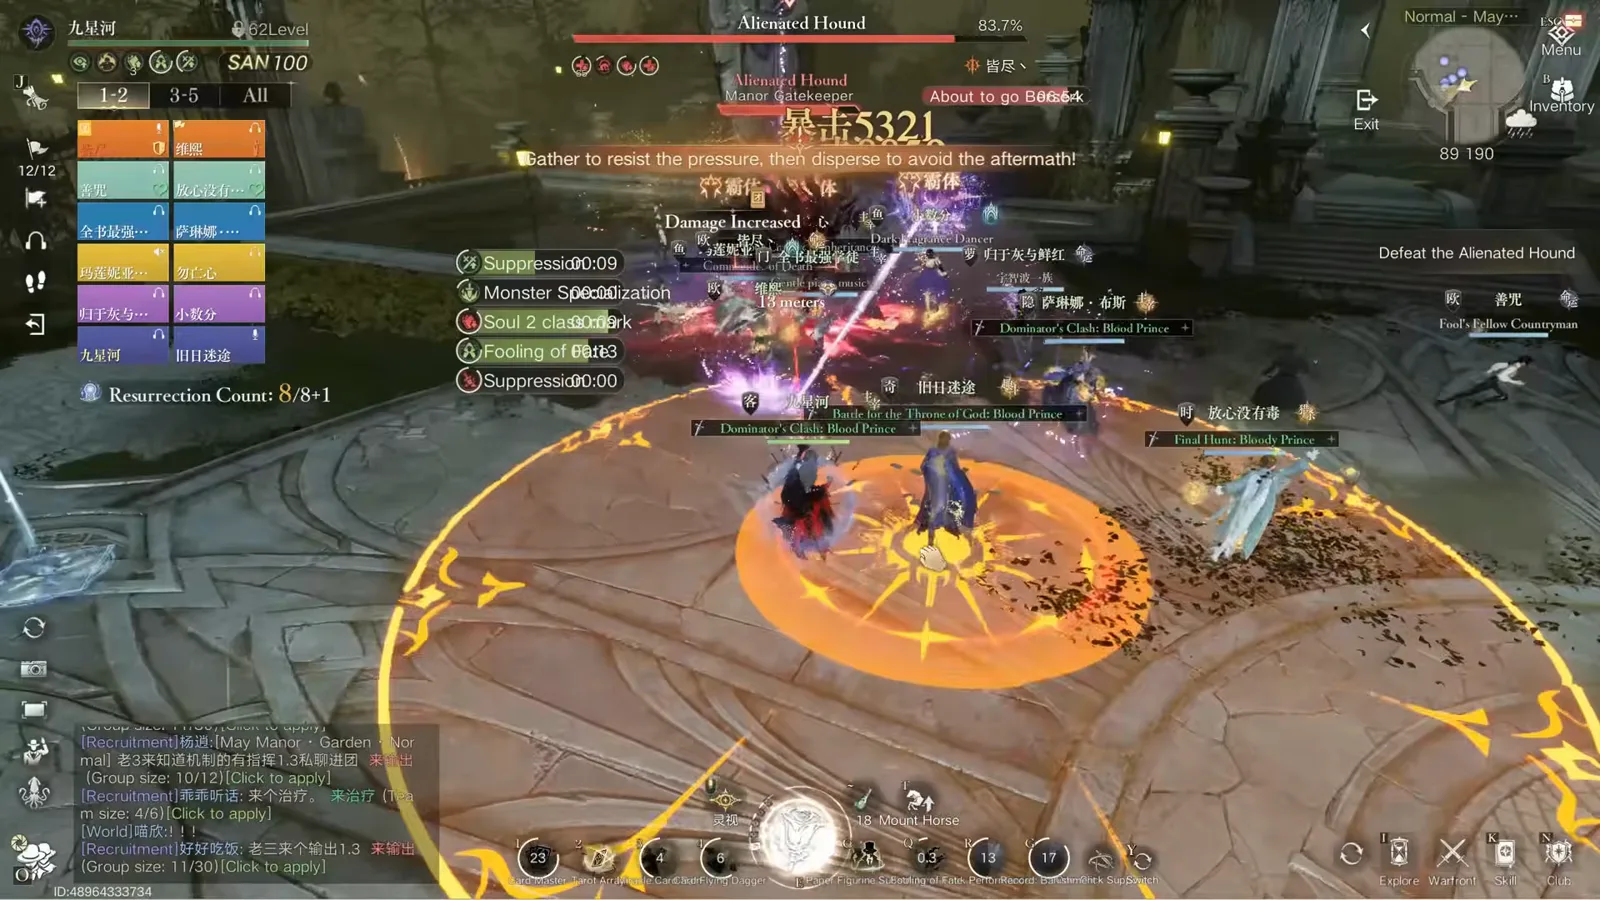
Gather, split, disperse: the banner says the whole mechanic.Watch from 1:15 - 03
Kill the Paradise Fruit Core before the countdown does
Phase two’s headline is the core: red spore spheres bloom around the arena, each tagged “Self-Destruct Countdown”, and the banner gives the priority — “Focus on clearing the Paradise Fruit Core!” The core’s countdown is a fuse: clear it in time or the detonation takes everyone in range. The raid in the recording pre-agreed the meet point during phase one, which is why their core kills look calm.
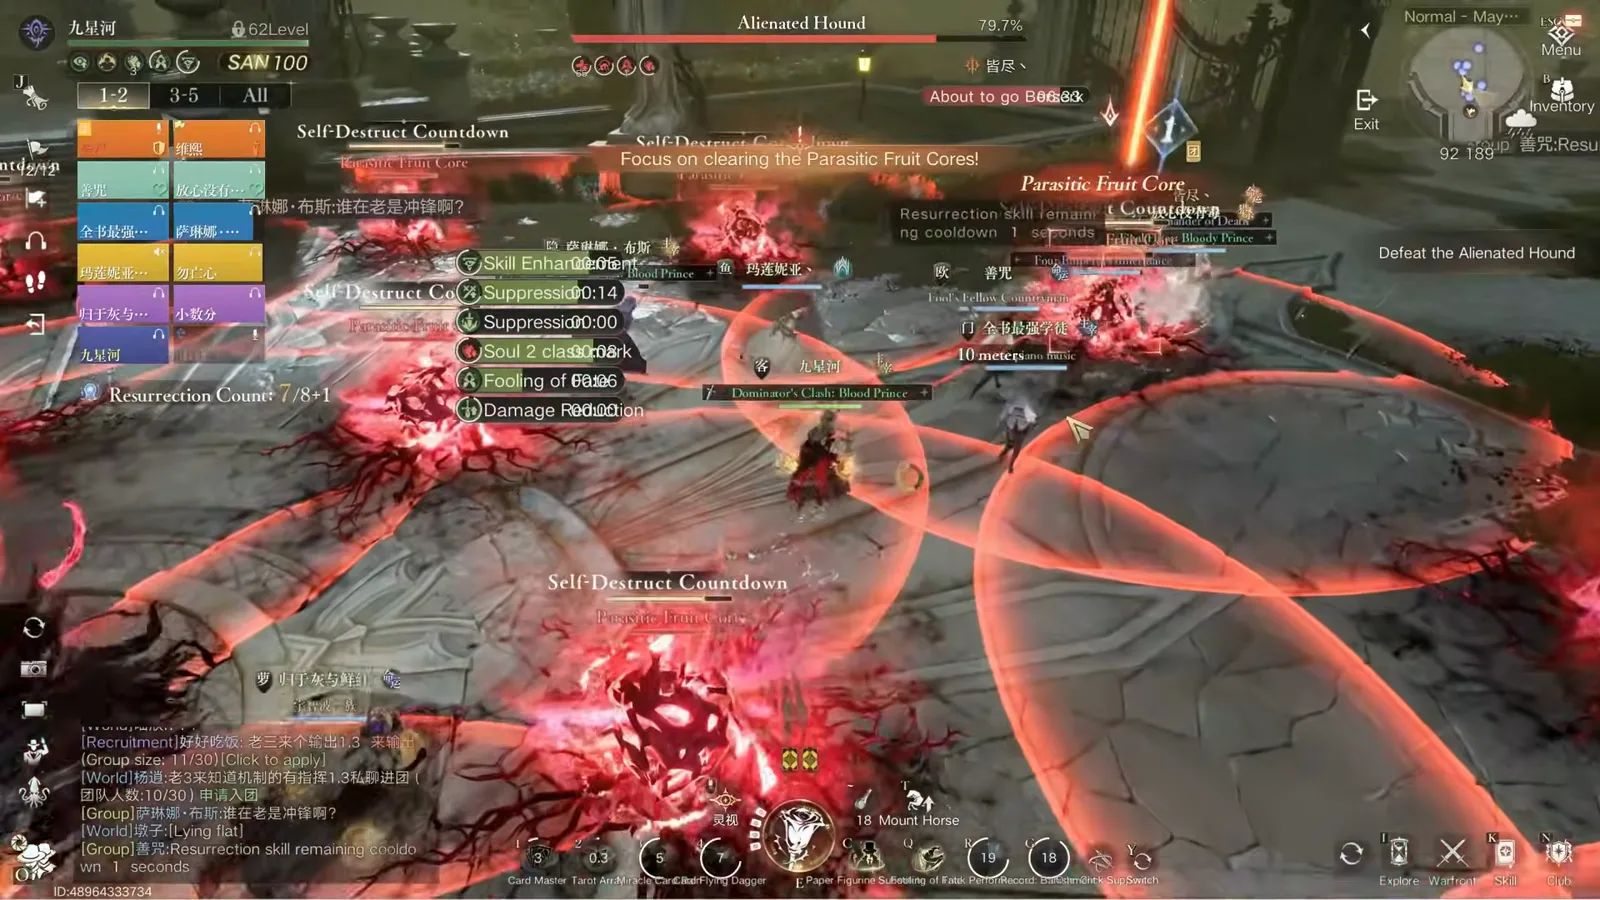
The core: red spores, countdown fuses, one target — clear it.Watch from 1:36 - 04
Crimson Roar: the gather call
When the Crimson Roar banner goes up — “The Crimson Roar is about to damage the core, pay attention to healing and protection!” — the raid answers by stacking at the point the leader called before the pull, and the healers spend everything. This is a timing beat, not a dodge: the damage is coming regardless, so the only decision is whether your raid is together and topped when it lands.
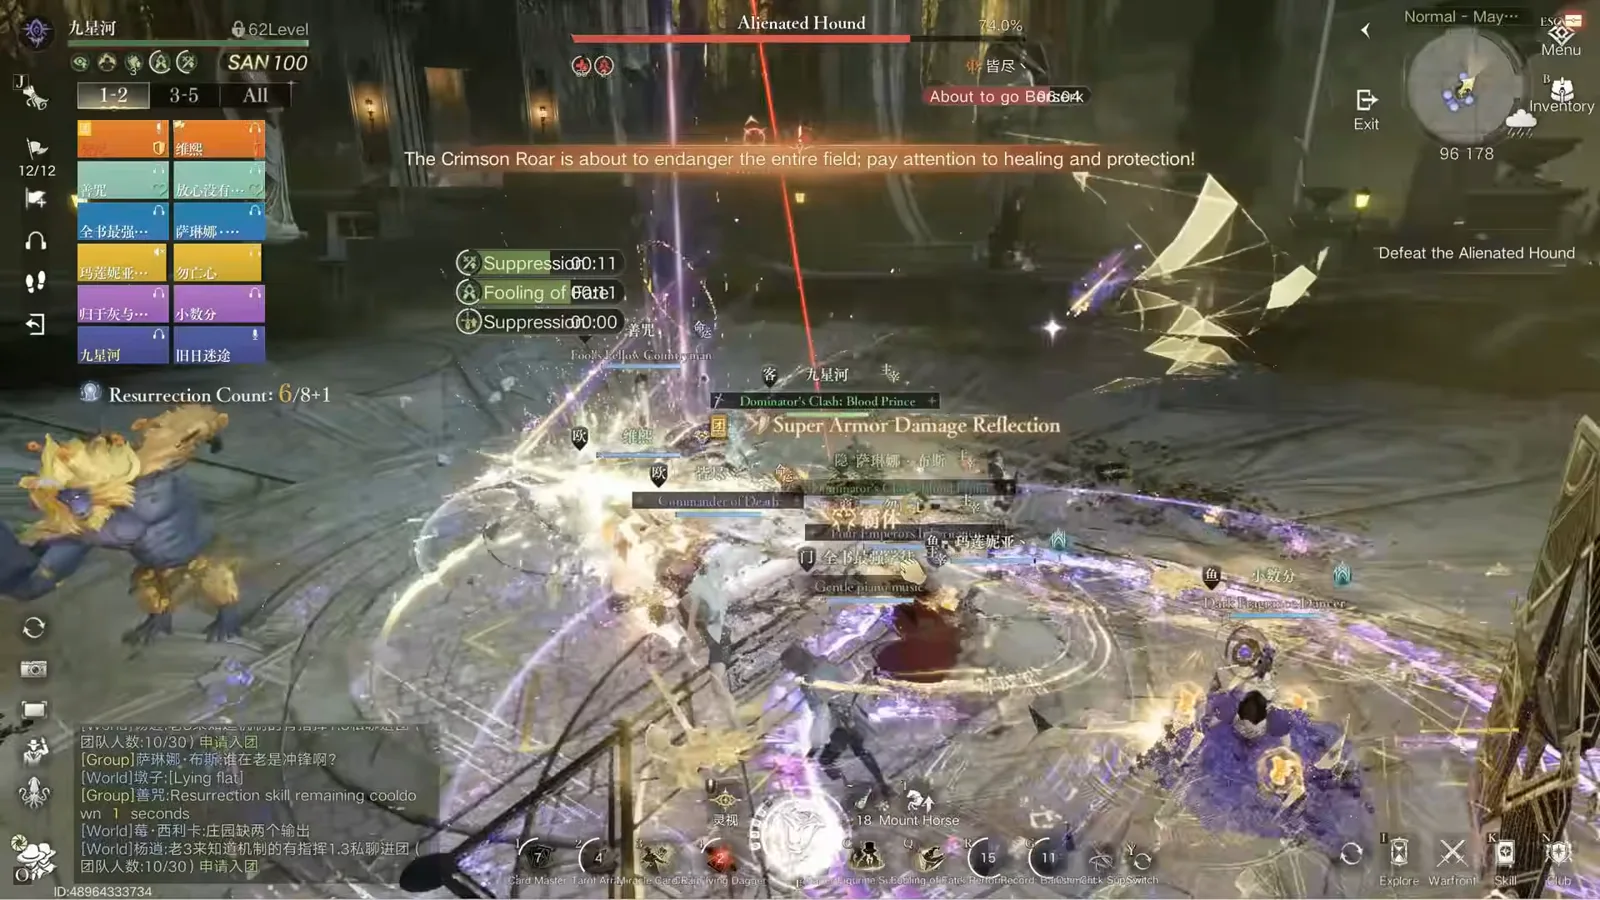
Crimson Roar: already stacked, already healed — that is the whole play.Watch from 2:05 - 05
The bell, the aggro line, and Ring Bell
This frame carries two mechanics in one screen. The banner explains the reward: “The Scarlet Hound Soul drops a bell upon death; pick it up to learn the skill Ring Bell!” The red line across the floor is the aggro tether between a red-named vision dog and the player it is hunting. Put together: the marked player kites the dog into a trap, the party kills the spectral hound when it appears, and whoever picks up the bell gains Ring Bell.
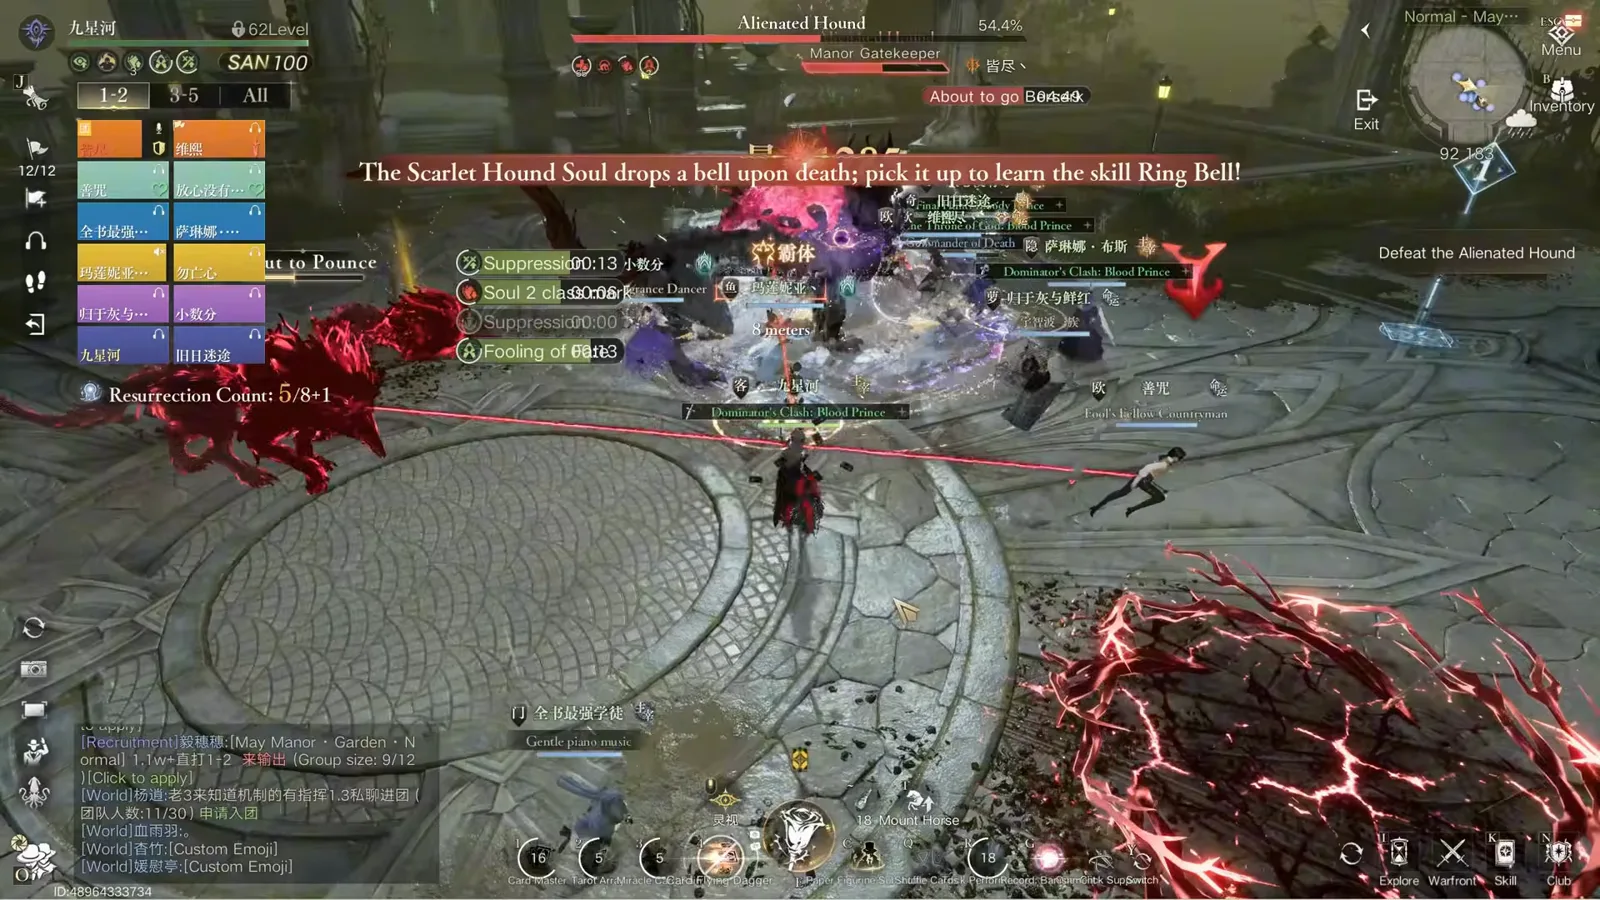
Two mechanics, one frame: the kite line and the bell that teaches Ring Bell.Watch from 3:20 - 06
Vision Dog Attack: burn the summoned hounds
The Vision Dog Attack callout marks the add wave: hounds summoned into the arena, each with its own aggro line. The raid’s answer from the recording is split responsibility — marked players kite, everyone else burns the nearest dog before the next mechanic lands. Letting dogs accumulate is how the trap rings (later) become a minefield instead of a tool.
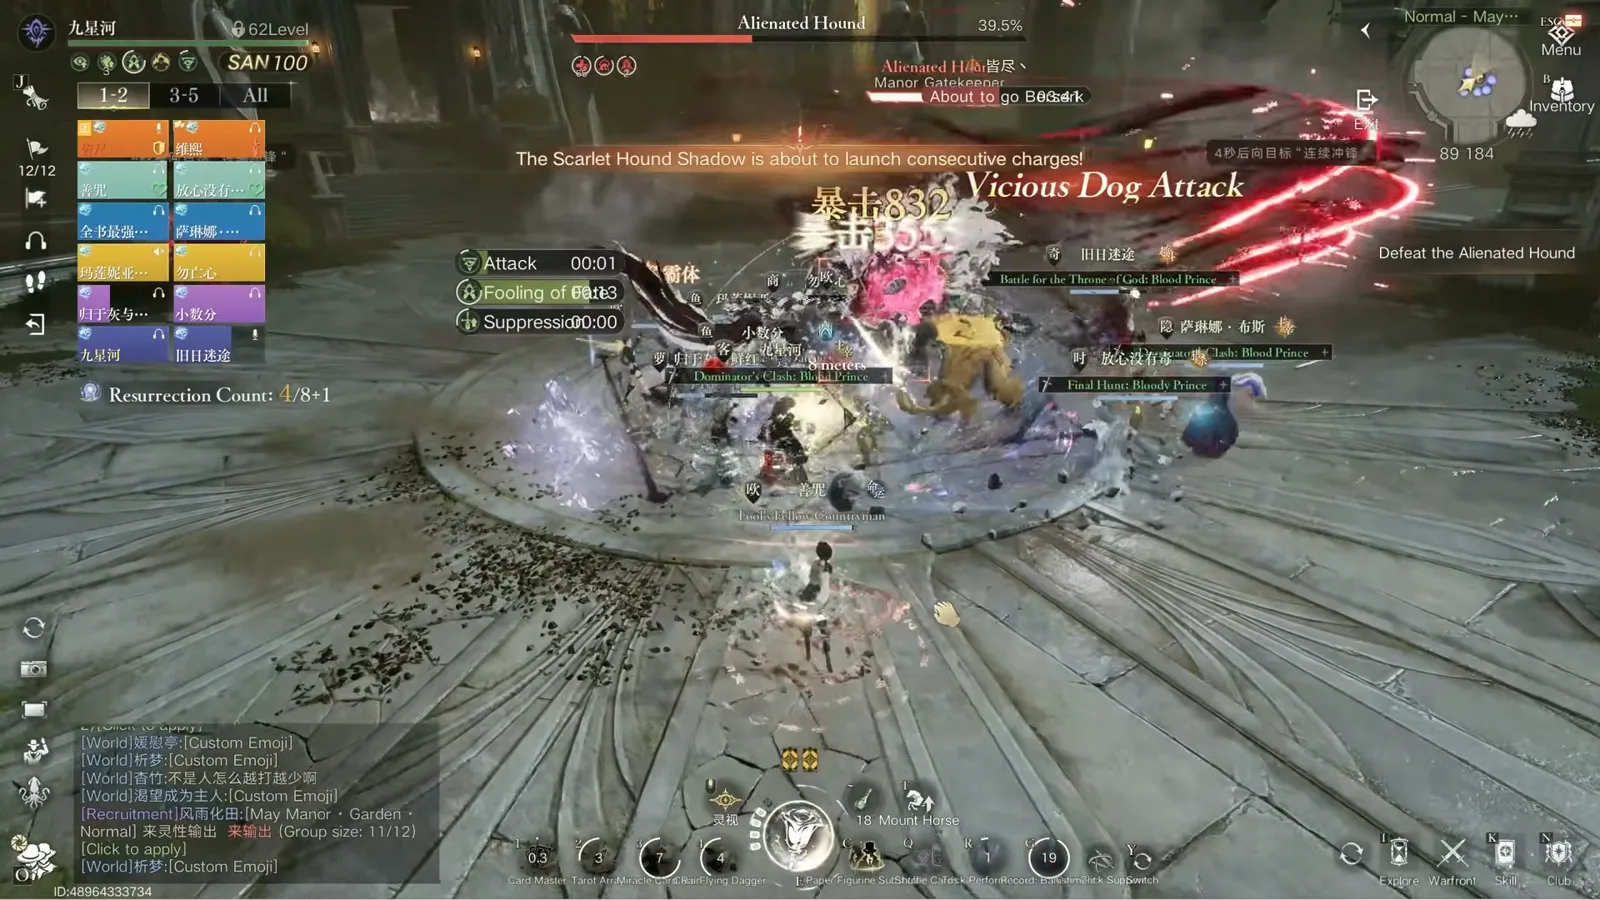
The dog wave: kite what is yours, burn the rest before the next call.Watch from 4:28 - 07
Chargers: pre-stack so the dodge is one decision
When the charge adds come, the telegraph lines cross the arena floor like the red stripe in this frame — and the raid’s answer is positioning decided in advance. The recording’s group pre-stacks at a single point so the dodge is one coordinated step instead of twelve individual ones. The “About to go Berserk” timer on the boss bar is why this matters: late attempts cannot afford scattered deaths.
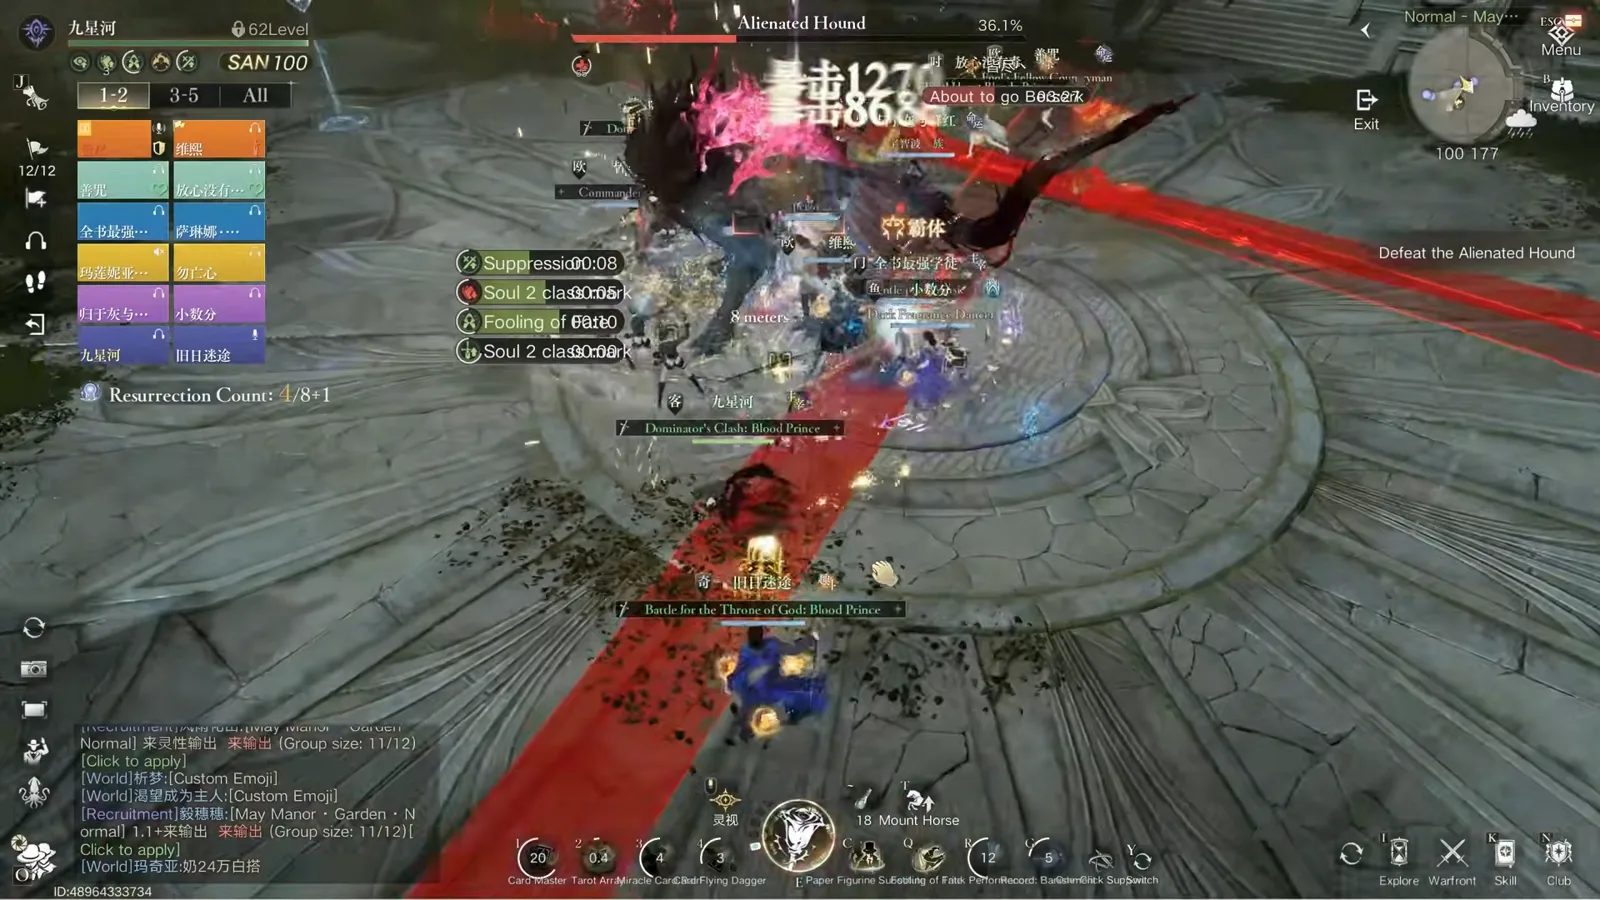
One red line, one stack, one step: chargers are a discipline test.Watch from 4:42 - 08
The trap rings: a tool, then a hazard
The ornate red rings covering the floor are the traps the vision dogs get kited into — and the same rings that kill dogs will kill players, which is the recording’s measured rule of thumb: standing in a trap costs about 20% of your health per second (the creator’s own number from this run). Kite the dogs in, keep the raid out, and the arena’s furniture works for you instead of against you.
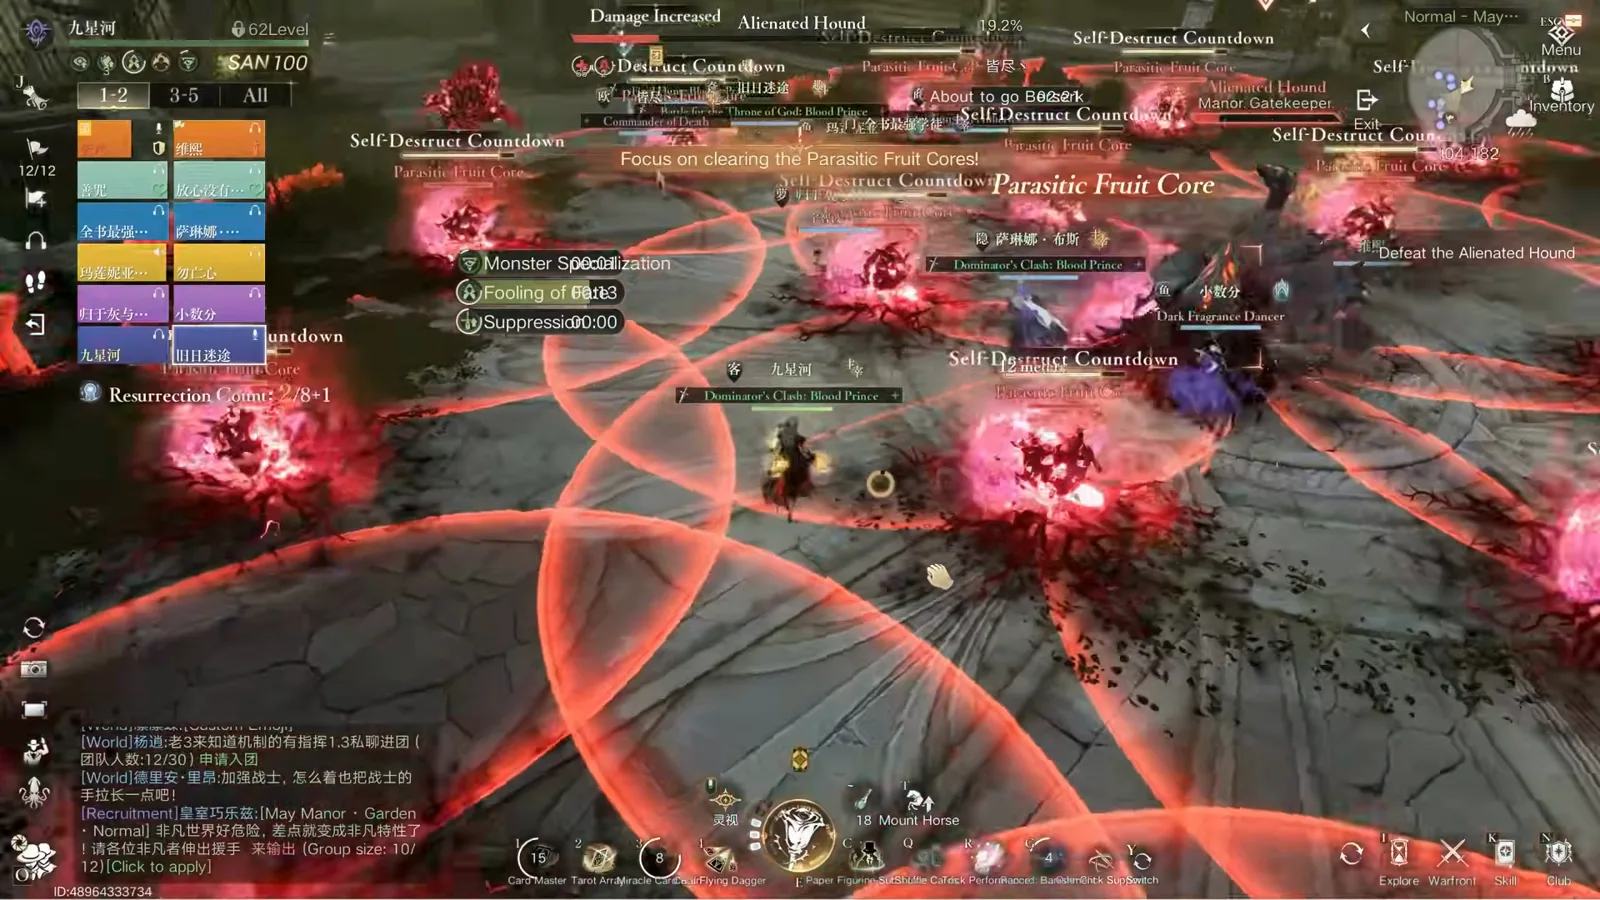
Trap rings: dogs in, players out — roughly 20% health per second inside.Watch from 5:48 - 09
The Scarlet Hound Soul in spirit form
This is the spectral hound itself — the Scarlet Hound Soul drifting through the arena in its blue-white spirit form. Kill it and the bell drops; someone picks the bell up and learns Ring Bell, which is the payoff skill for this stretch of the fight. The recording’s group kills it between mechanics rather than prioritizing it over the core — the bell is value, the countdown is death.
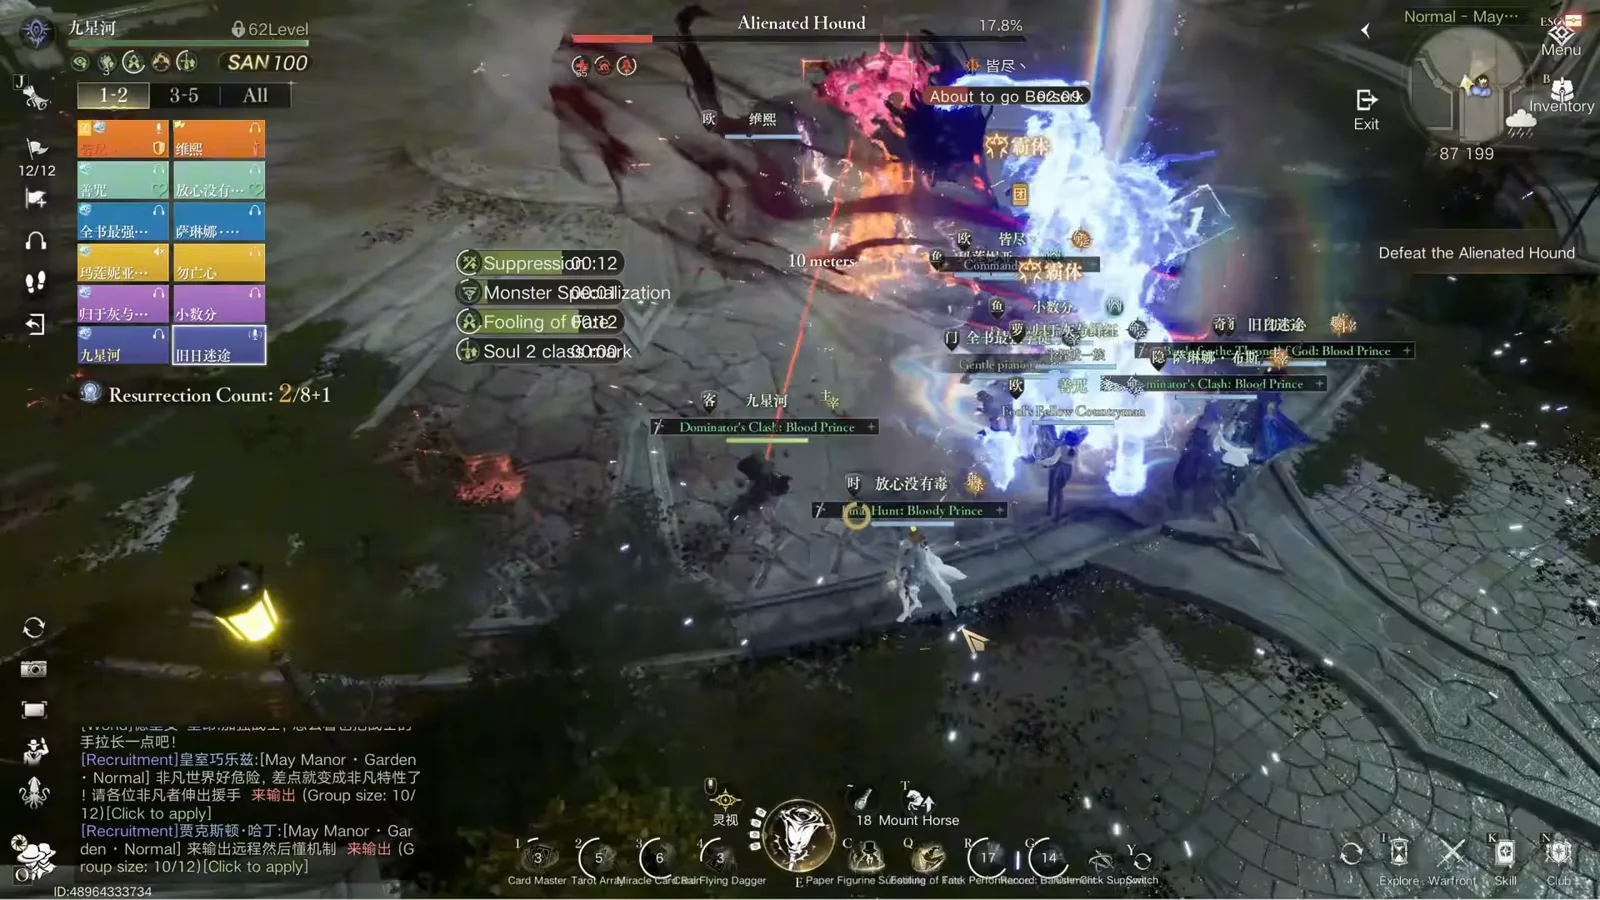
The spirit hound: kill it, grab the bell, learn Ring Bell.Watch from 6:00 - 10
The final burn under the countdowns
The last stretch is the DPS race the 11K gate was auditing: the boss cycles its mechanics while Self-Destruct Countdown rings bloom across the floor and the “About to go Berserk” timer runs out on the boss bar. The recorded clear finished with roughly a minute to spare — that margin is the difference a training-dummy session makes. Stack for the dodges, keep burning, and let the timers argue with someone else’s raid.
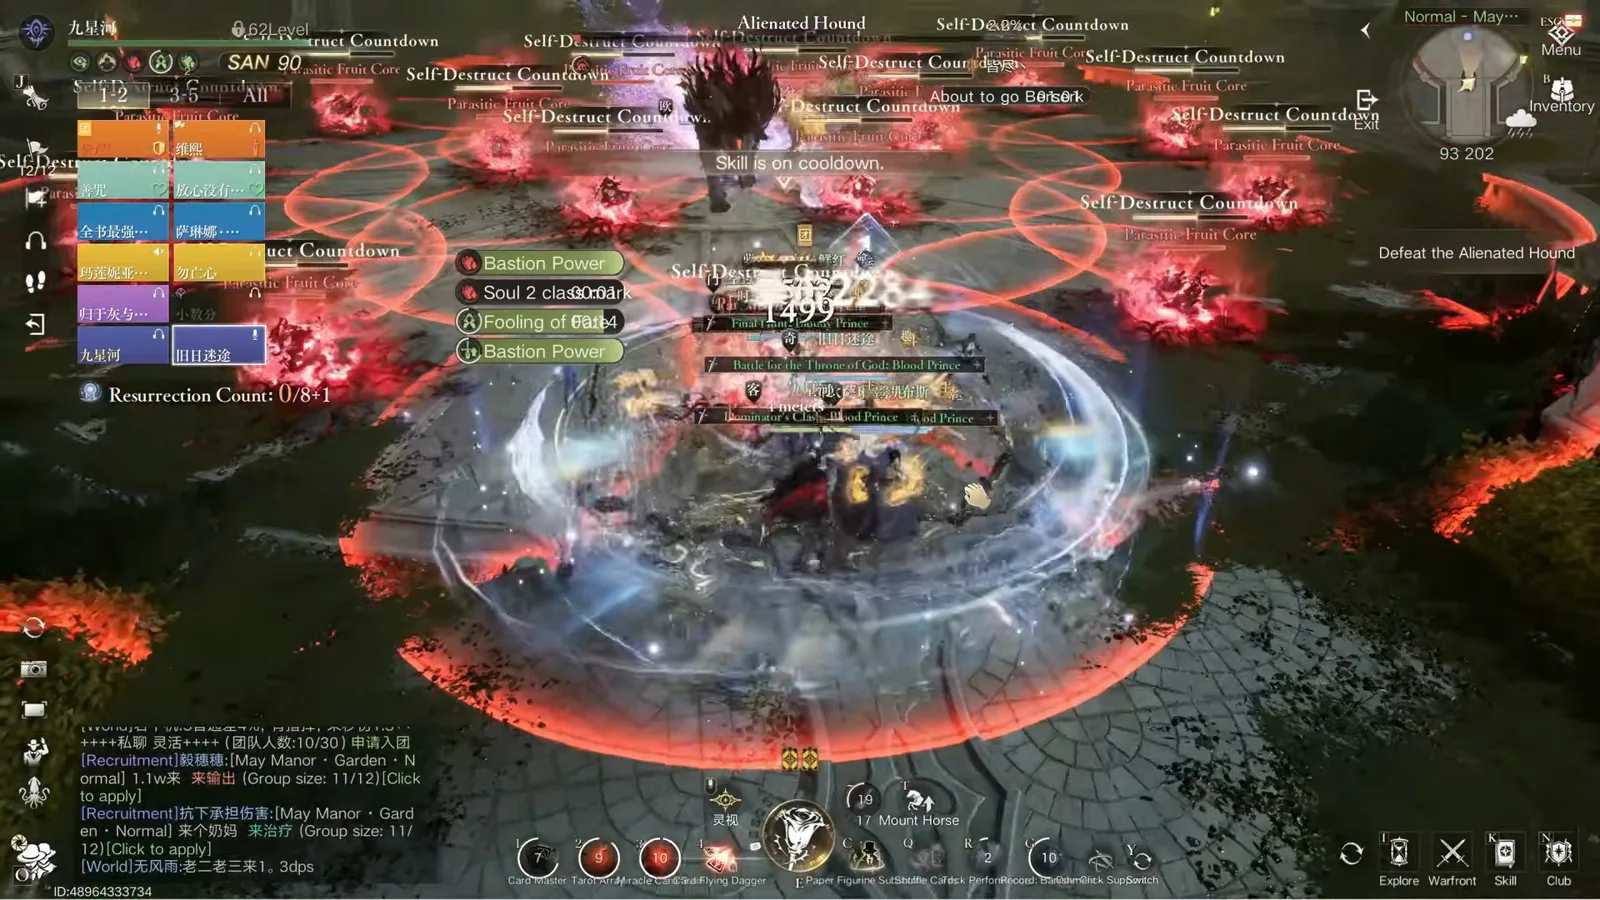
The race: countdown rings everywhere, berserk clock running, DPS holding.Watch from 7:08 - 11
The clear and the auction
The gatekeeper falls and the manor courtyard takes over: the Brilliant Stars damage card reading 4,854,409, the stage-clear banner, and the raid’s auction window distributing the drops. From here the raid moves deeper into the Garden wing — the Astrolabe User and the Viscountess wait at the ends of it, and this fight’s lesson (soak clean, kill cores, respect timers) is the same one they test.
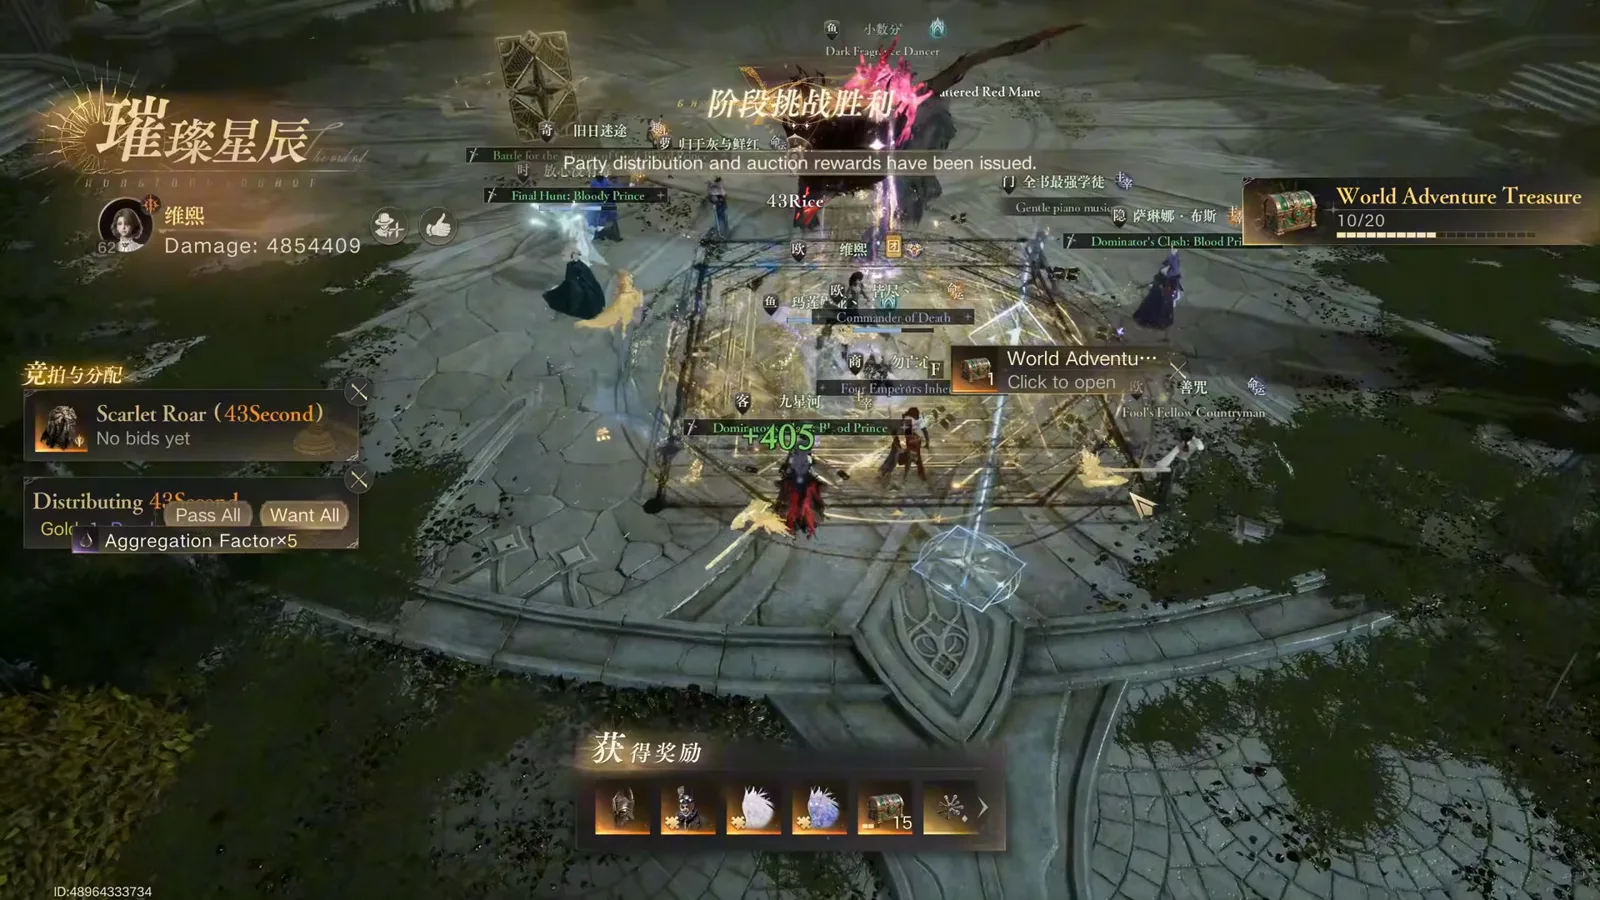
Cleared: the damage card and the auction close the Garden’s front door.Watch from 7:20
Every frame on this page is captured from the linked recording; the timestamps under each step jump to that exact second. The 11K DPS entry gate and the 20%-per-second trap damage are the creator’s own measured numbers — community reference values, not official design targets. Mechanics described here are what the recording demonstrates on Normal difficulty. Frames near the streamer’s brief disconnect (~5:30–6:10) were kept only after a full-size check confirmed clean gameplay.
Alienated Hound FAQ
- Q1.Where does the Alienated Hound sit in the May Manor raid?
- It is the first boss of the Garden wing, run at Normal difficulty with twelve players — the recruiting listings in the recording literally read “May Manor · Garden 1 · Normal”. Its nameplate gives the title “Manor Gatekeeper”, which is exactly what it is: the audit before the rest of the raid.
- Q2.How much DPS do I need for this fight?
- The creator’s group gates pulls at 11K DPS per damage dealer on a training dummy — a community-measured number, not an official requirement. The reasoning is visible in the fight itself: the final phases repeat the whole mechanic loop on tighter timers, and the recorded clear finished with about a minute left on the berserk clock.
- Q3.What does the orange circle mean?
- It is a shared soak. The banner’s own wording is the tactic: “Gather to resist the pressure and disperse to avoid the aftermath.” Everyone steps in to split the hit, steps out before the aftermath, and the raid never lets two orange circles overlap.
- Q4.What is the Paradise Fruit Core?
- The phase-two priority target: red spore spheres tagged “Self-Destruct Countdown”, with the banner instructing “Focus on clearing the Paradise Fruit Core!” If the fuse runs out, the detonation hits everyone in range — so the meet point for the core phase is agreed during phase one, before the countdown exists.
- Q5.What is the Ring Bell skill?
- A reward skill. The Scarlet Hound Soul — a spectral hound — drops a bell on death, and picking the bell up teaches the player the Ring Bell skill, per the on-screen banner. The hound itself is the blue-white spirit form that prowls the arena during the add phases.
- Q6.Are the red floor rings safe to stand in?
- No. Those are the traps: the vision dogs get kited into them, and players standing inside lose roughly 20% of their health per second — the creator’s measured figure from this recording. The rings are a tool when a dog is in one and a hazard every other second.